\n\n\n\n\n\n
\n\n\n\n\n
\n\n\n\n\n\n
\n\n\n\n\n\n
\n\n\n","image":["https://img.buyrabeanco.shop/images/product/88566-saoi-belt-tote-ii-1.jpg","https://img.buyrabeanco.shop/images/product/88566-saoi-belt-tote-ii-2.jpg","https://img.buyrabeanco.shop/images/product/88566-saoi-belt-tote-ii-3.jpg","https://img.buyrabeanco.shop/images/product/88566-saoi-belt-tote-ii-4.jpg","https://img.buyrabeanco.shop/images/product/88566-saoi-belt-tote-ii-5.jpg","https://img.buyrabeanco.shop/images/product/88566-saoi-belt-tote-ii-6.jpg","https://img.buyrabeanco.shop/images/product/88566-saoi-belt-tote-ii-7.jpg","https://img.buyrabeanco.shop/images/product/88566-saoi-belt-tote-ii-8.jpg","https://img.buyrabeanco.shop/images/product/88566-saoi-belt-tote-ii-9.jpg","https://img.buyrabeanco.shop/images/product/88566-saoi-belt-tote-ii-10.jpg","https://img.buyrabeanco.shop/images/product/88566-saoi-belt-tote-ii-11.jpg","https://img.buyrabeanco.shop/images/product/88566-saoi-belt-tote-ii-12.jpg","https://img.buyrabeanco.shop/images/product/88566-saoi-belt-tote-ii-13.jpg","https://img.buyrabeanco.shop/images/product/88566-saoi-belt-tote-ii-14.jpg","https://img.buyrabeanco.shop/images/product/88566-saoi-belt-tote-ii-15.jpg","https://img.buyrabeanco.shop/images/product/88566-saoi-belt-tote-ii-16.jpg","https://img.buyrabeanco.shop/images/product/88566-saoi-belt-tote-ii-17.jpg","https://img.buyrabeanco.shop/images/product/88566-saoi-belt-tote-ii-18.jpg","https://img.buyrabeanco.shop/images/product/88566-saoi-belt-tote-ii-19.jpg","https://img.buyrabeanco.shop/images/product/88566-saoi-belt-tote-ii-20.jpg","https://img.buyrabeanco.shop/images/product/88566-saoi-belt-tote-ii-21.jpg","https://img.buyrabeanco.shop/images/product/88566-saoi-belt-tote-ii-22.jpg","https://img.buyrabeanco.shop/images/product/88566-saoi-belt-tote-ii-23.jpg","https://img.buyrabeanco.shop/images/product/88566-saoi-belt-tote-ii-24.jpg","https://img.buyrabeanco.shop/images/product/88566-saoi-belt-tote-ii-25.jpg","https://img.buyrabeanco.shop/images/product/88566-saoi-belt-tote-ii-26.jpg","https://img.buyrabeanco.shop/images/product/88566-saoi-belt-tote-ii-27.jpg","https://img.buyrabeanco.shop/images/product/88566-saoi-belt-tote-ii-28.jpg","https://img.buyrabeanco.shop/images/product/88566-saoi-belt-tote-ii-29.jpg"],"sku":"88566-saoi-belt-tote-ii","brand":{"@type":"Brand","name":"Rabeanco.Rabeanco"},"offers":{"@type":"AggregateOffer","lowPrice":152.95,"highPrice":152.95,"priceCurrency":"USD","availability":"https://schema.org/InStock","url":"https://buyrabeanco.shop/products/88566-saoi-belt-tote-ii","offerCount":7}}
Original: $437.00
-65%$437.00
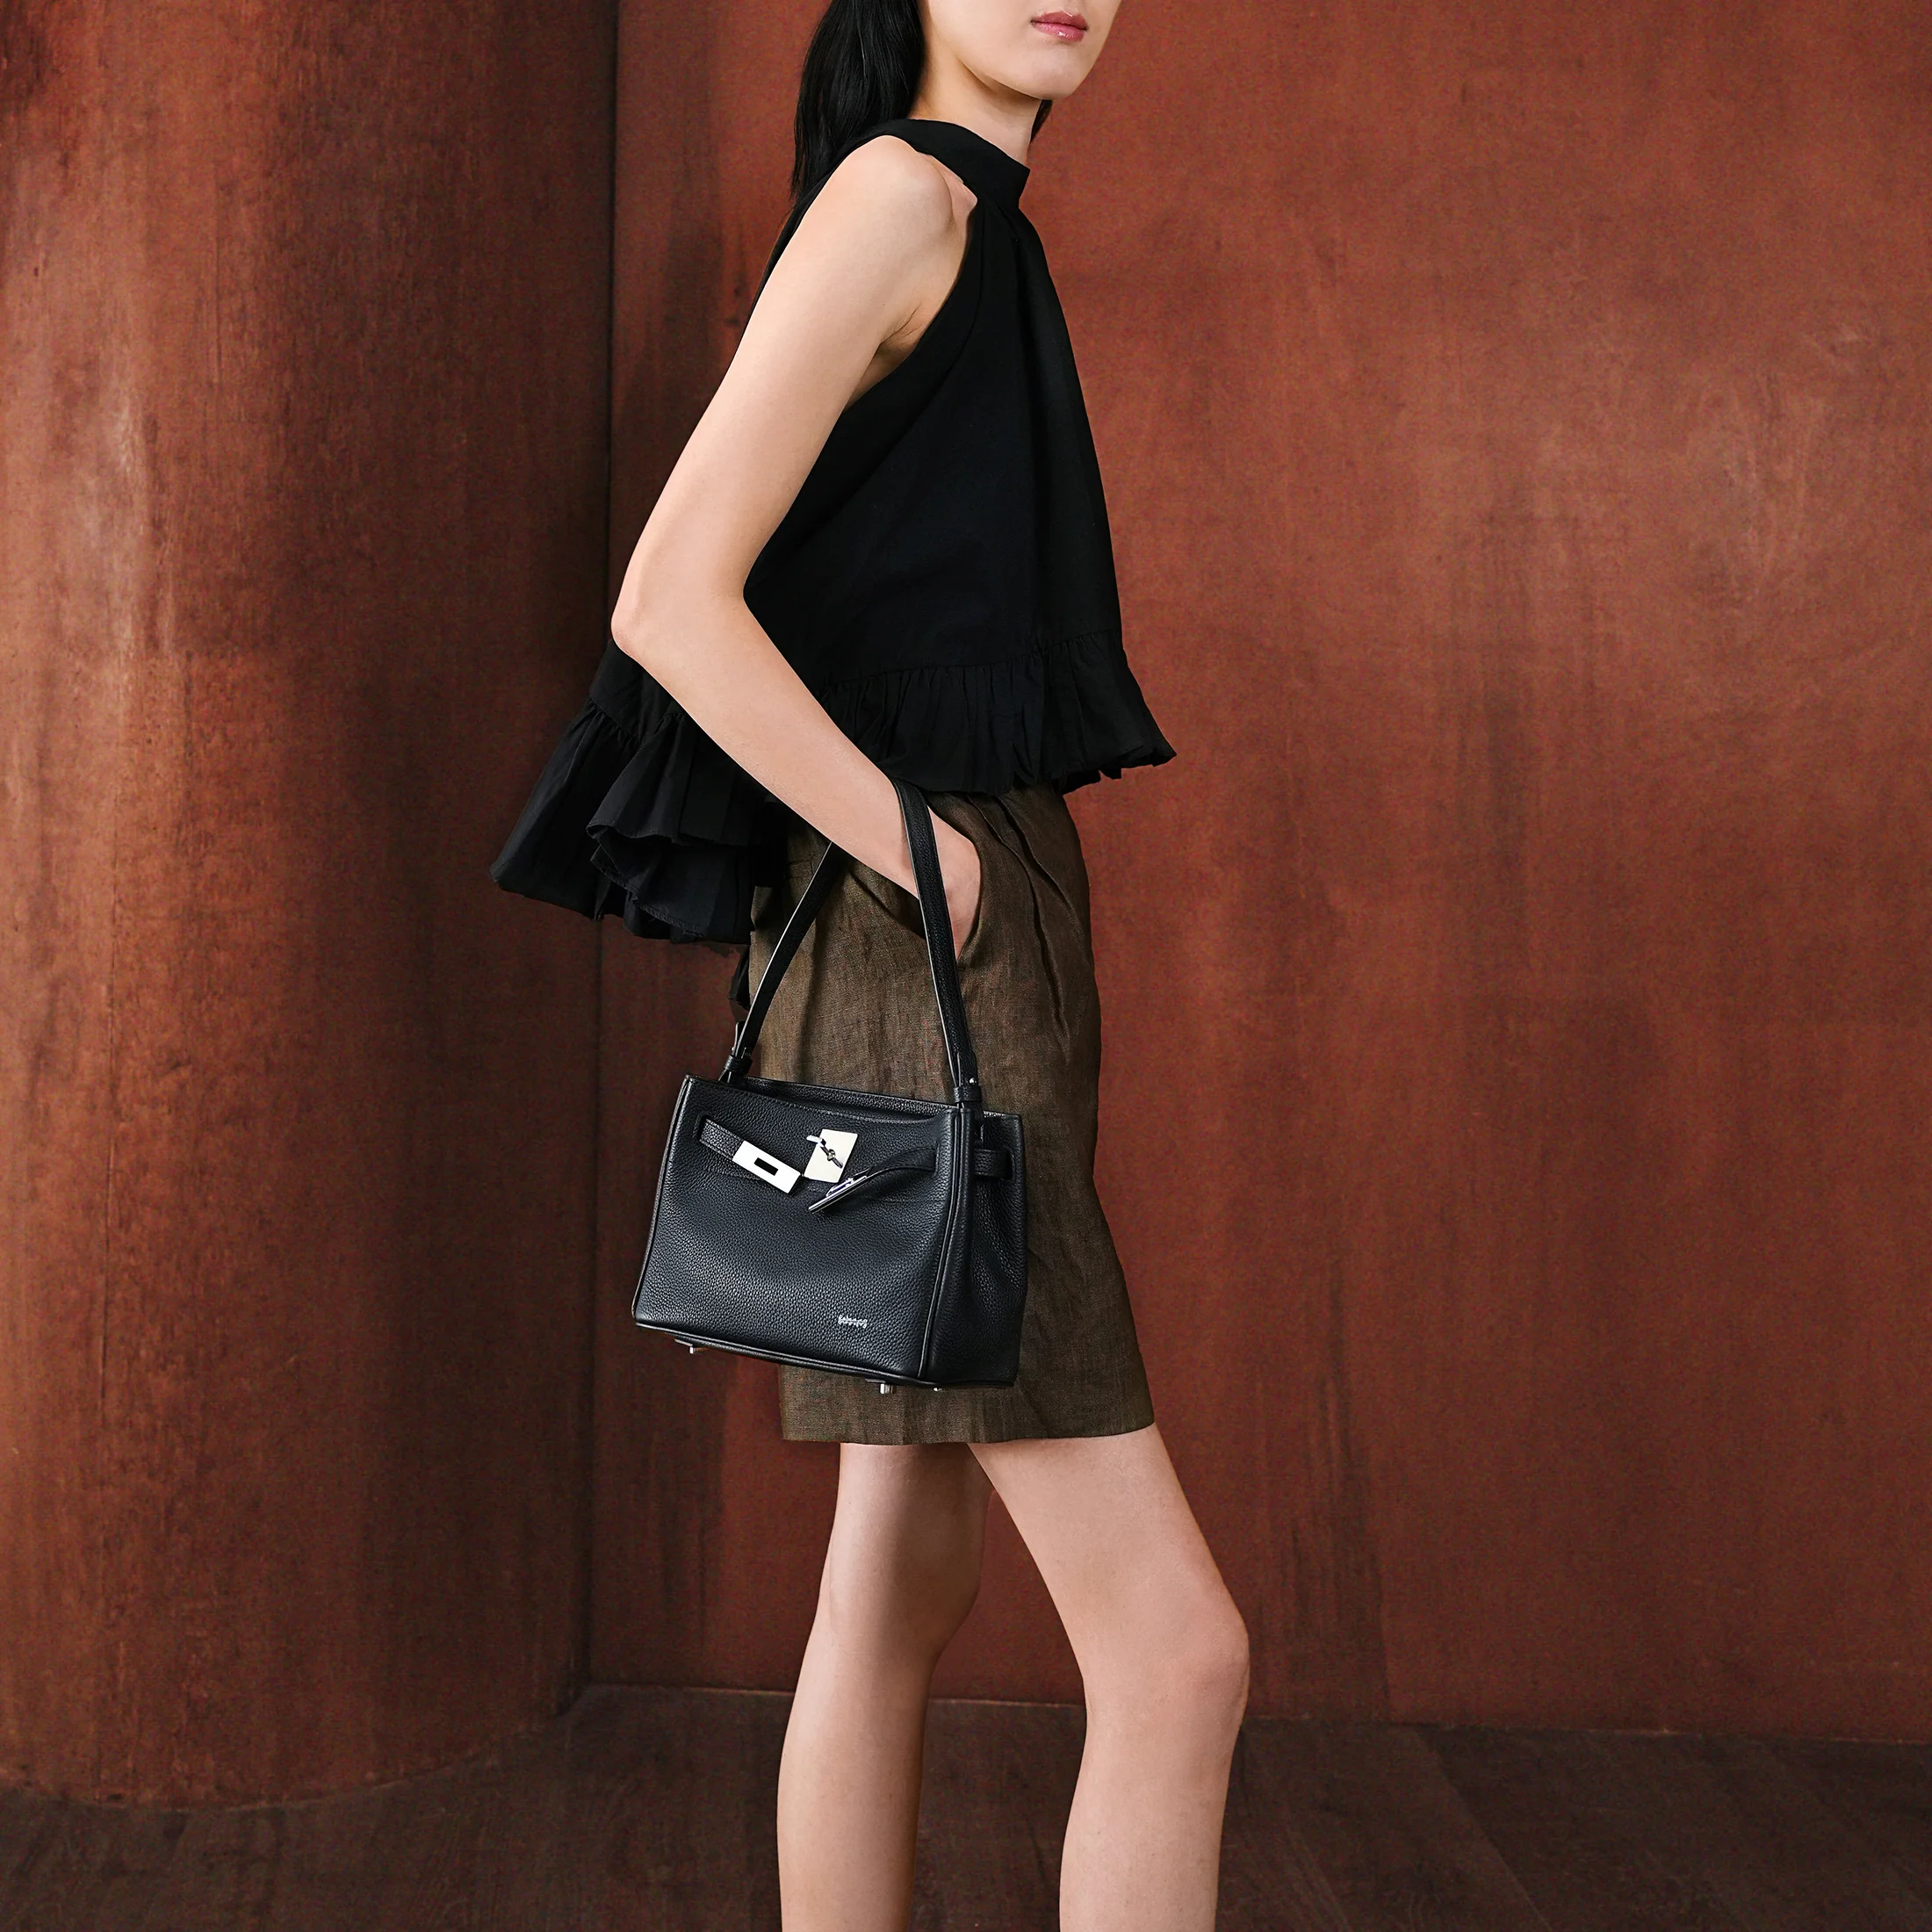
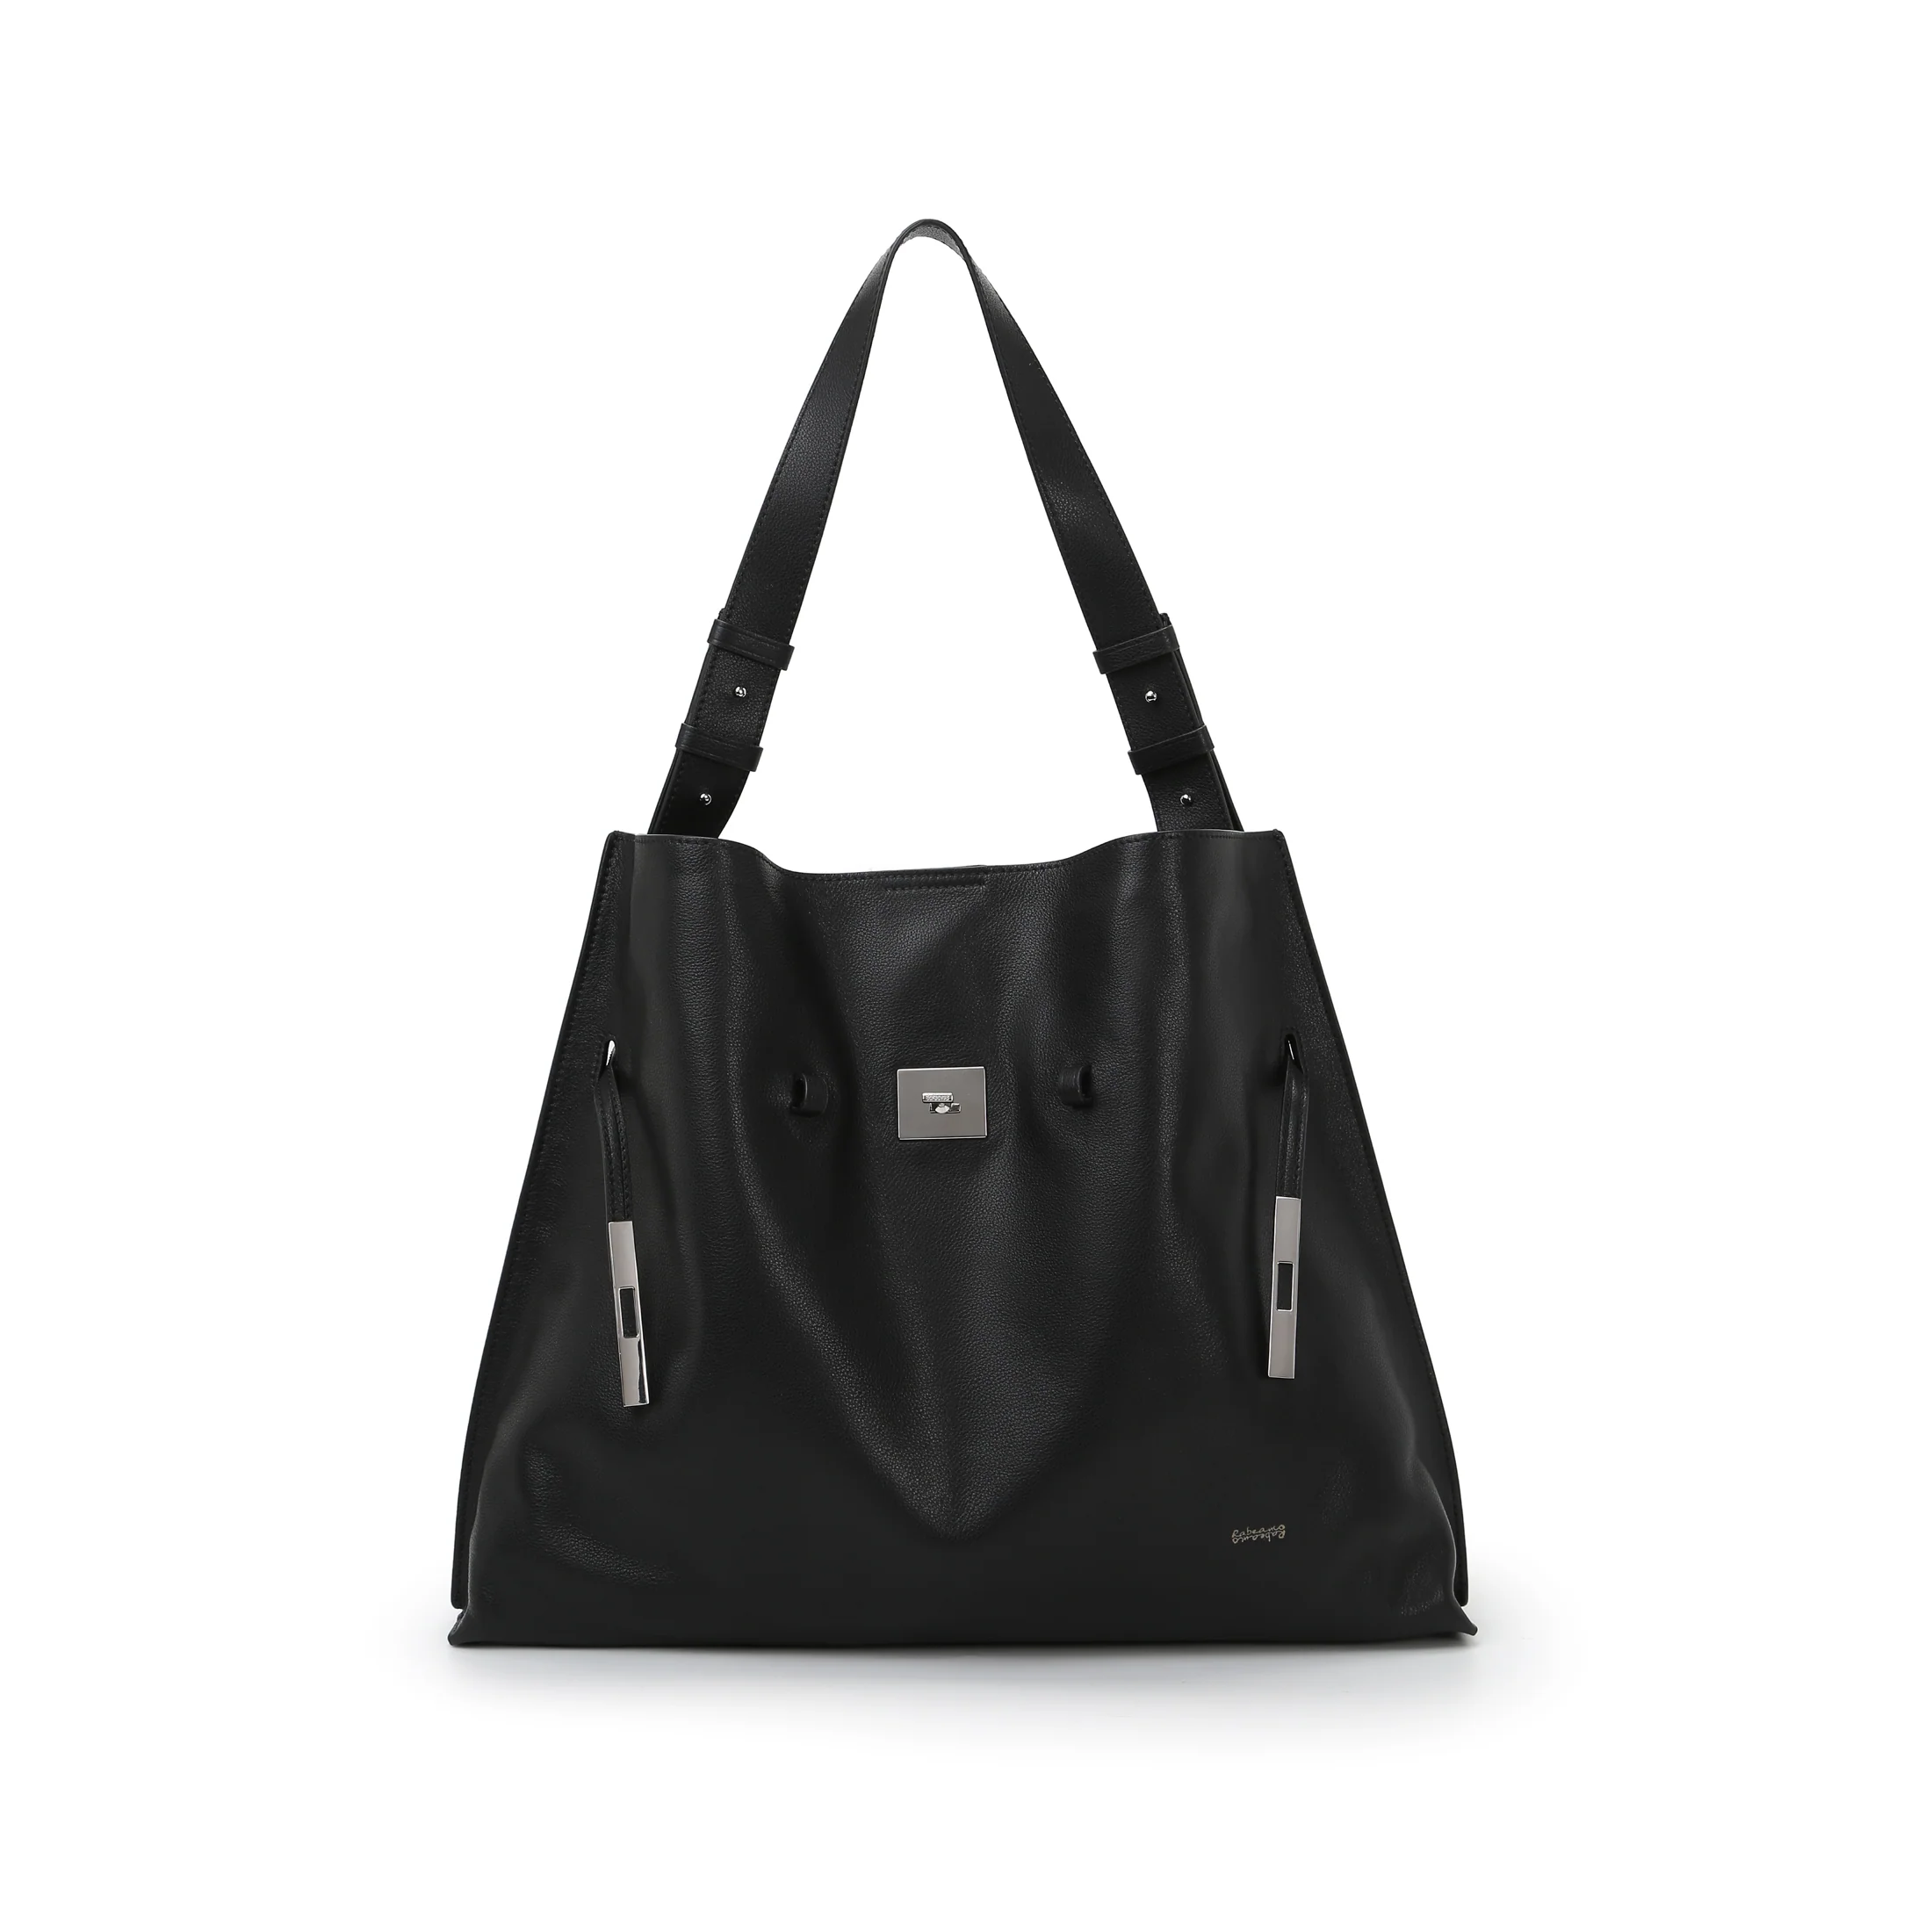
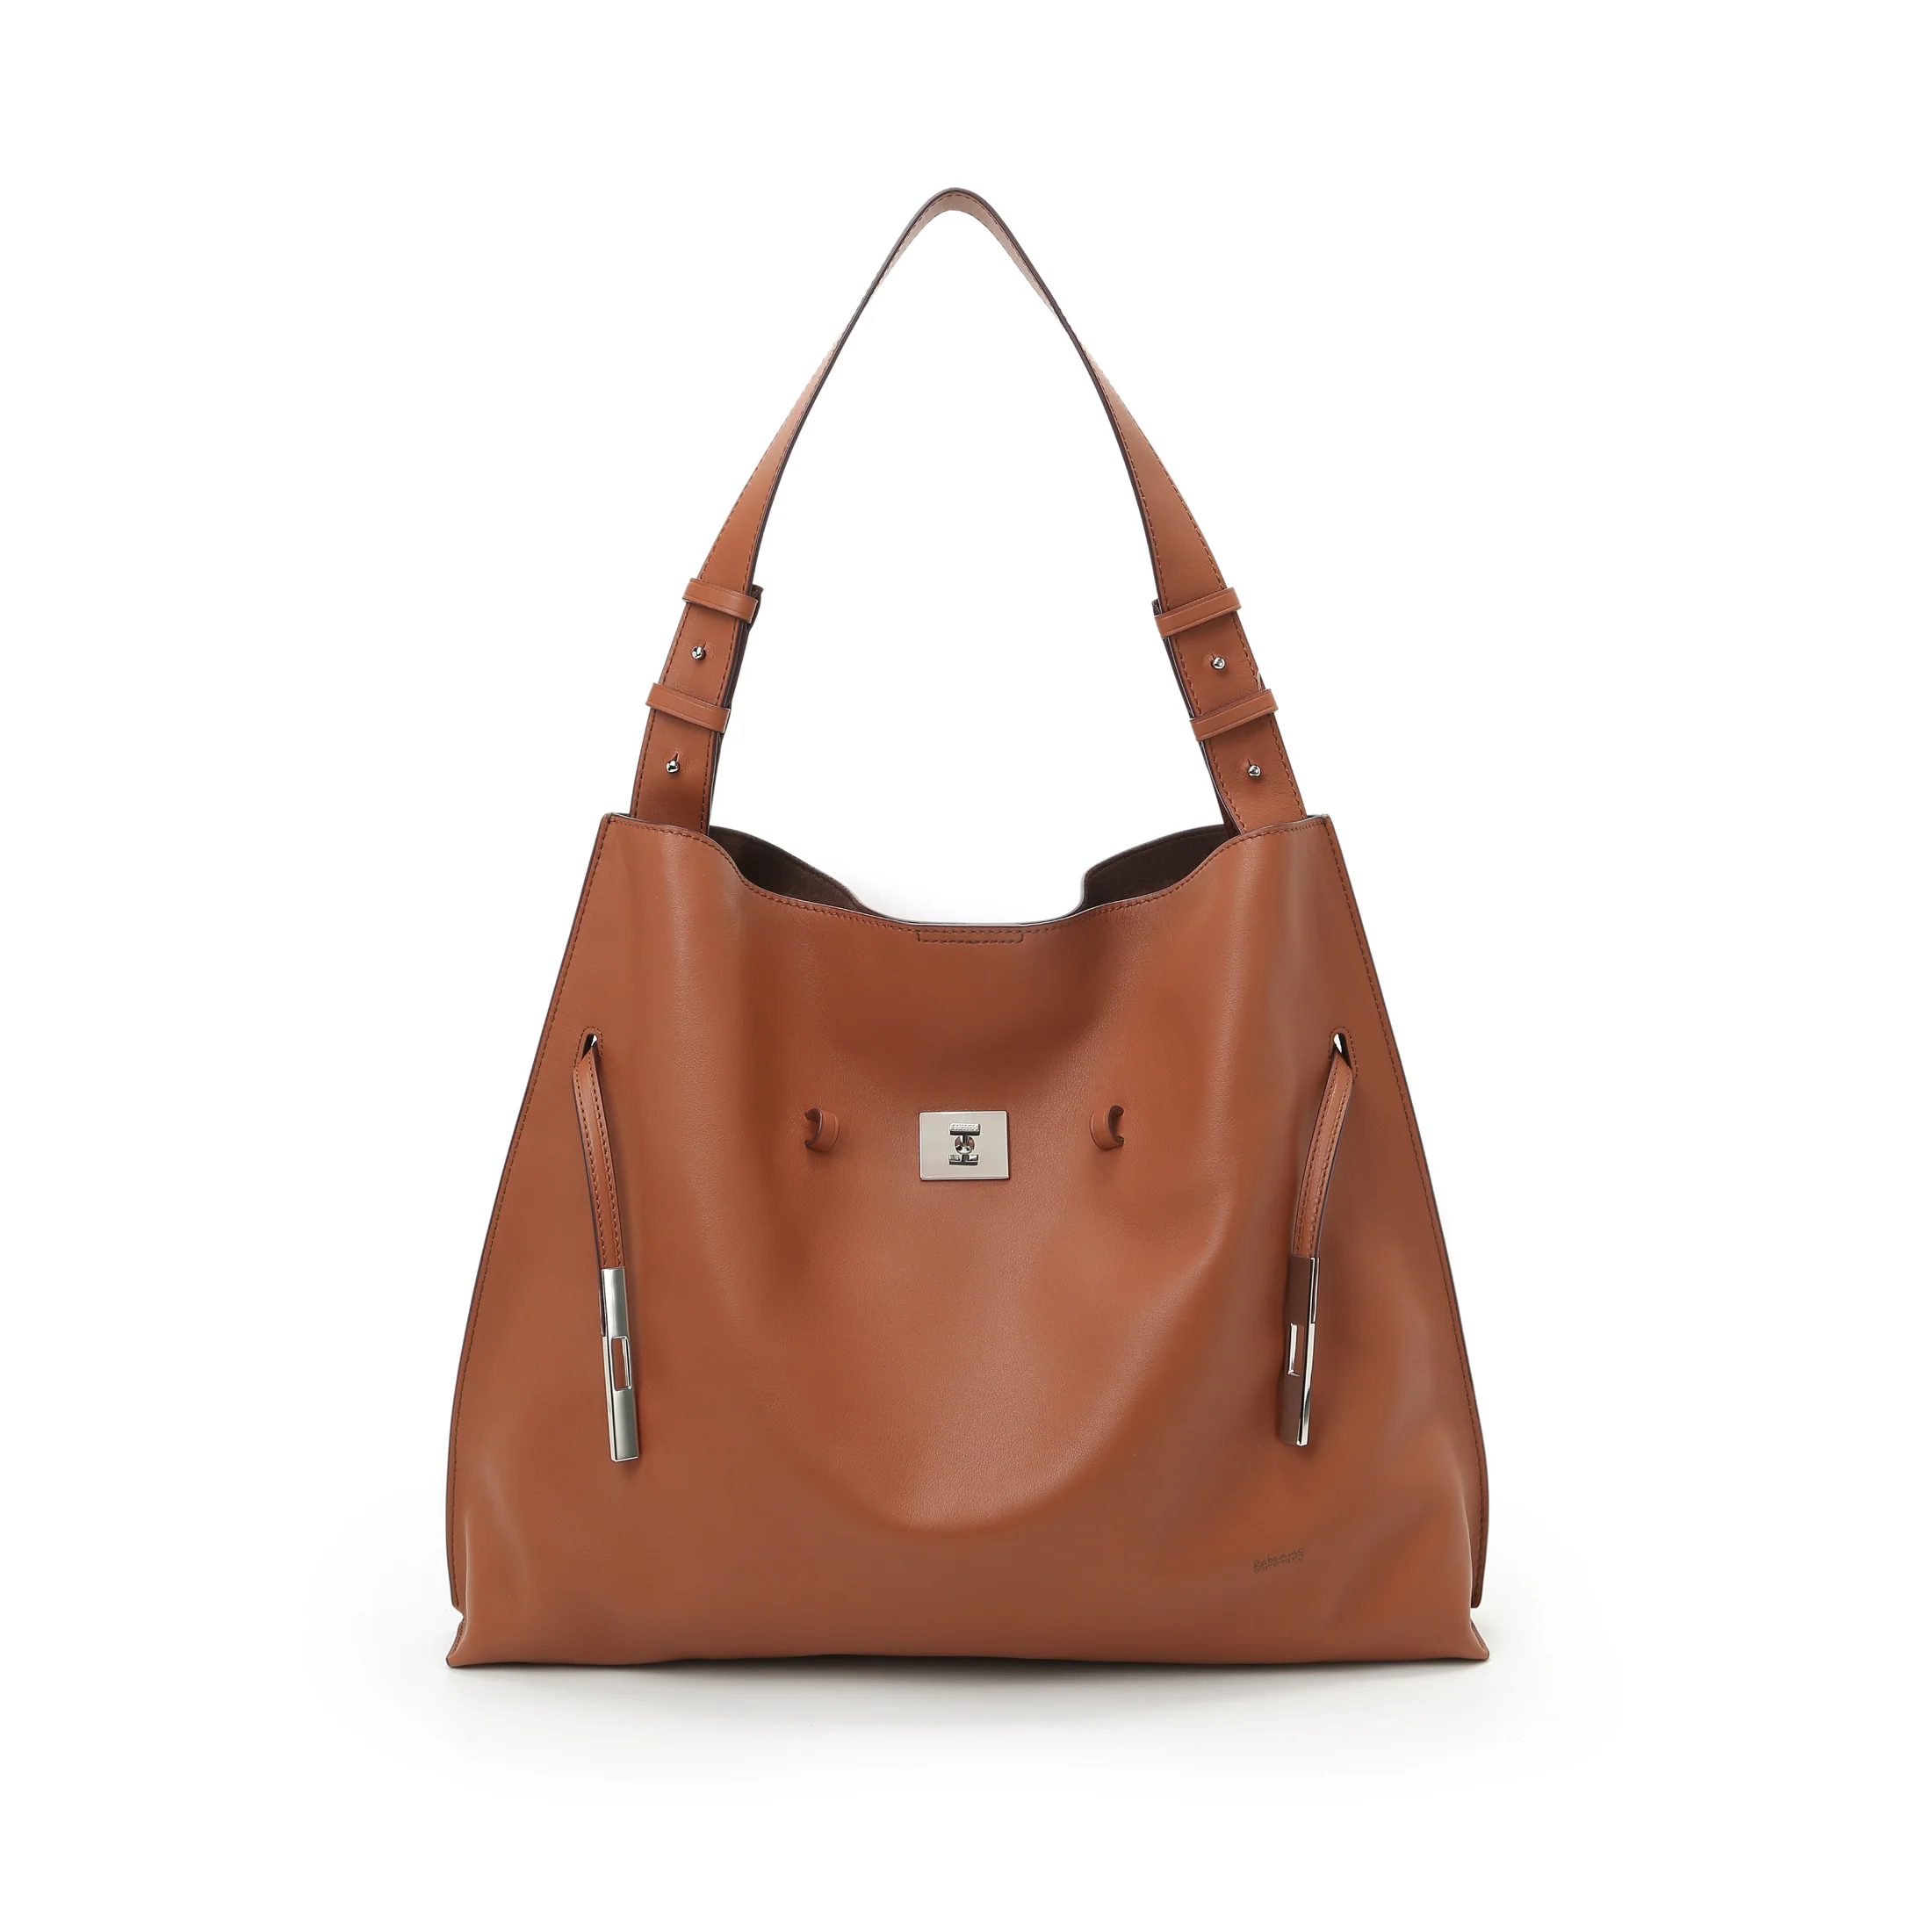
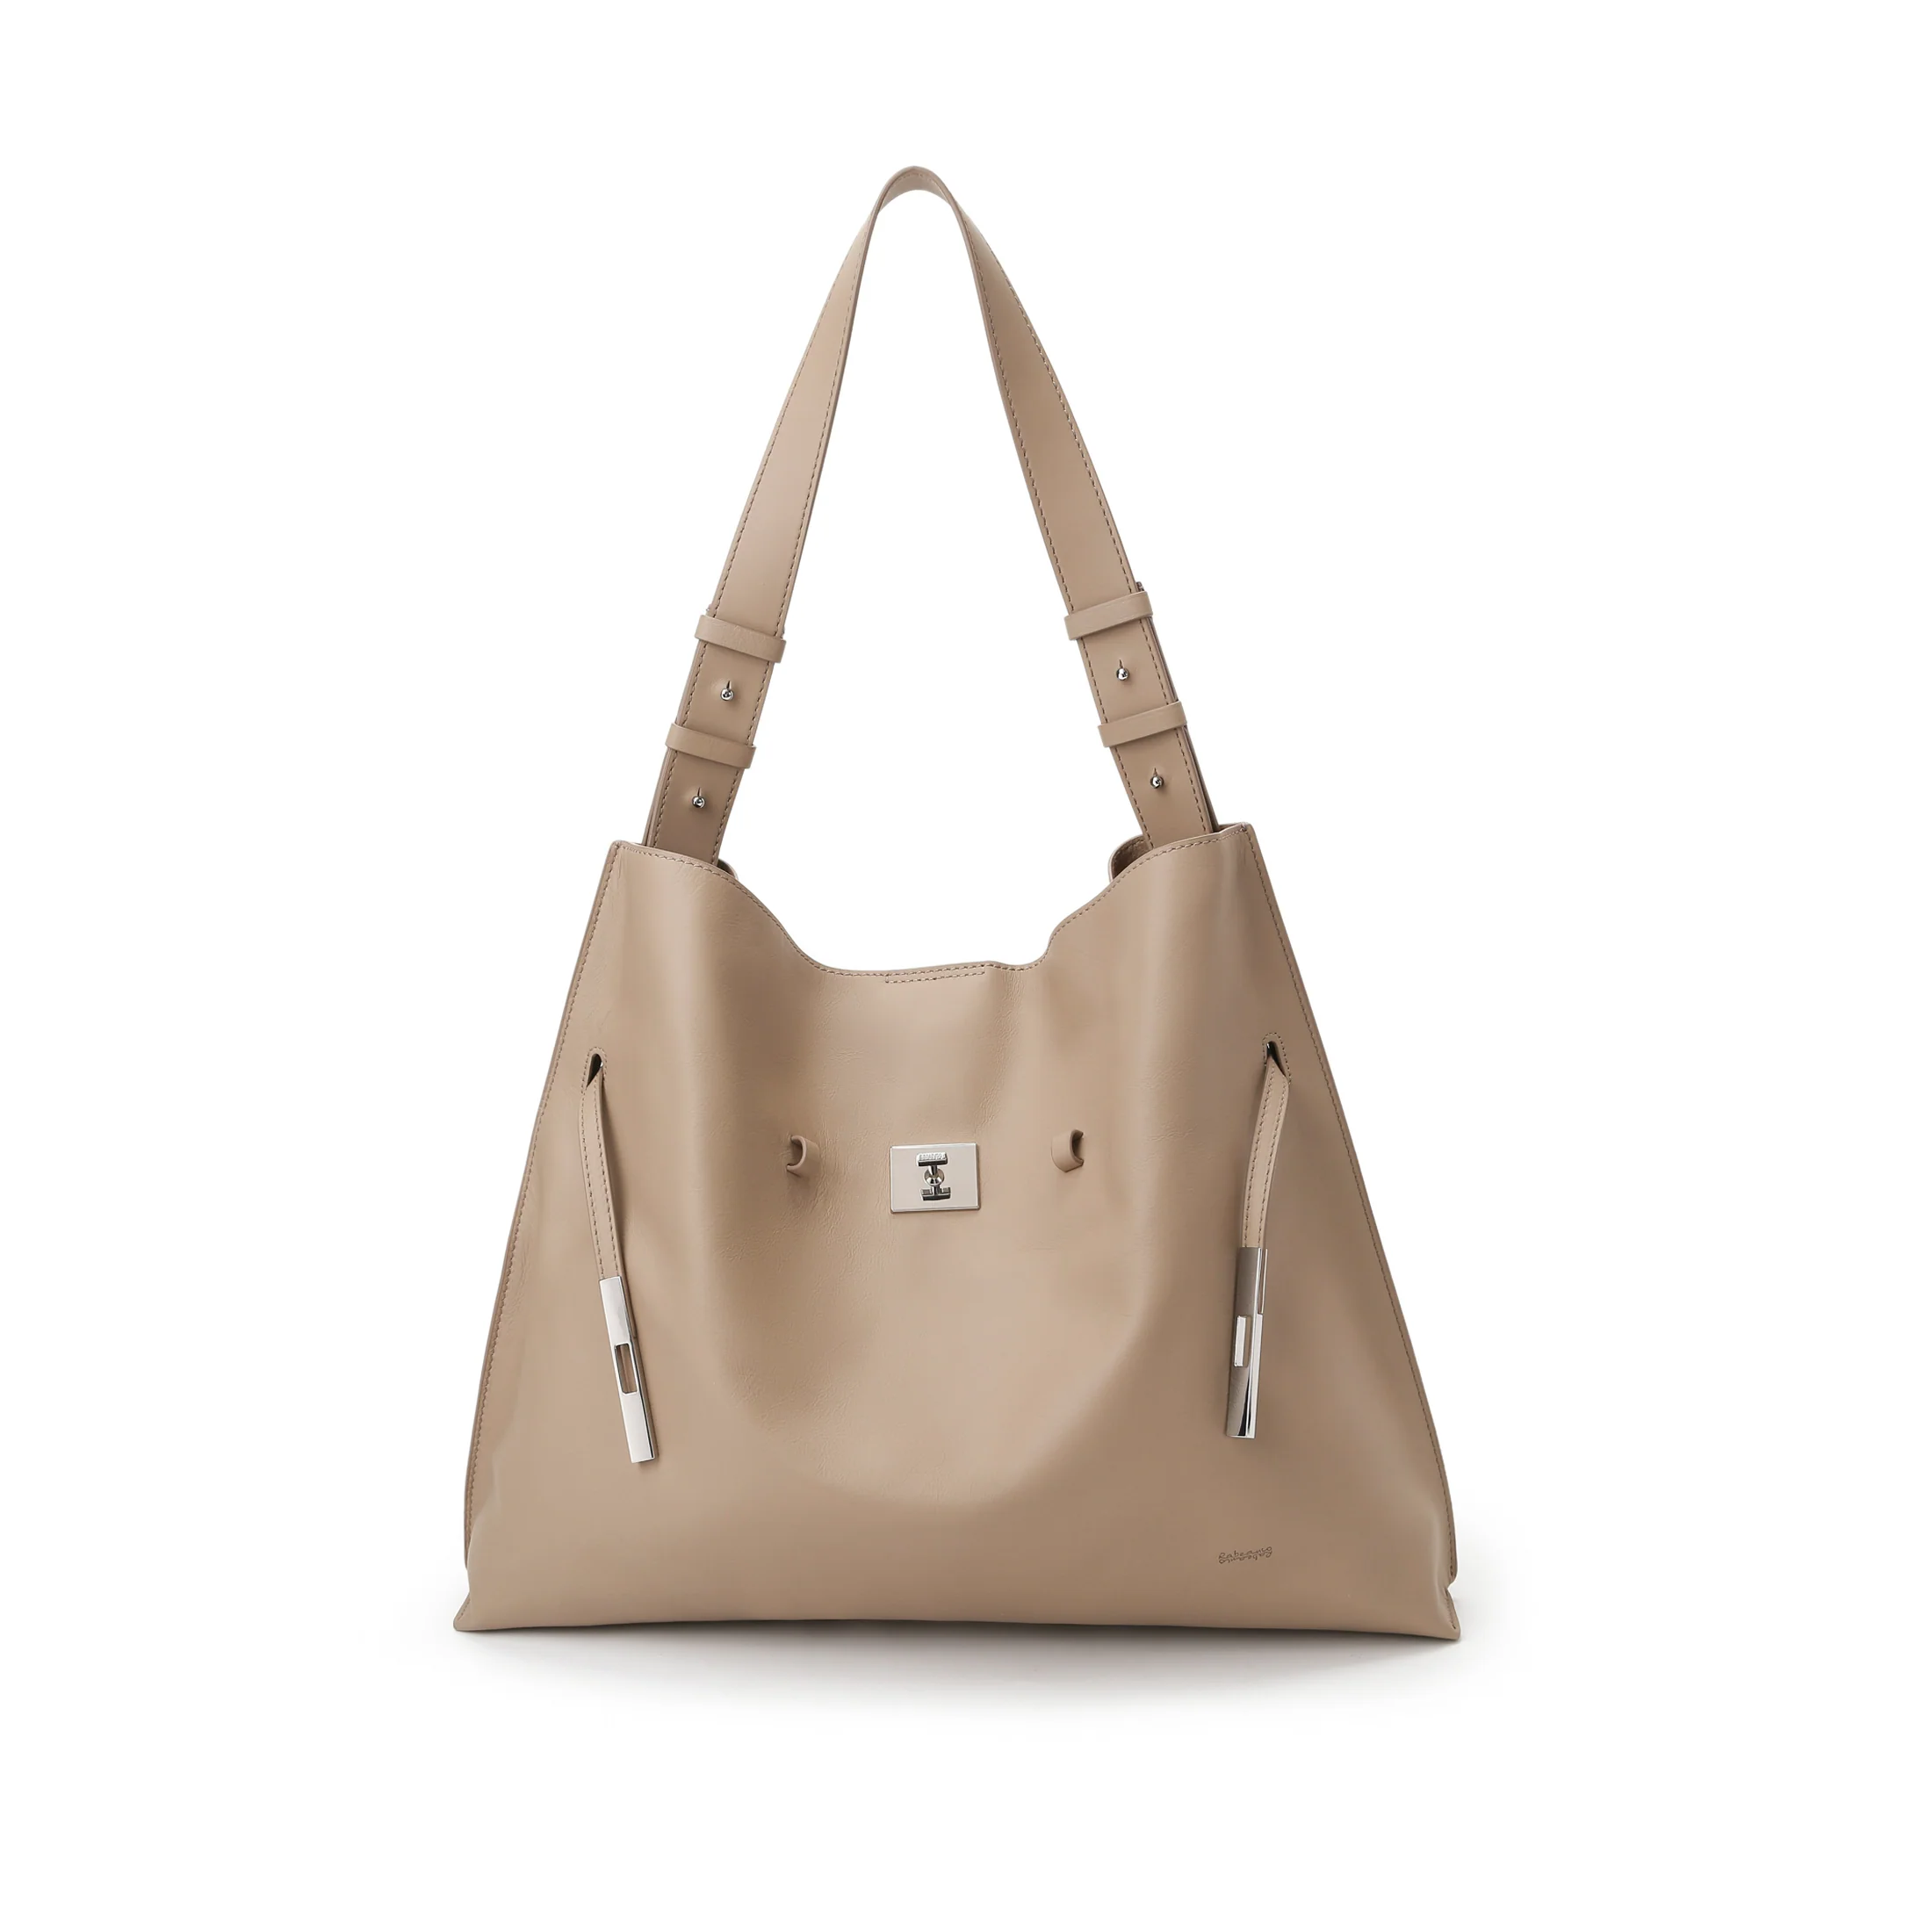
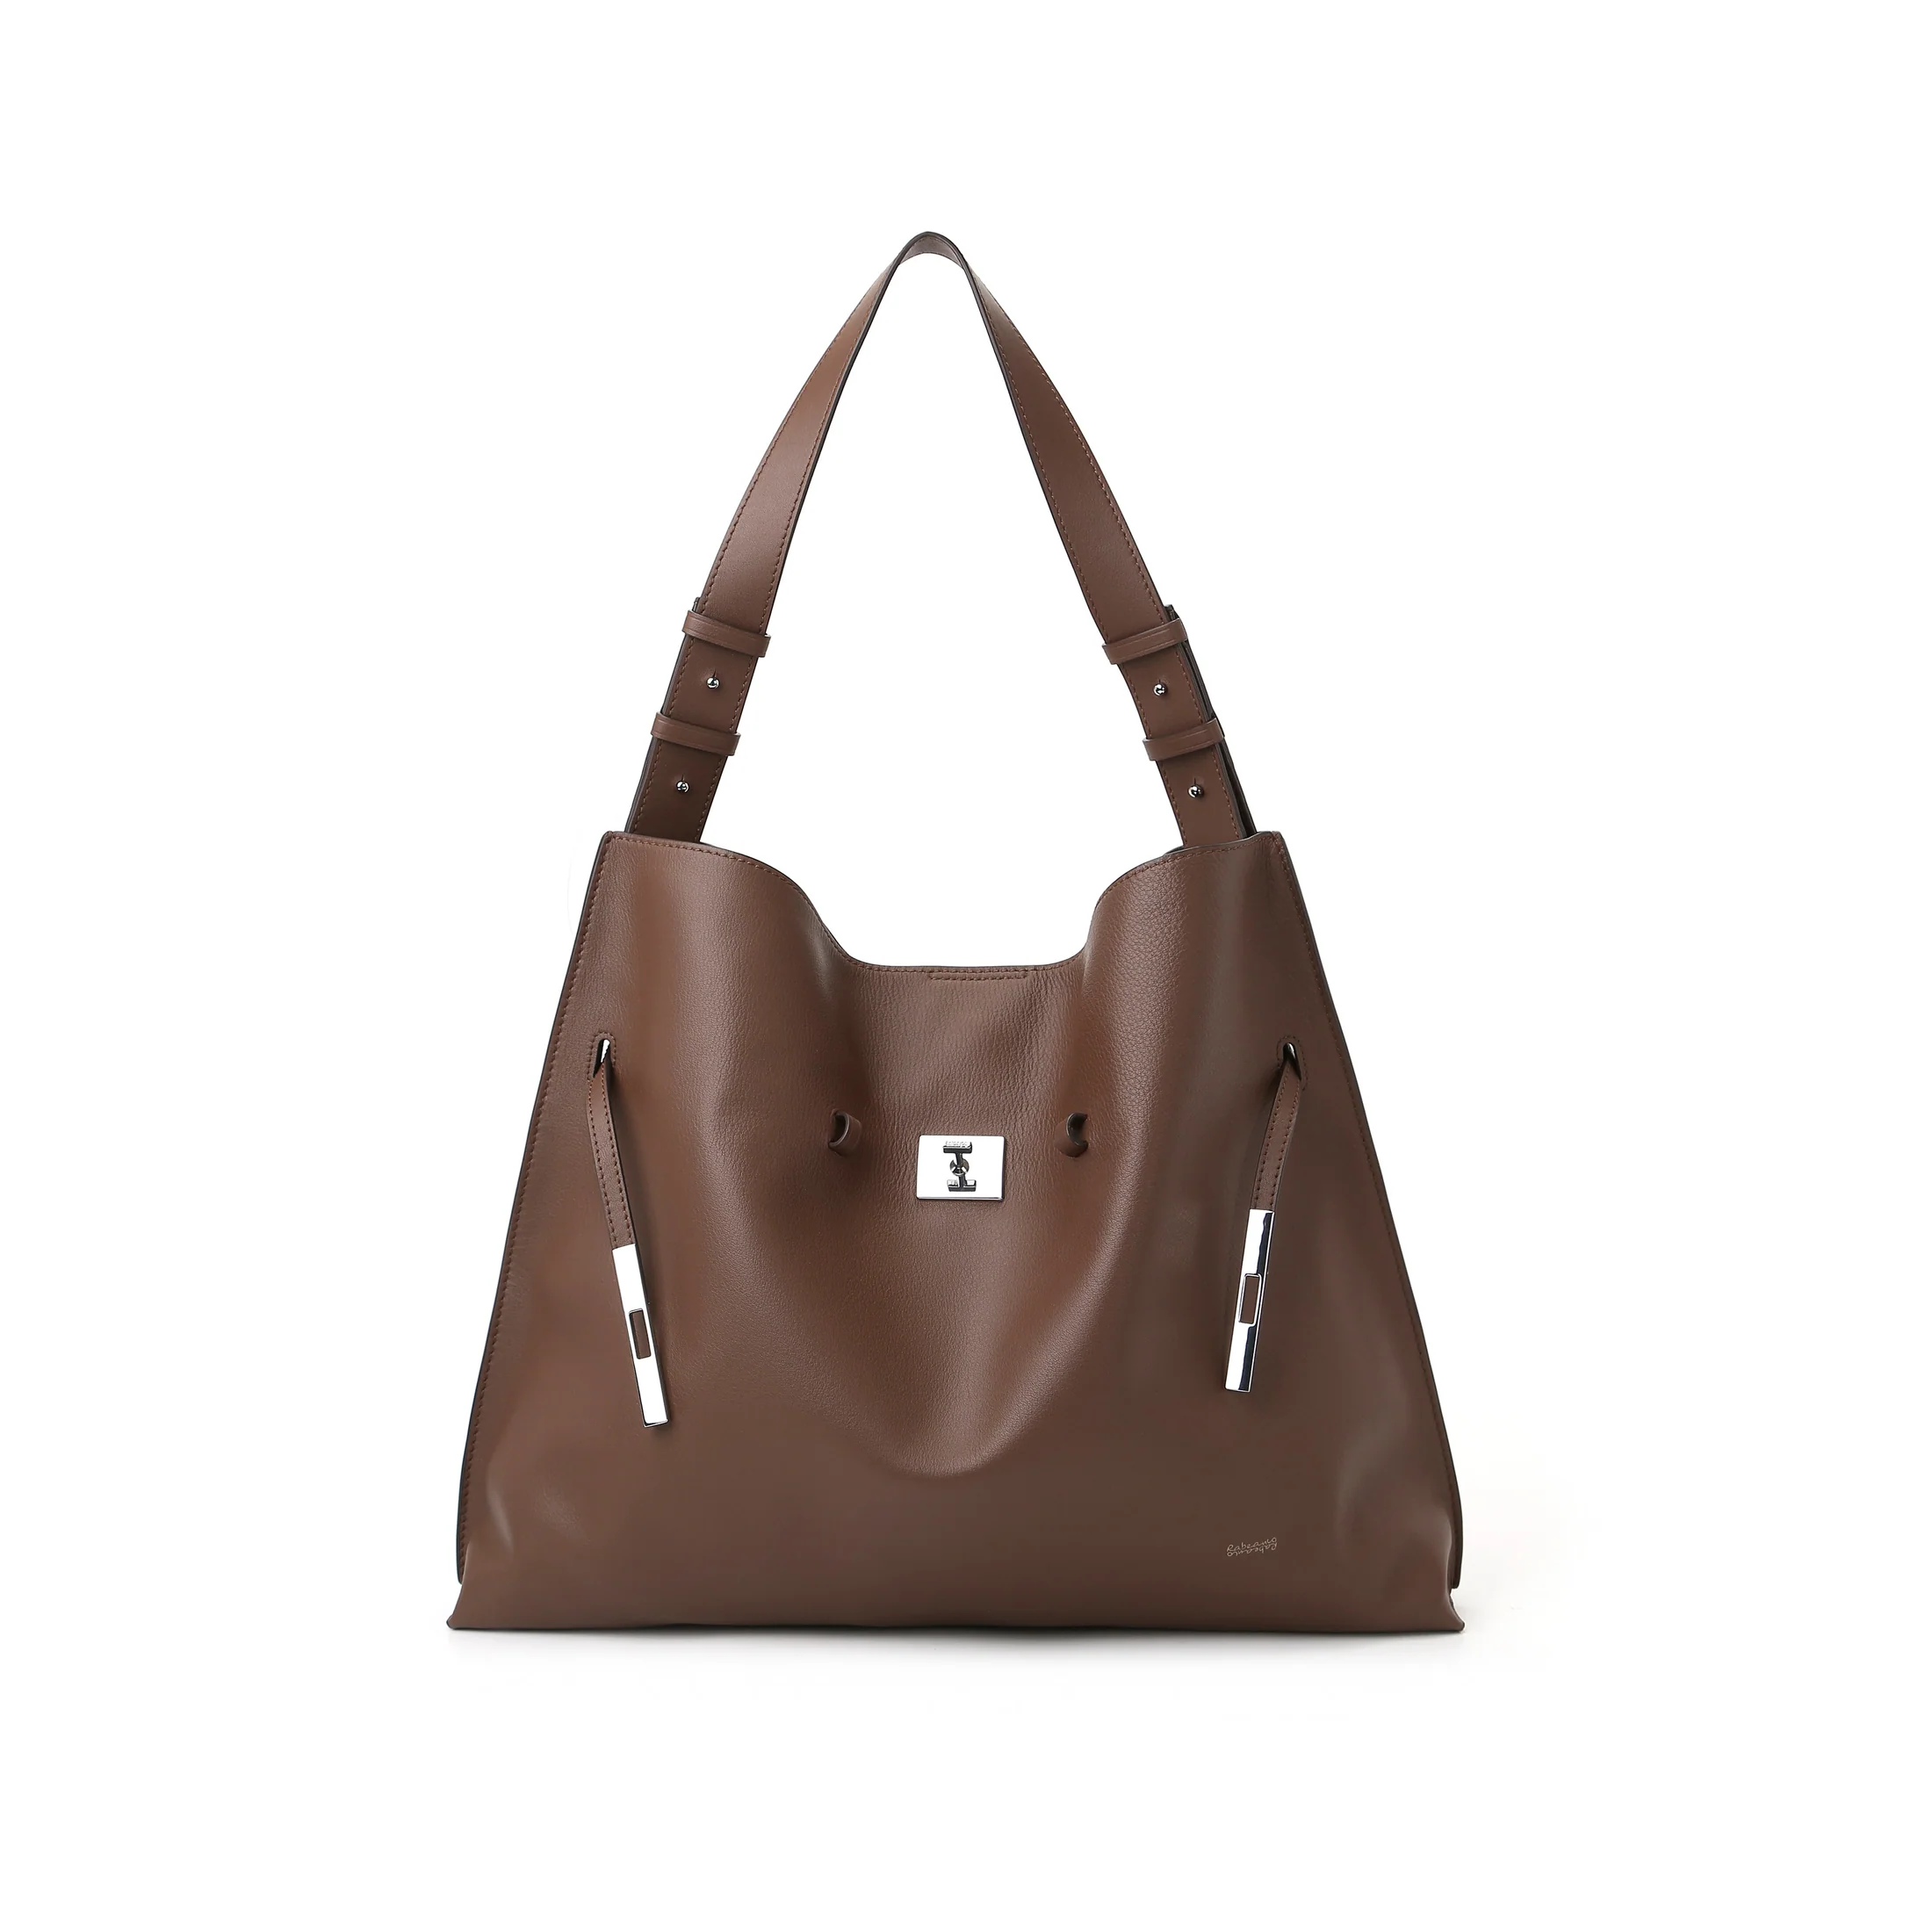
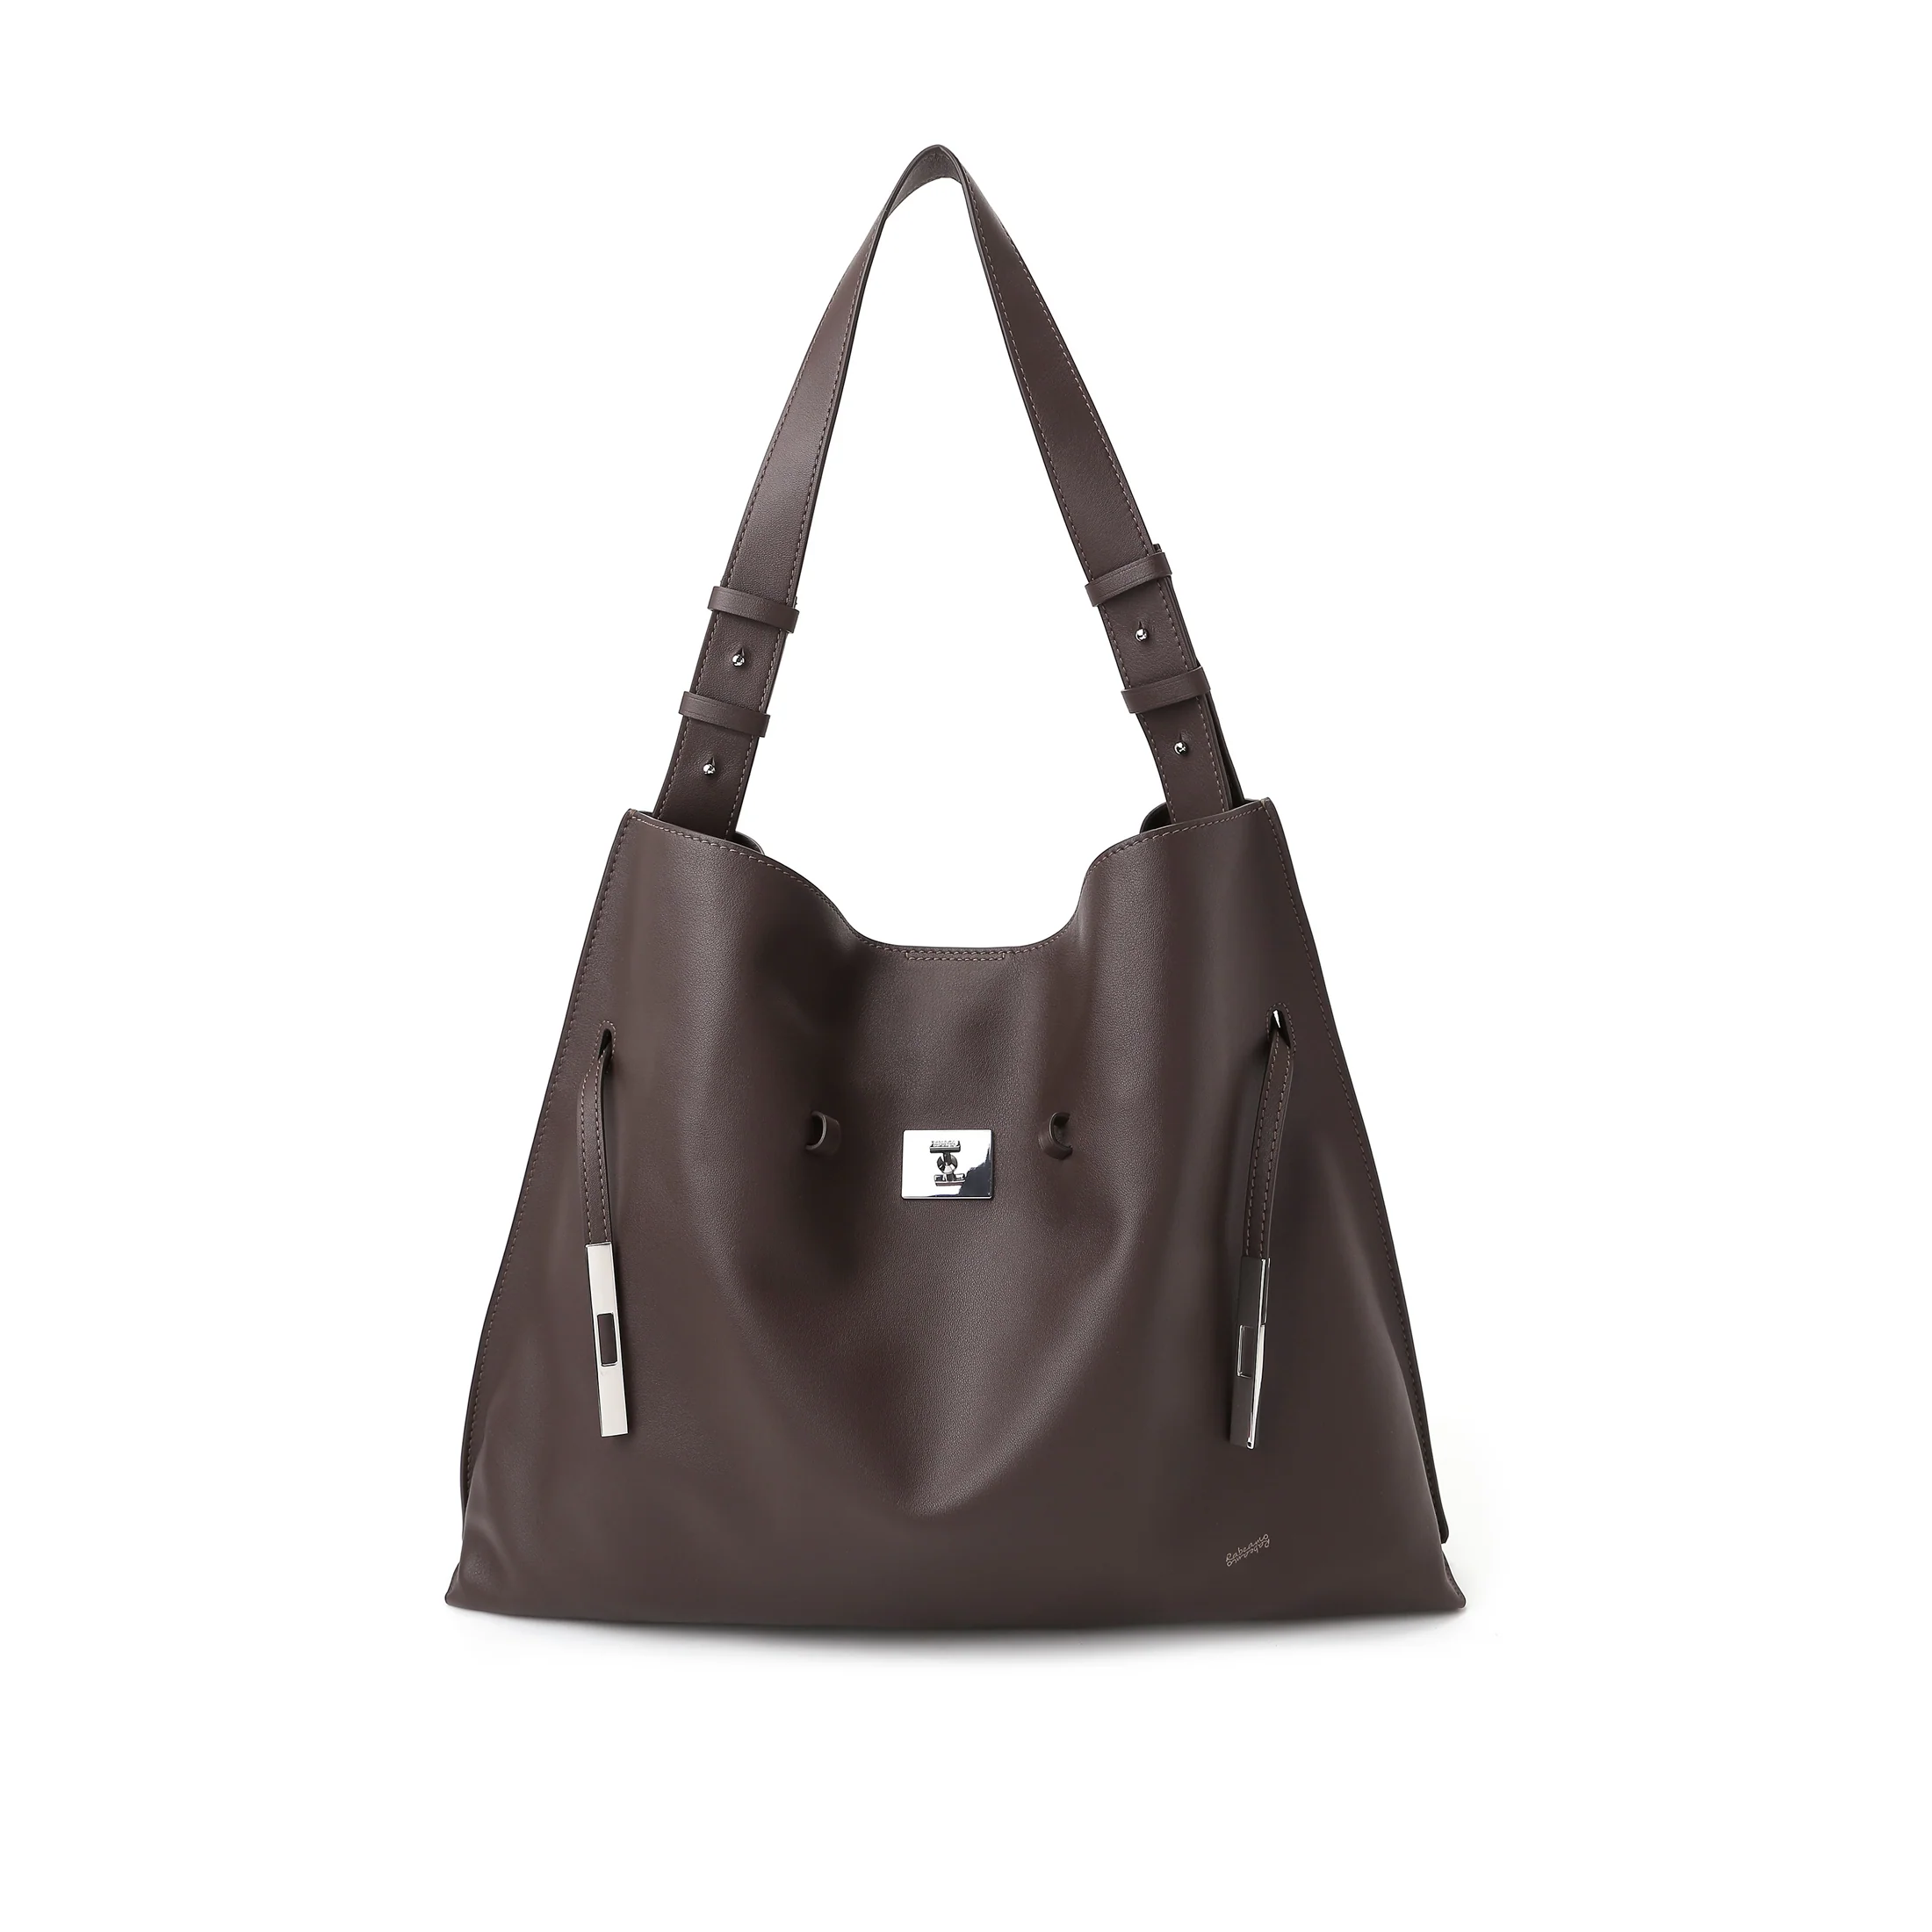
$152.95The Story
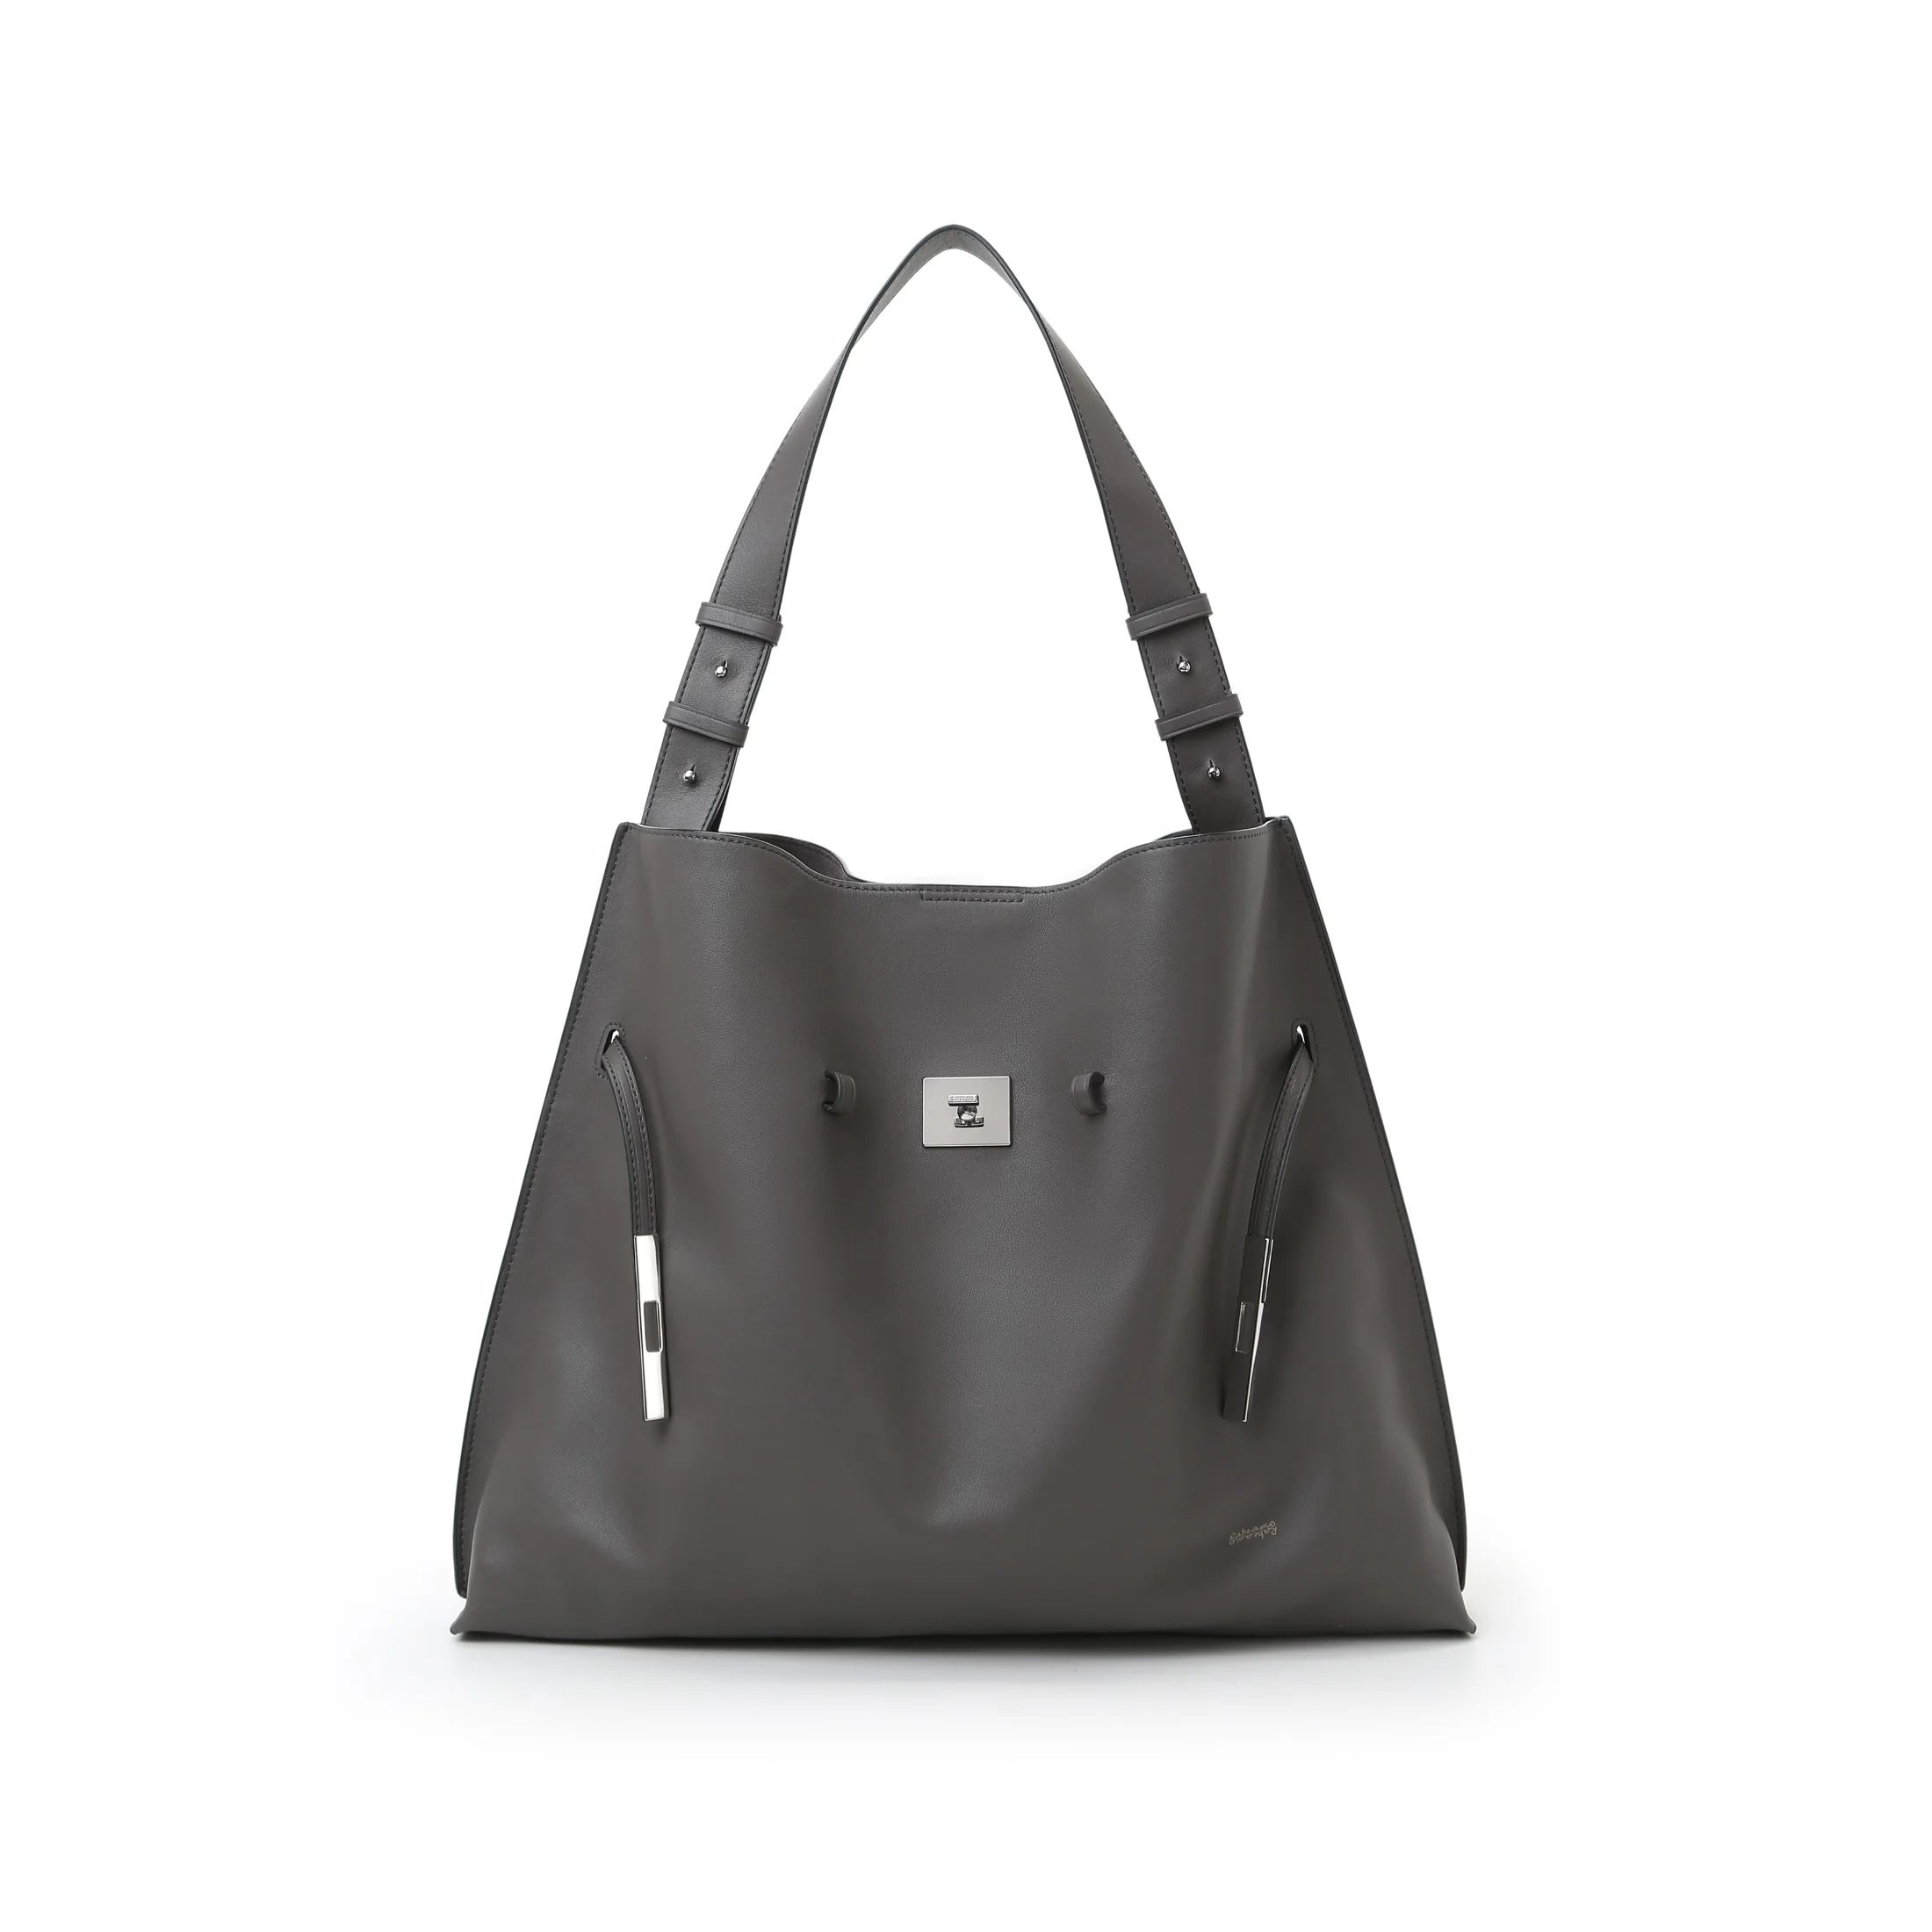
Style ID# 88566
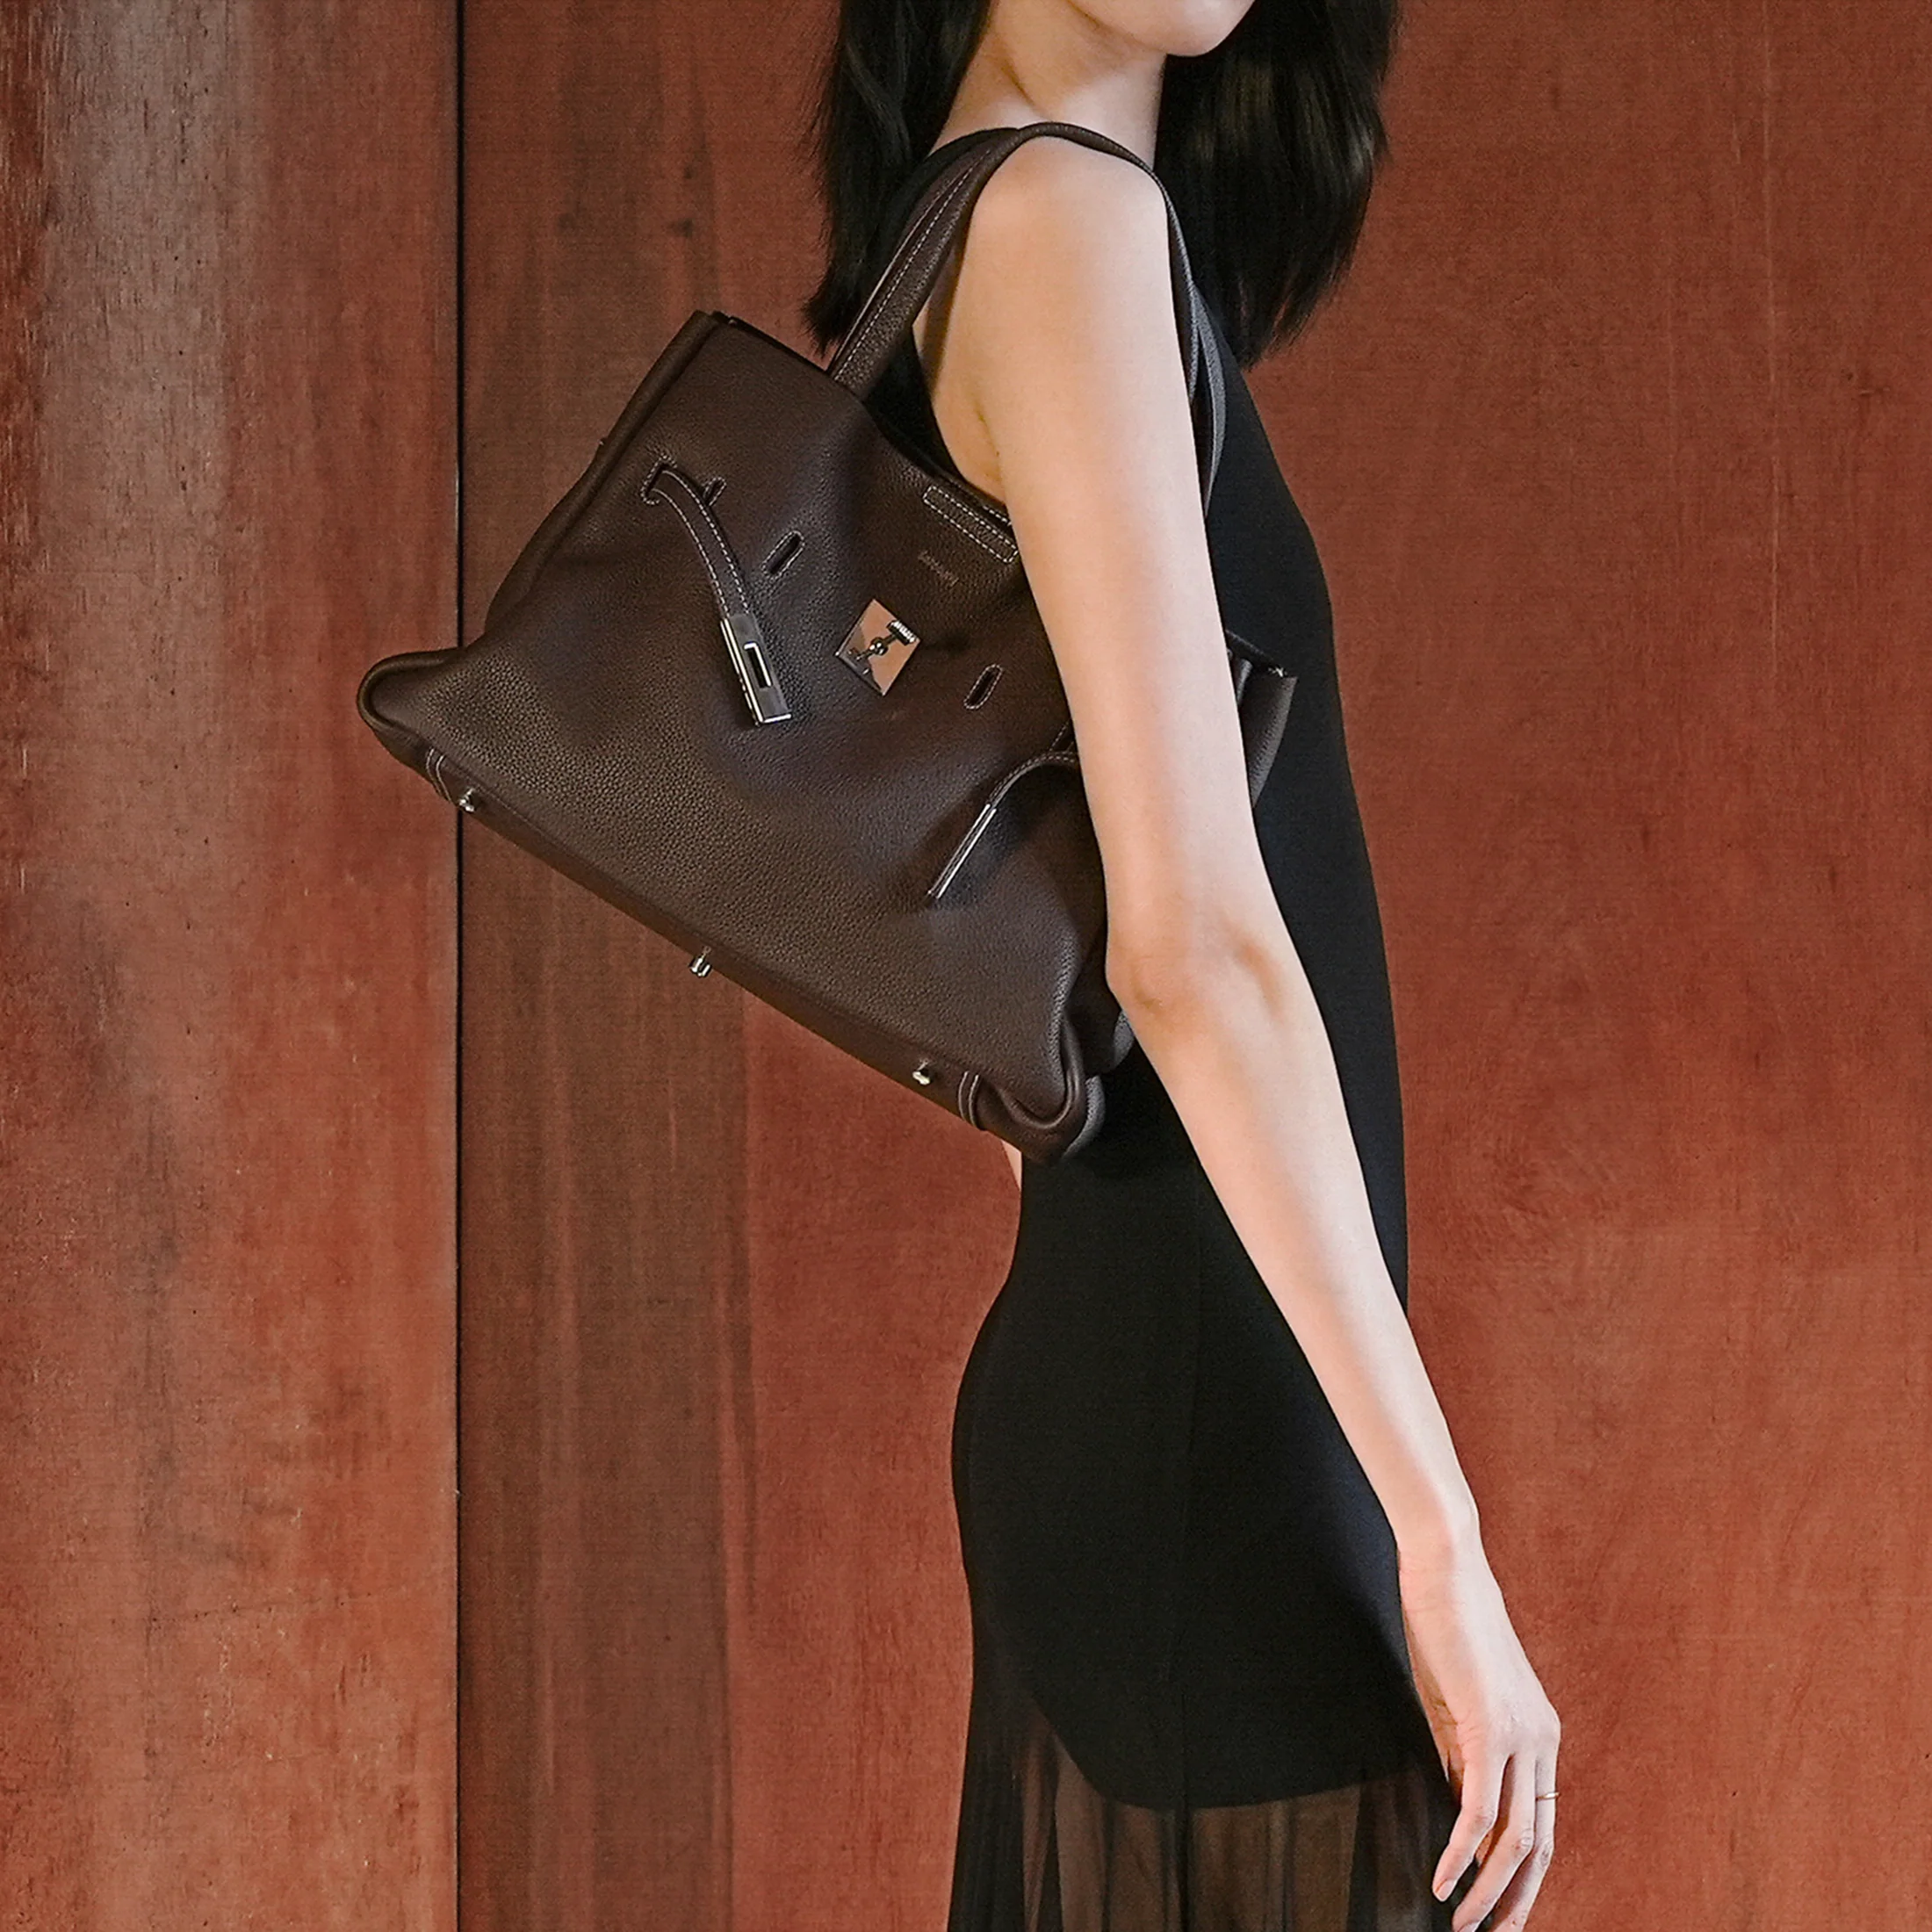
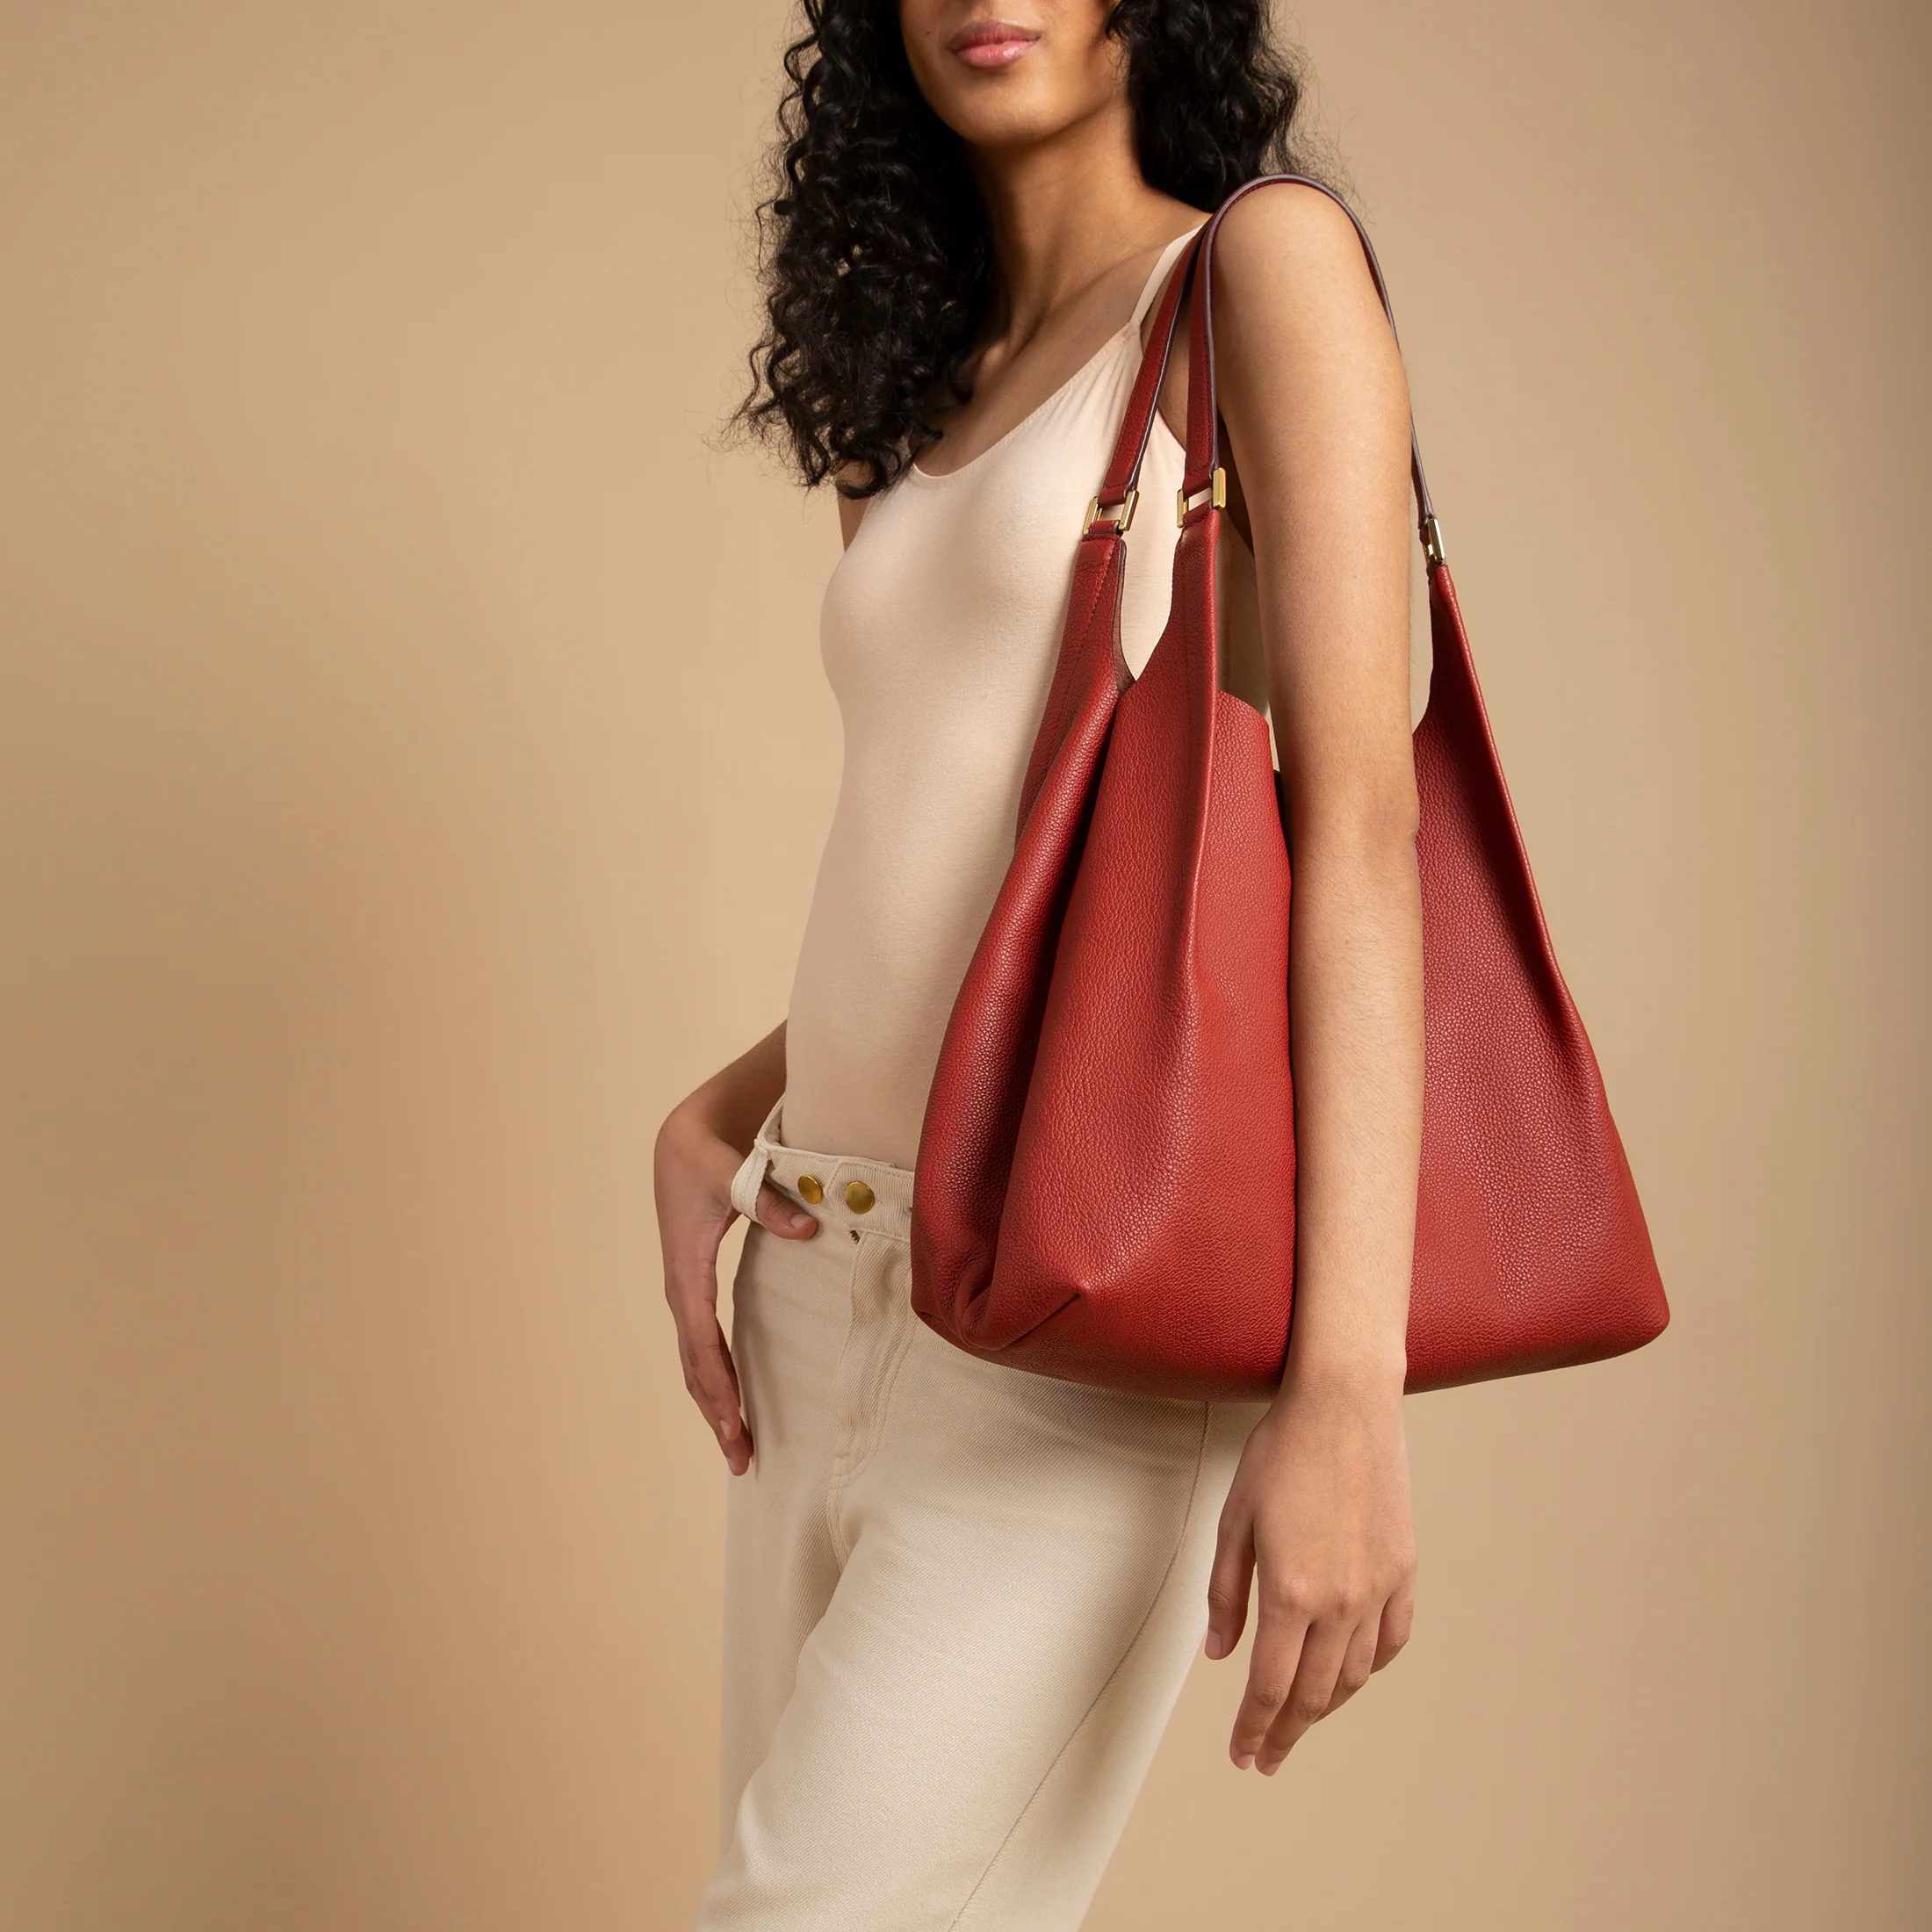
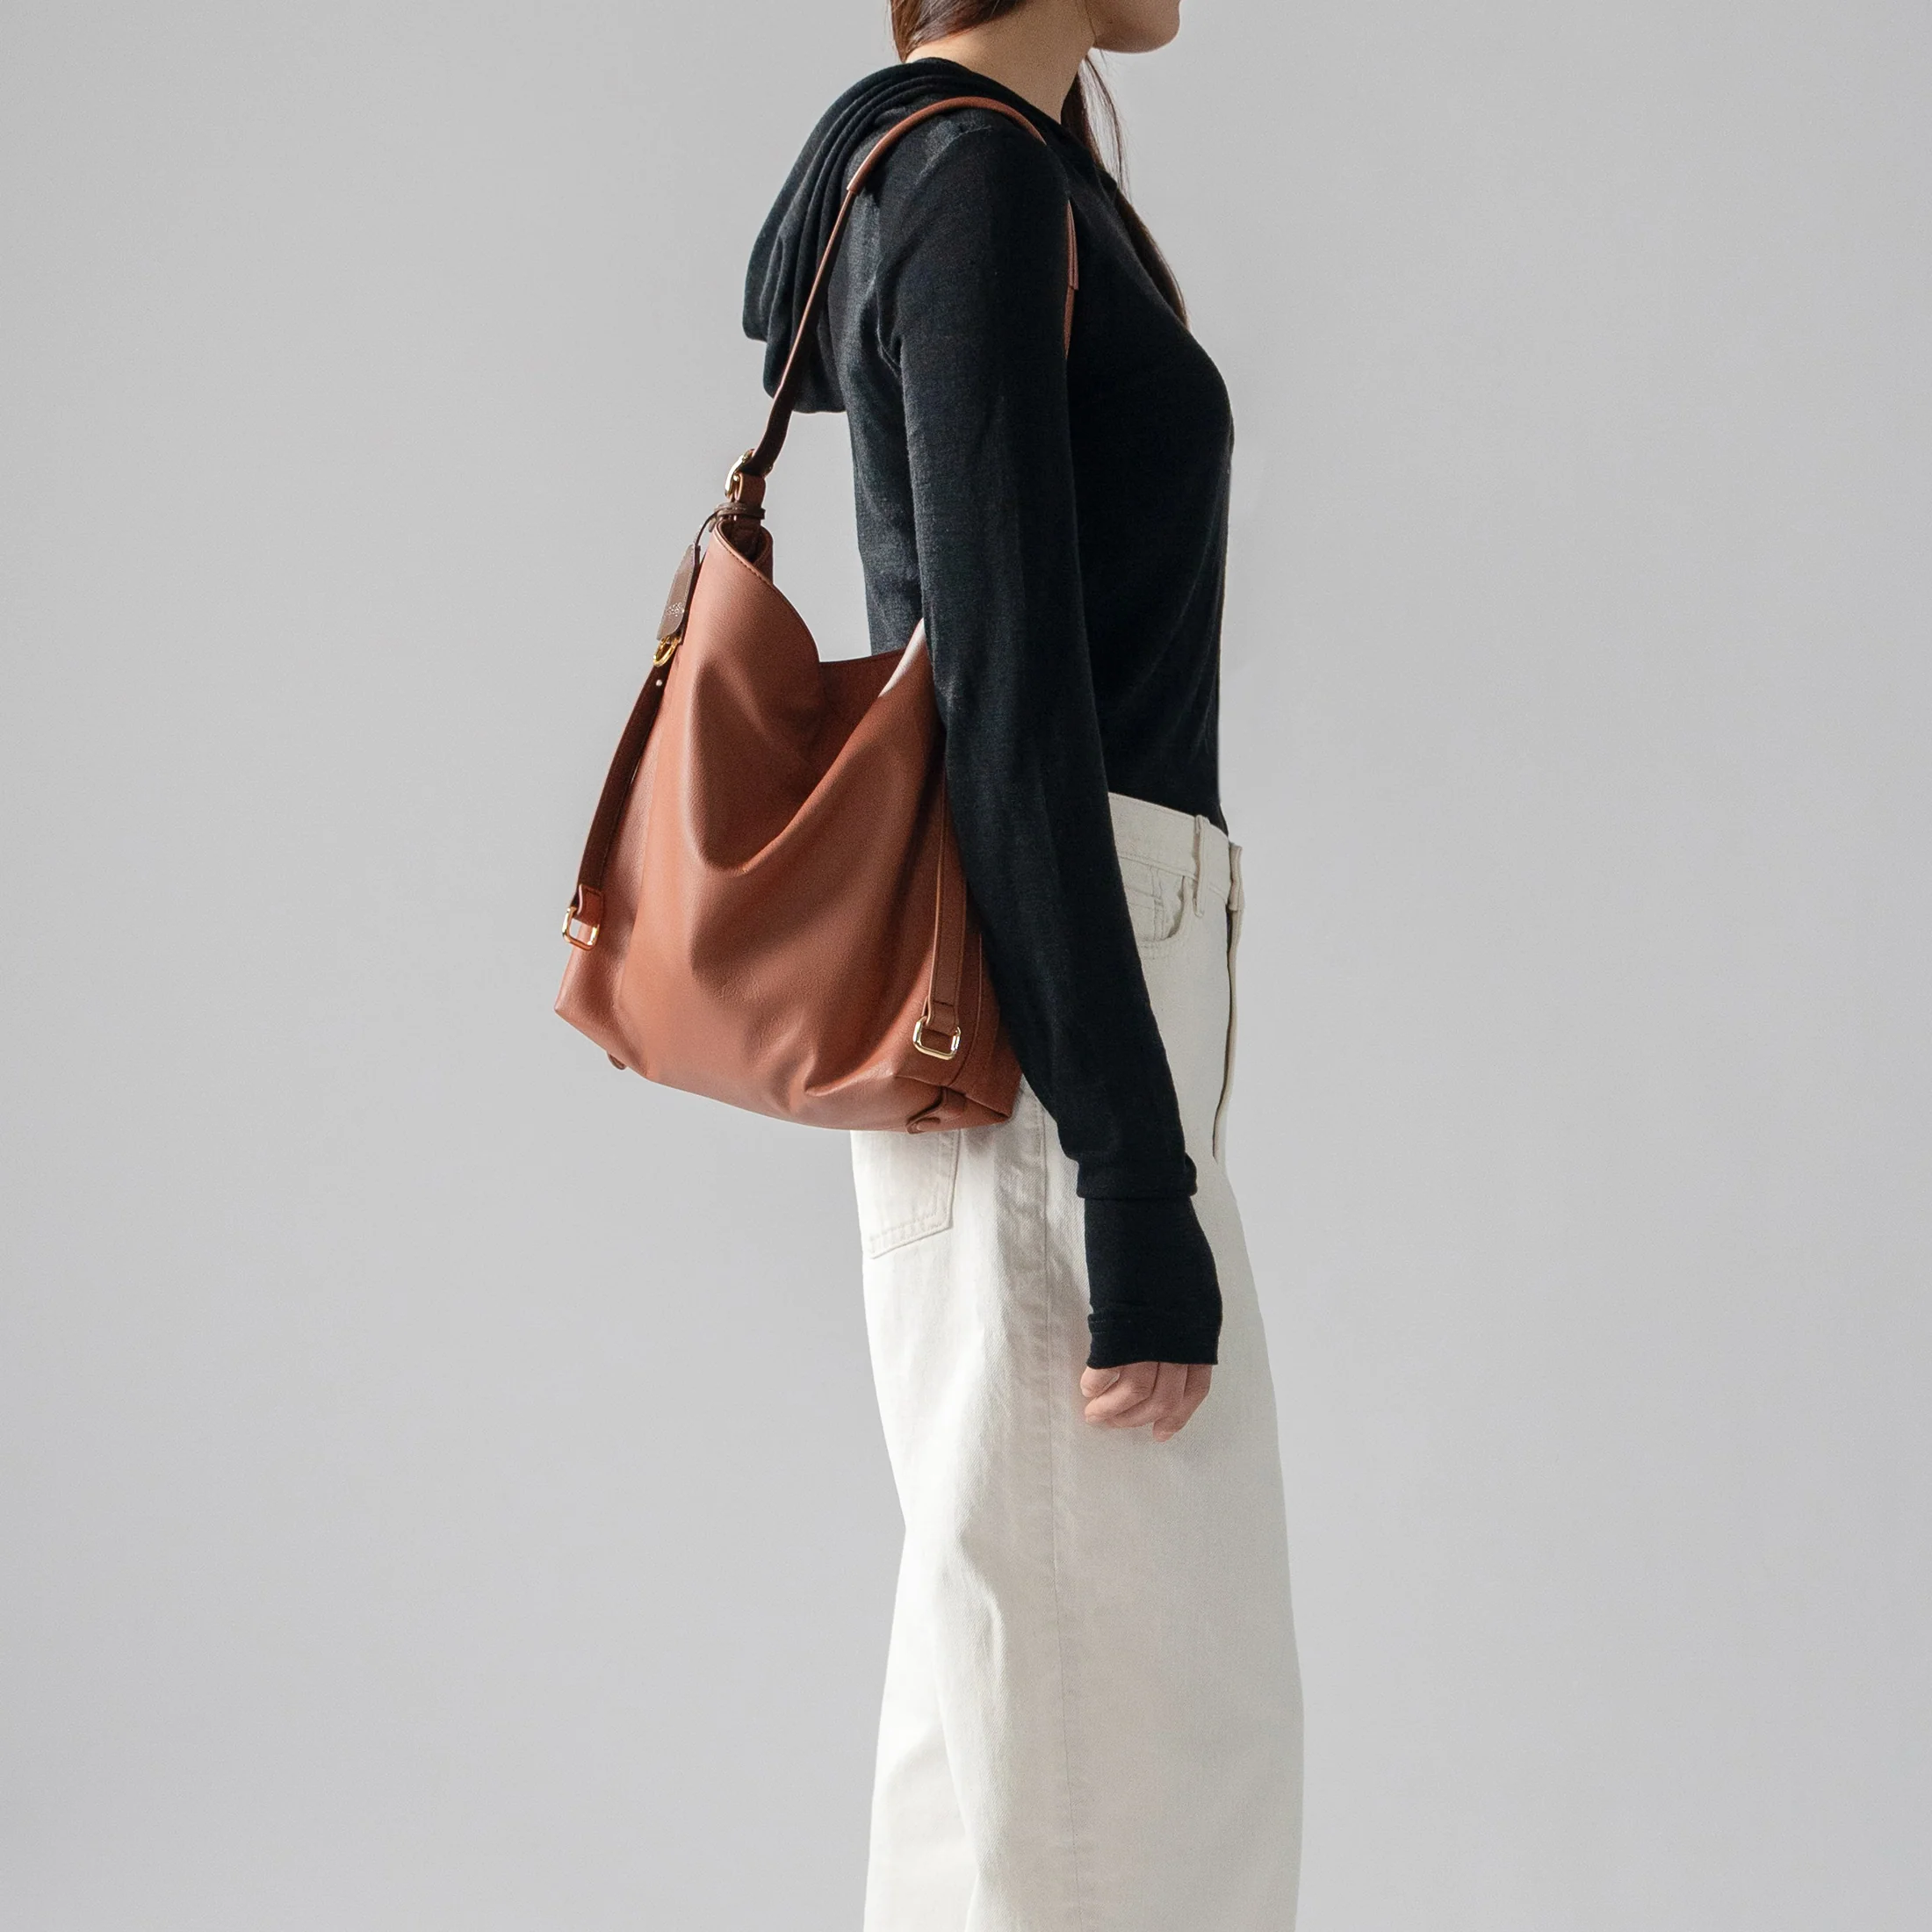
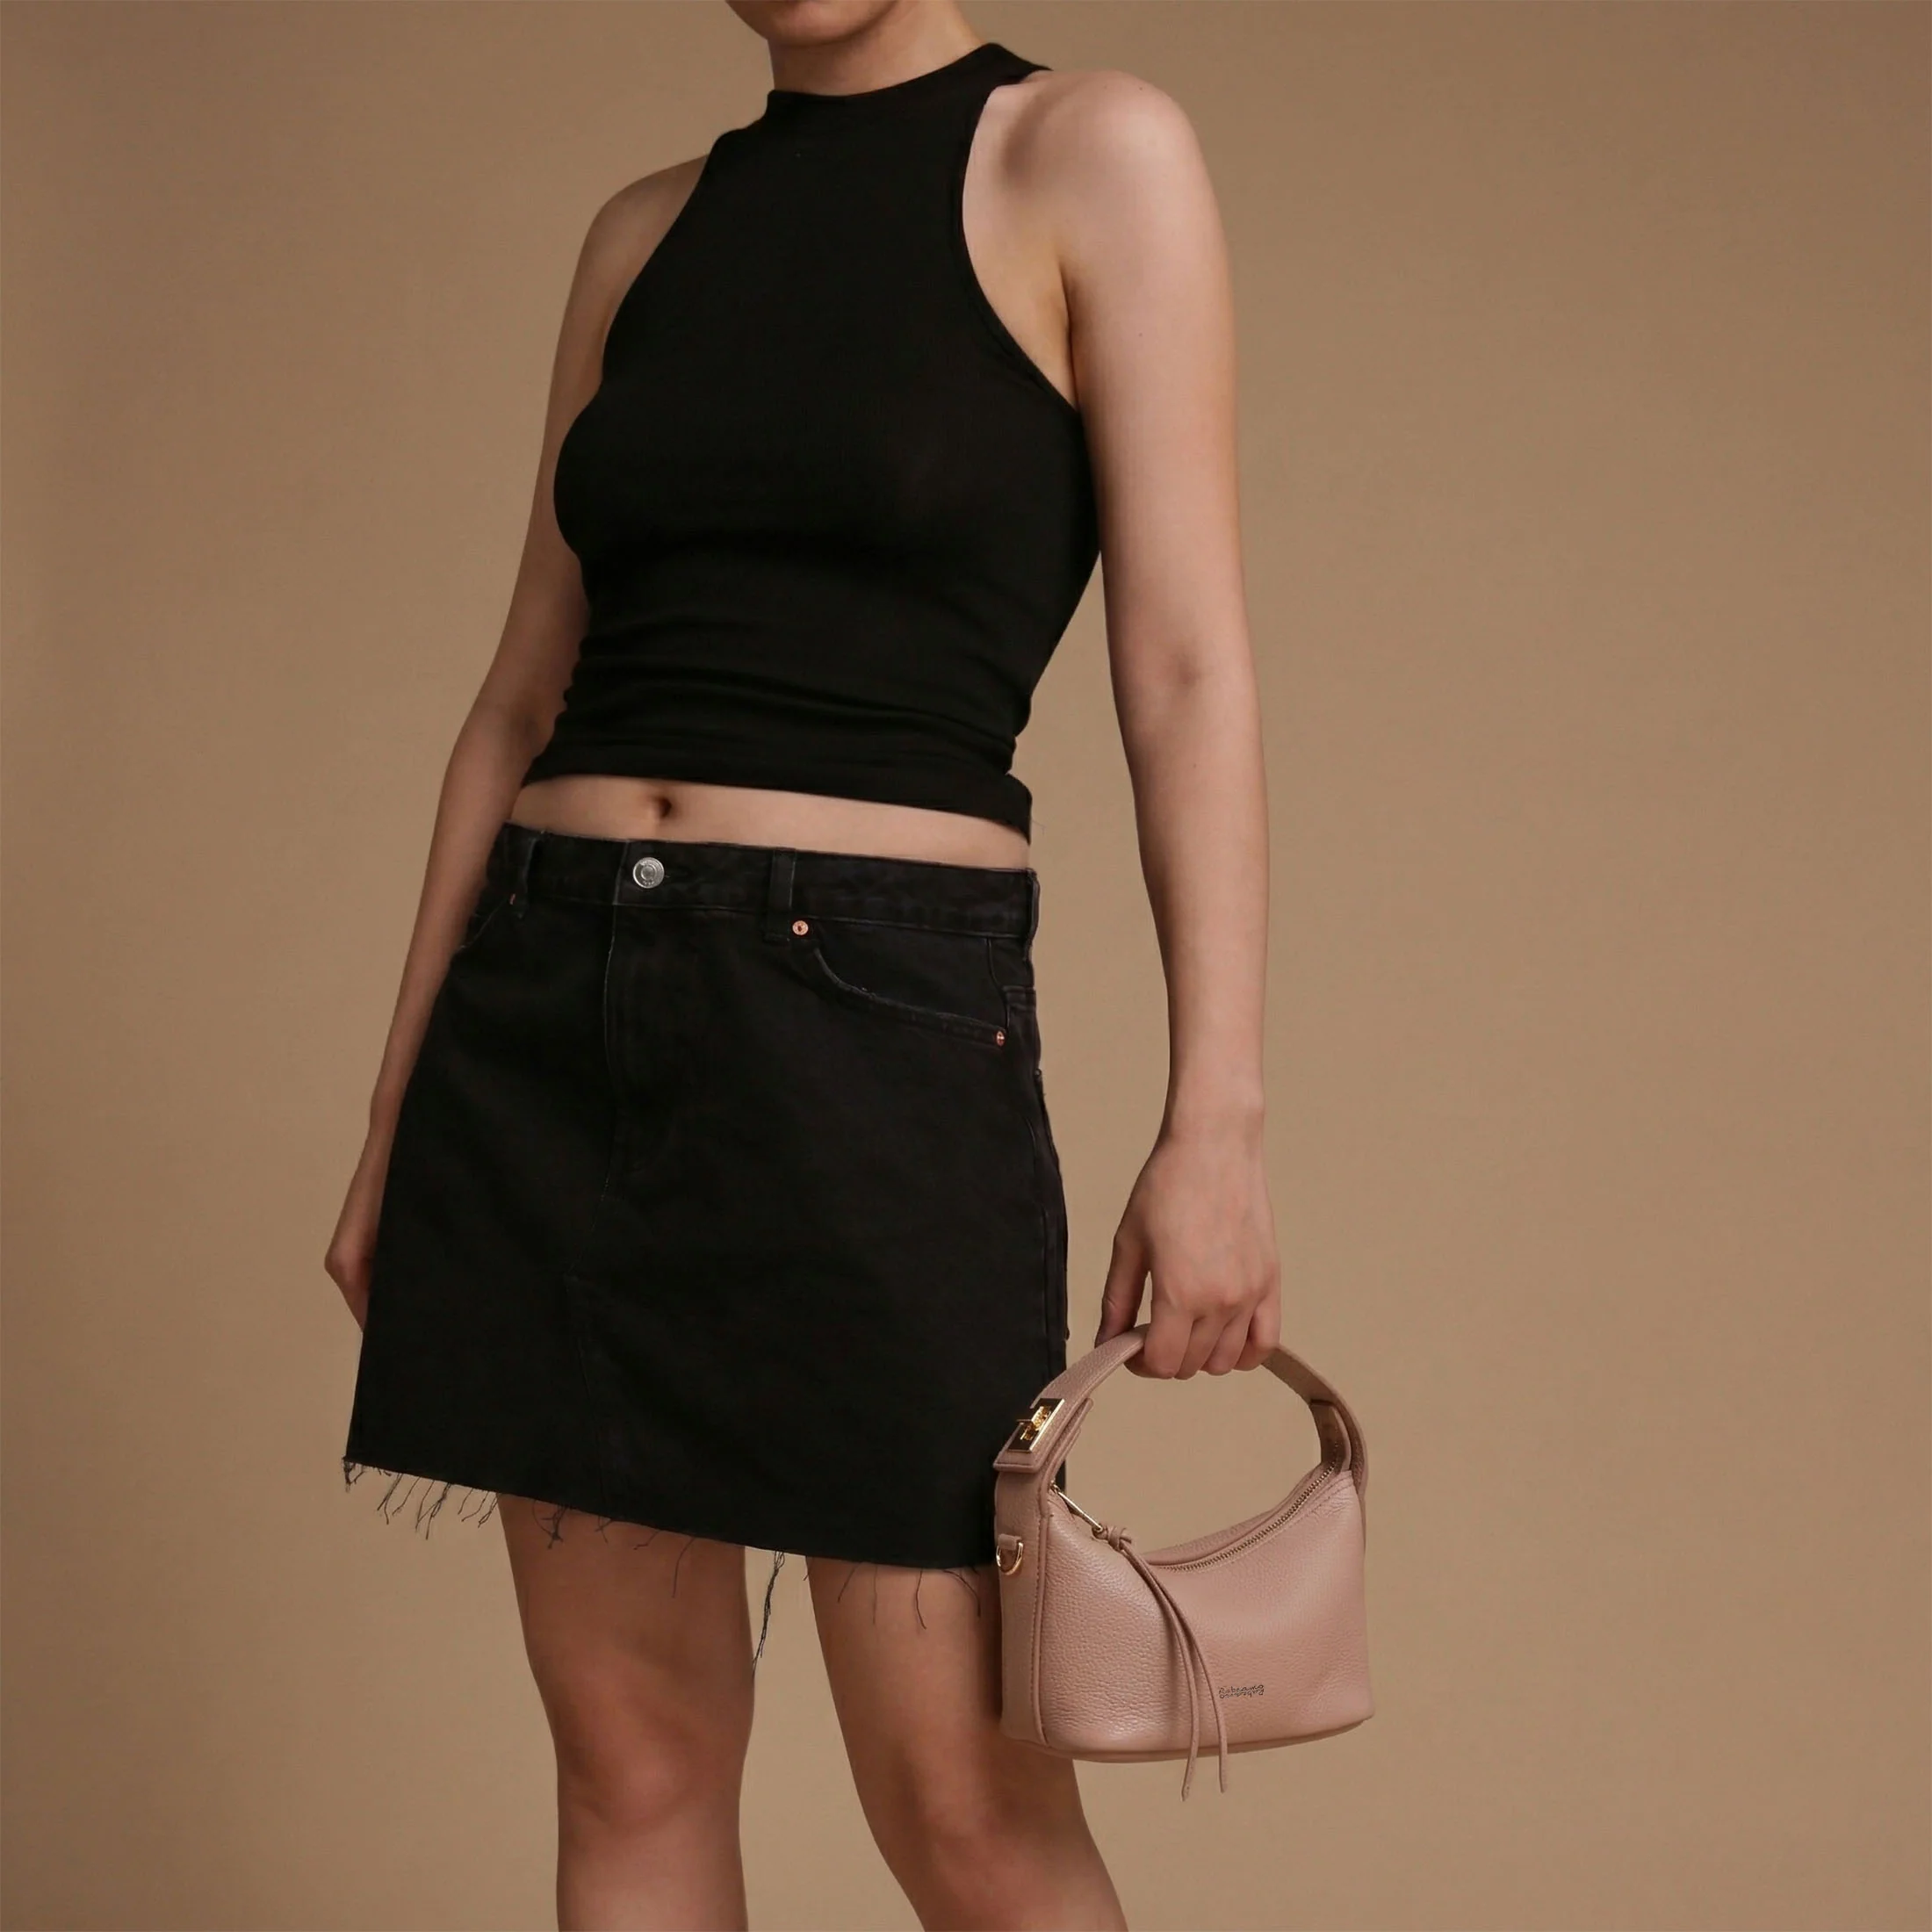
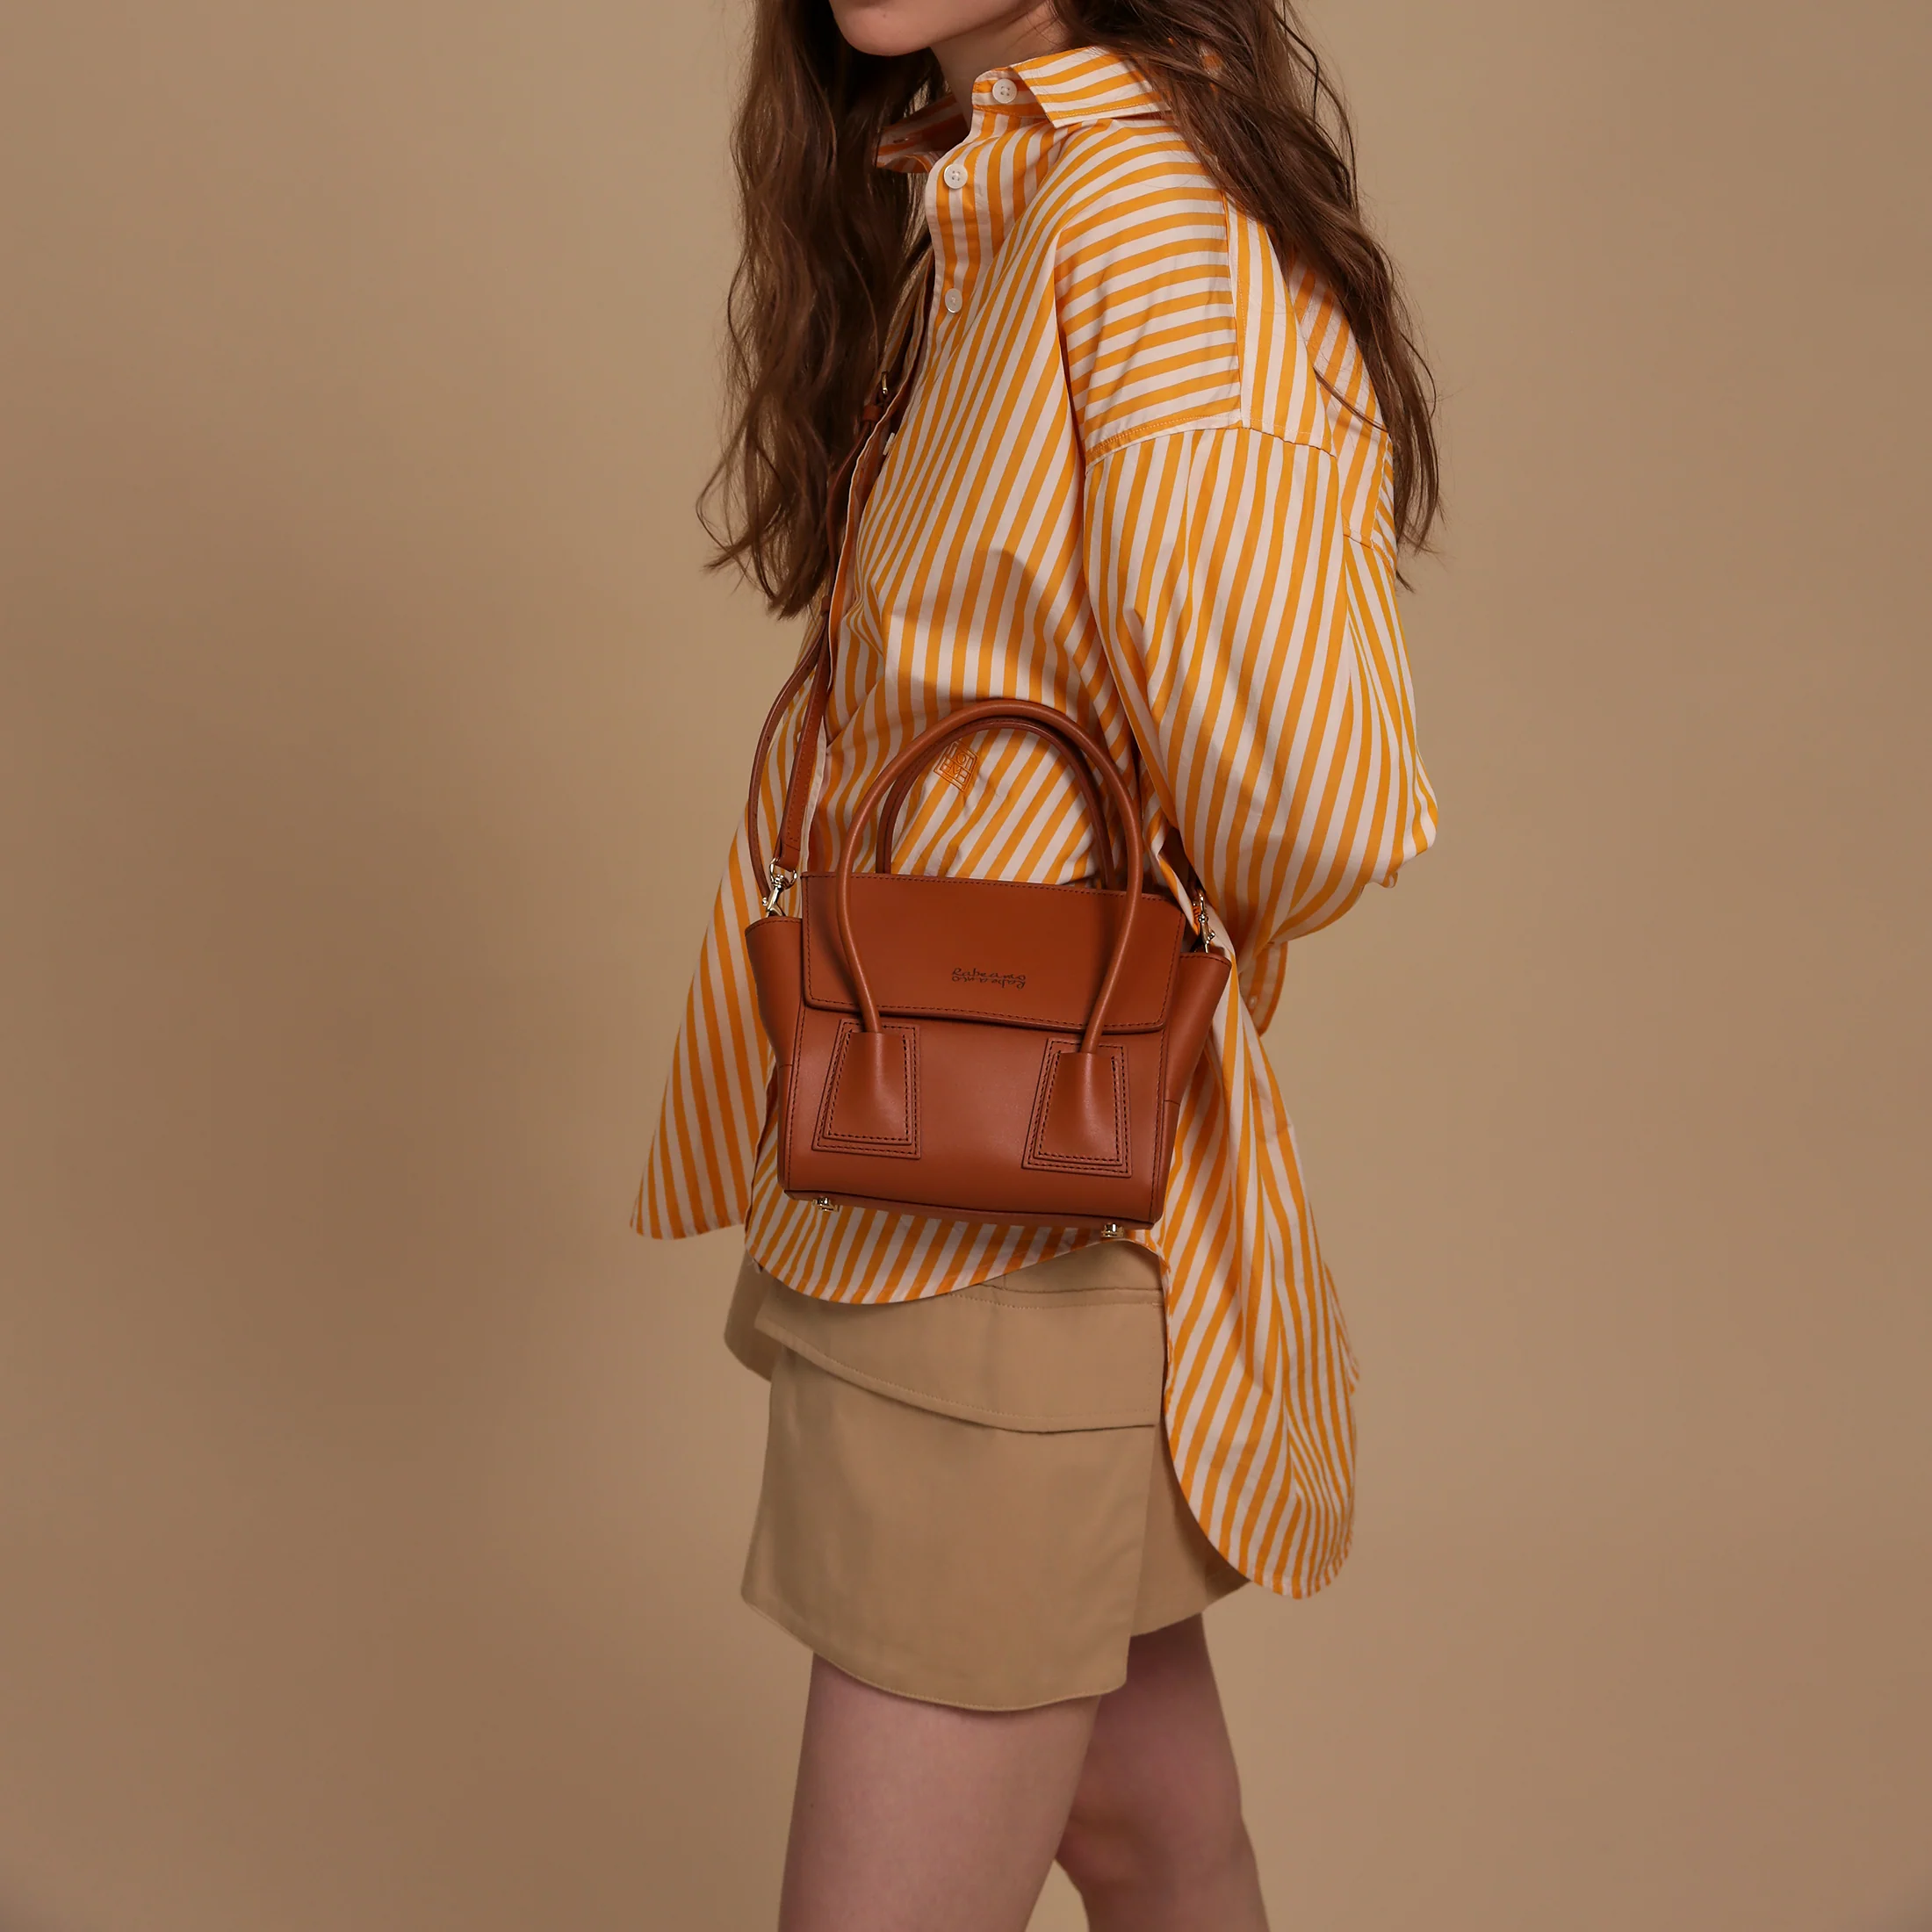
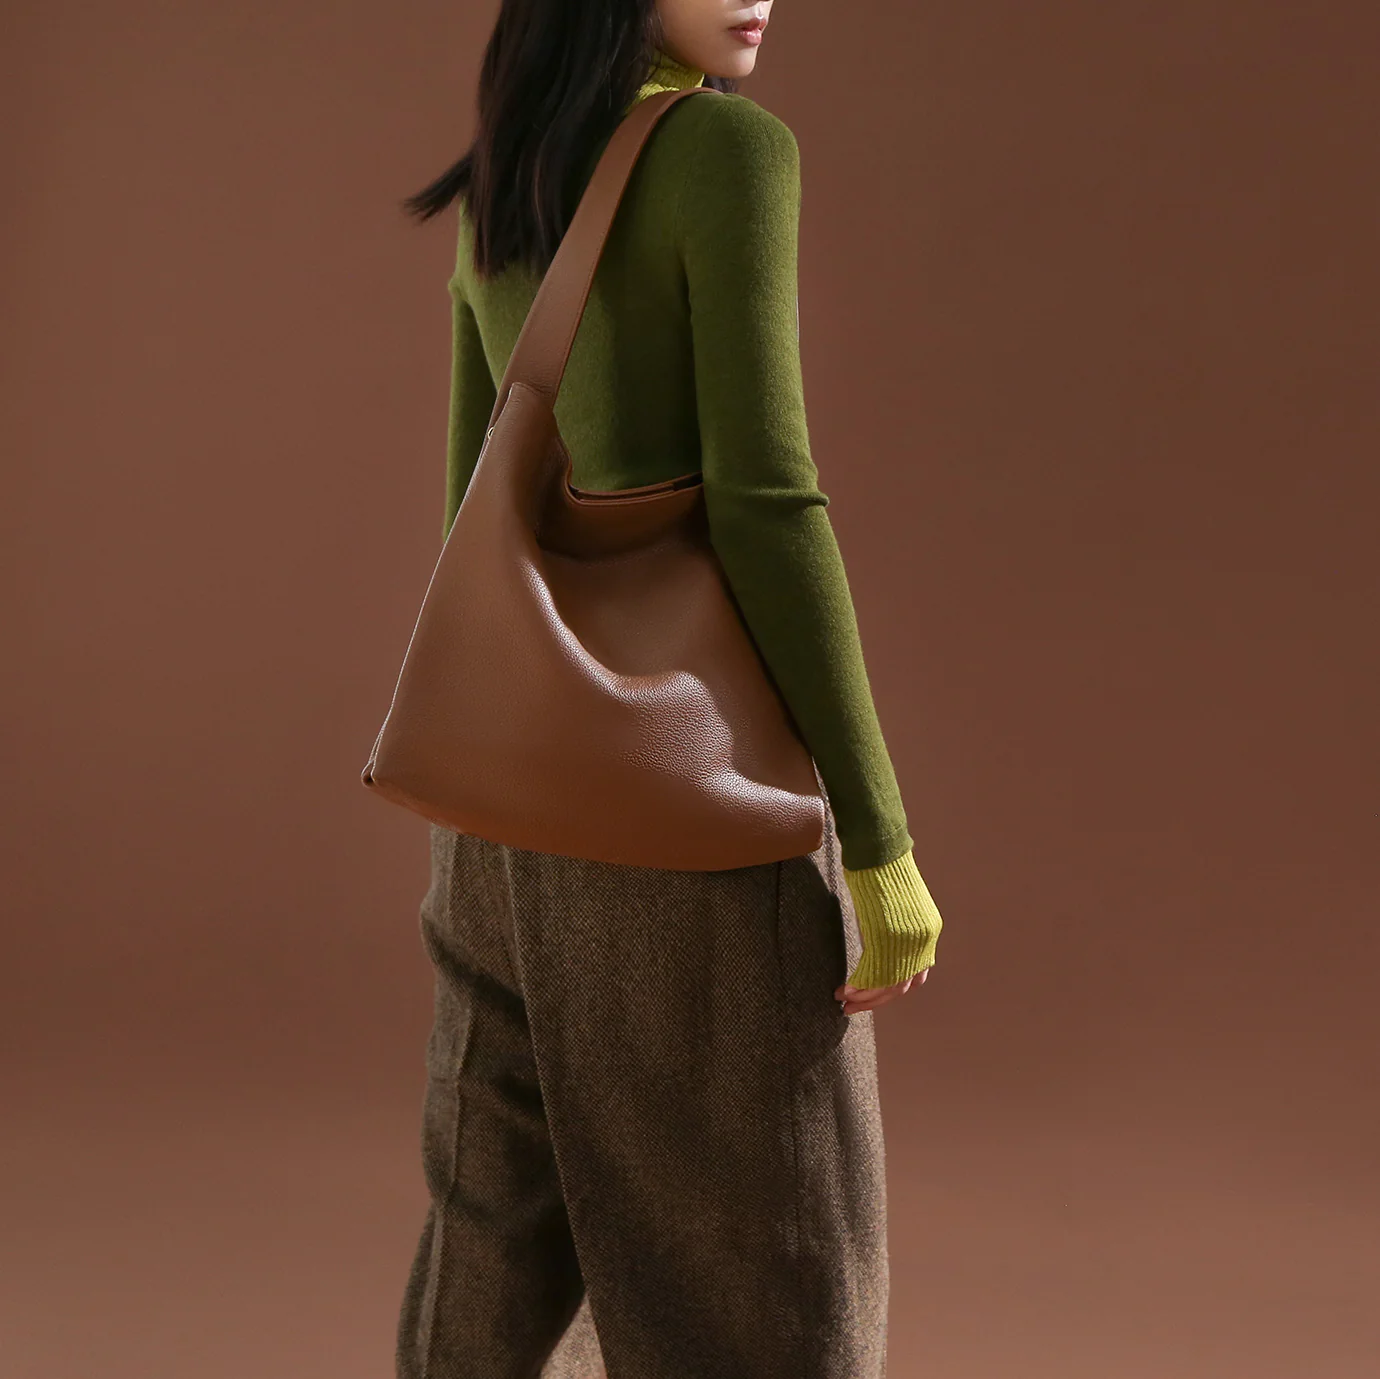
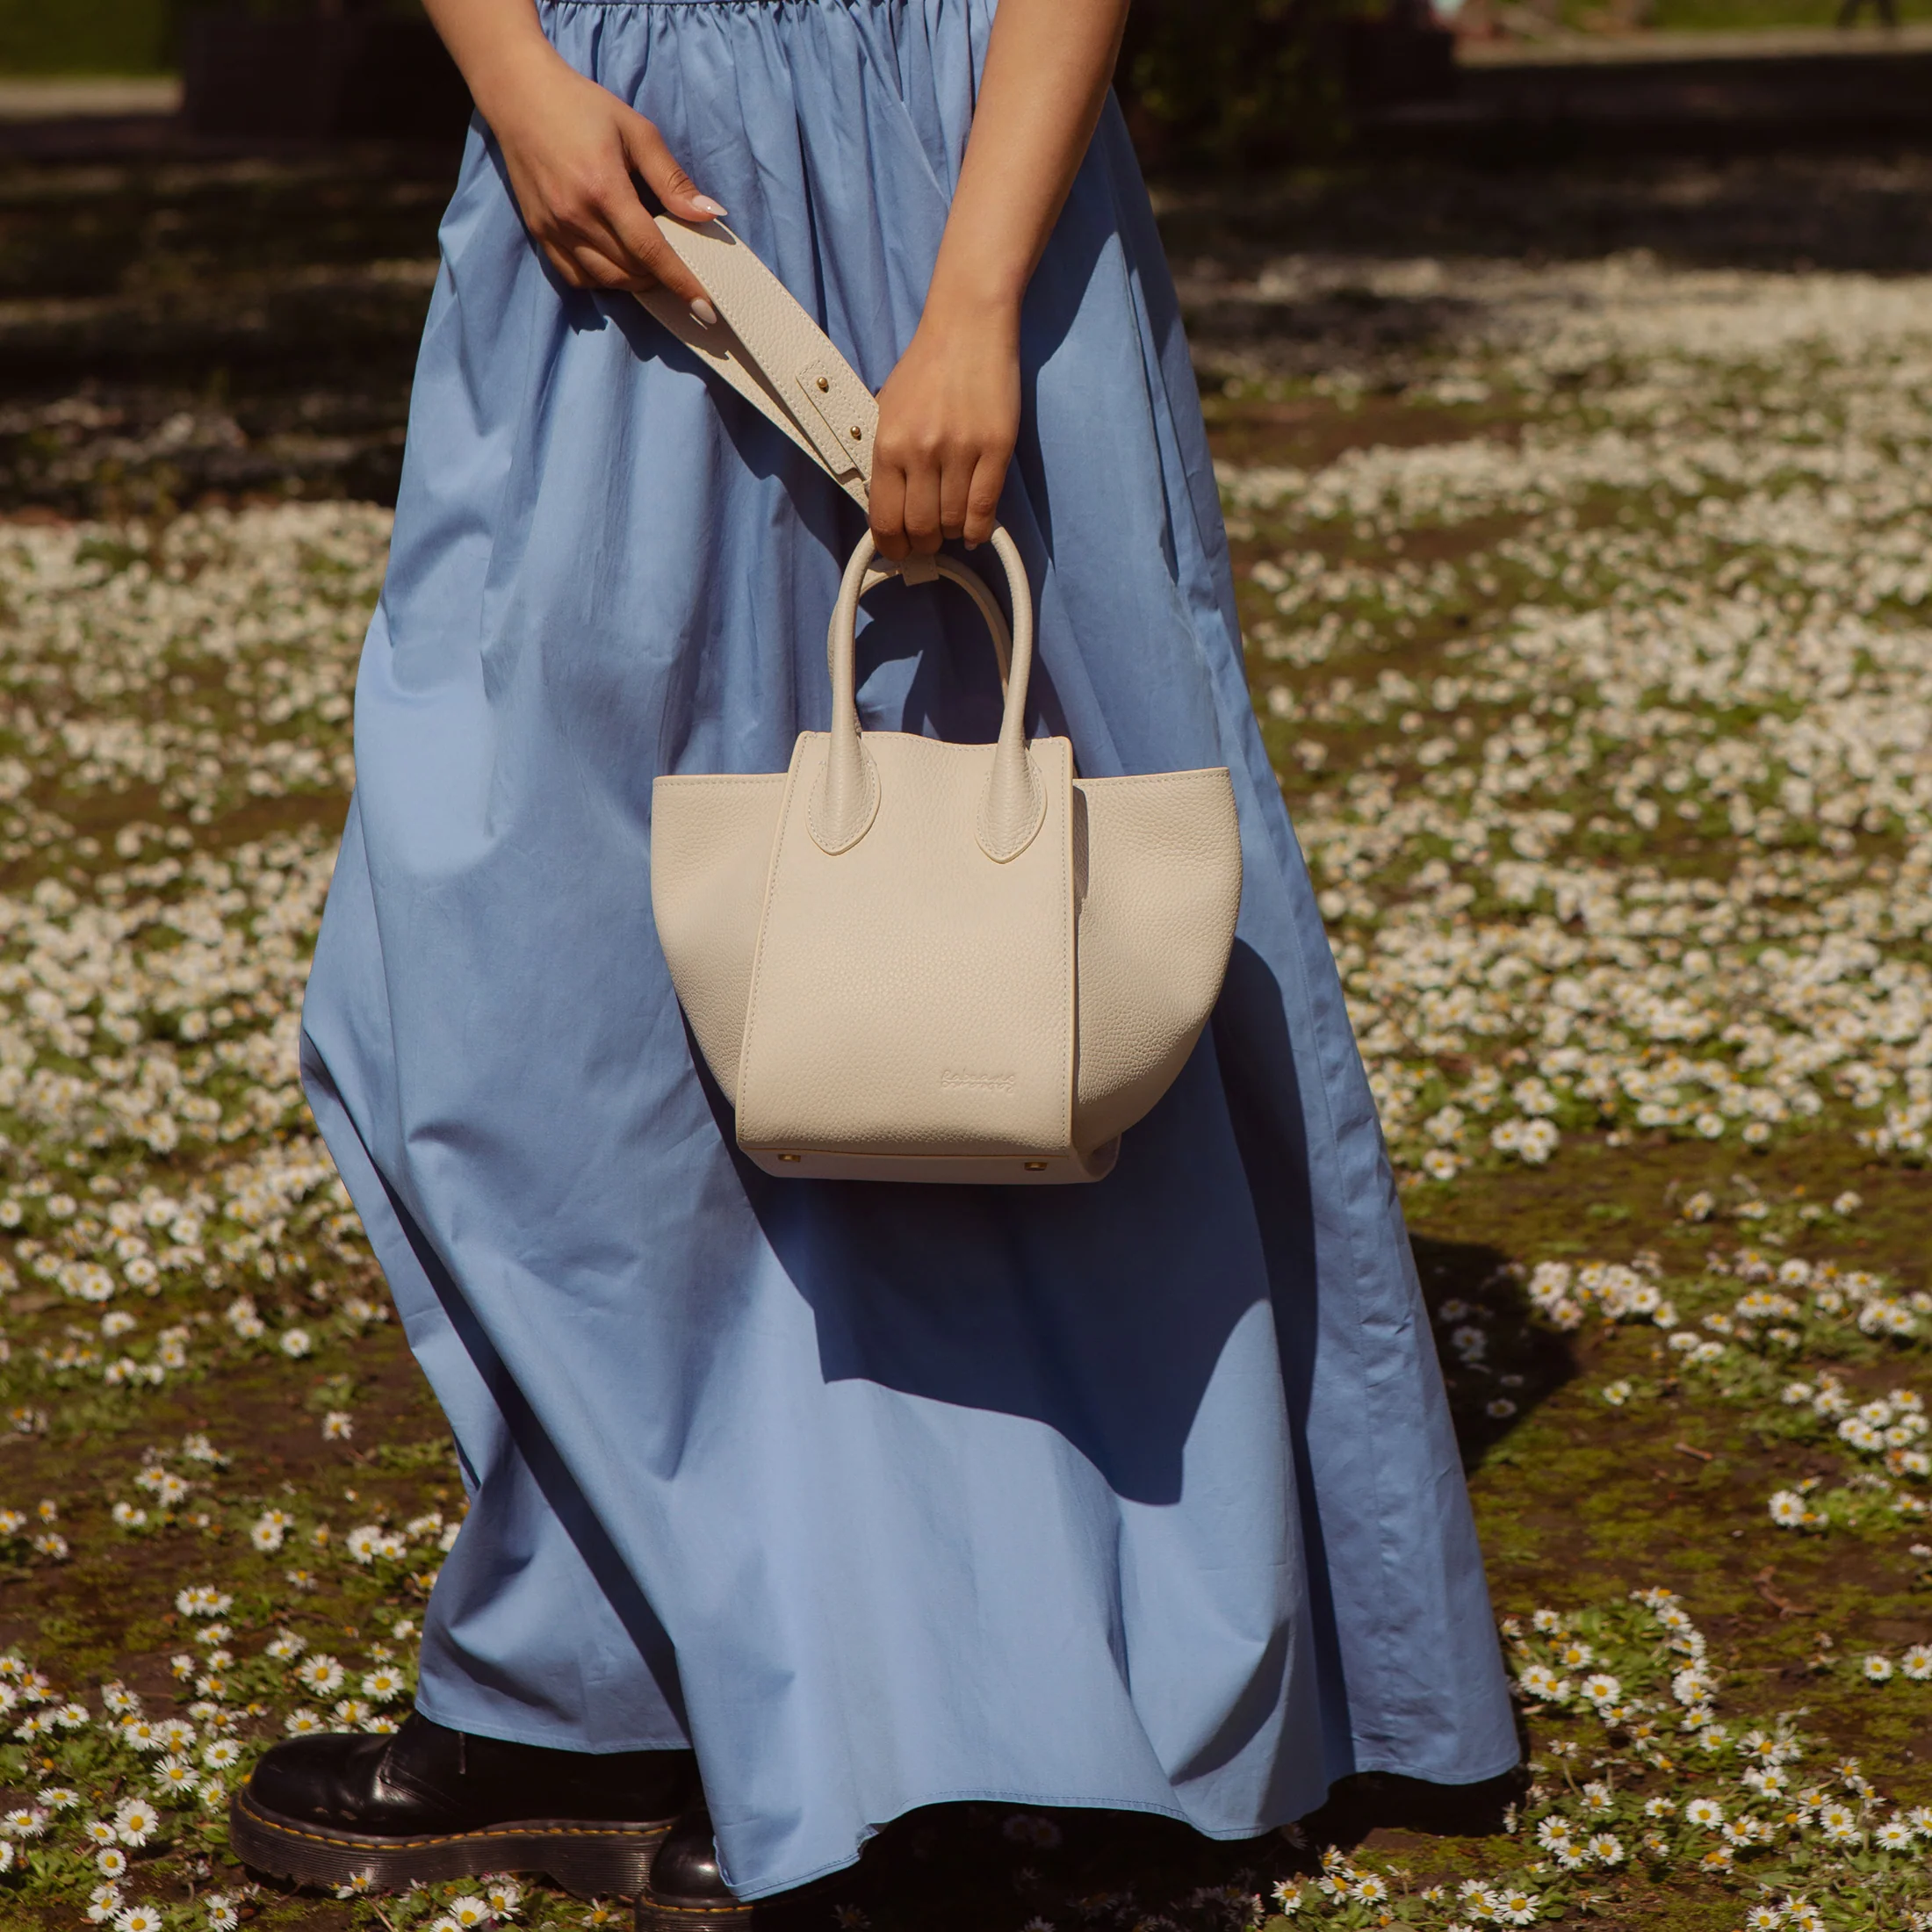
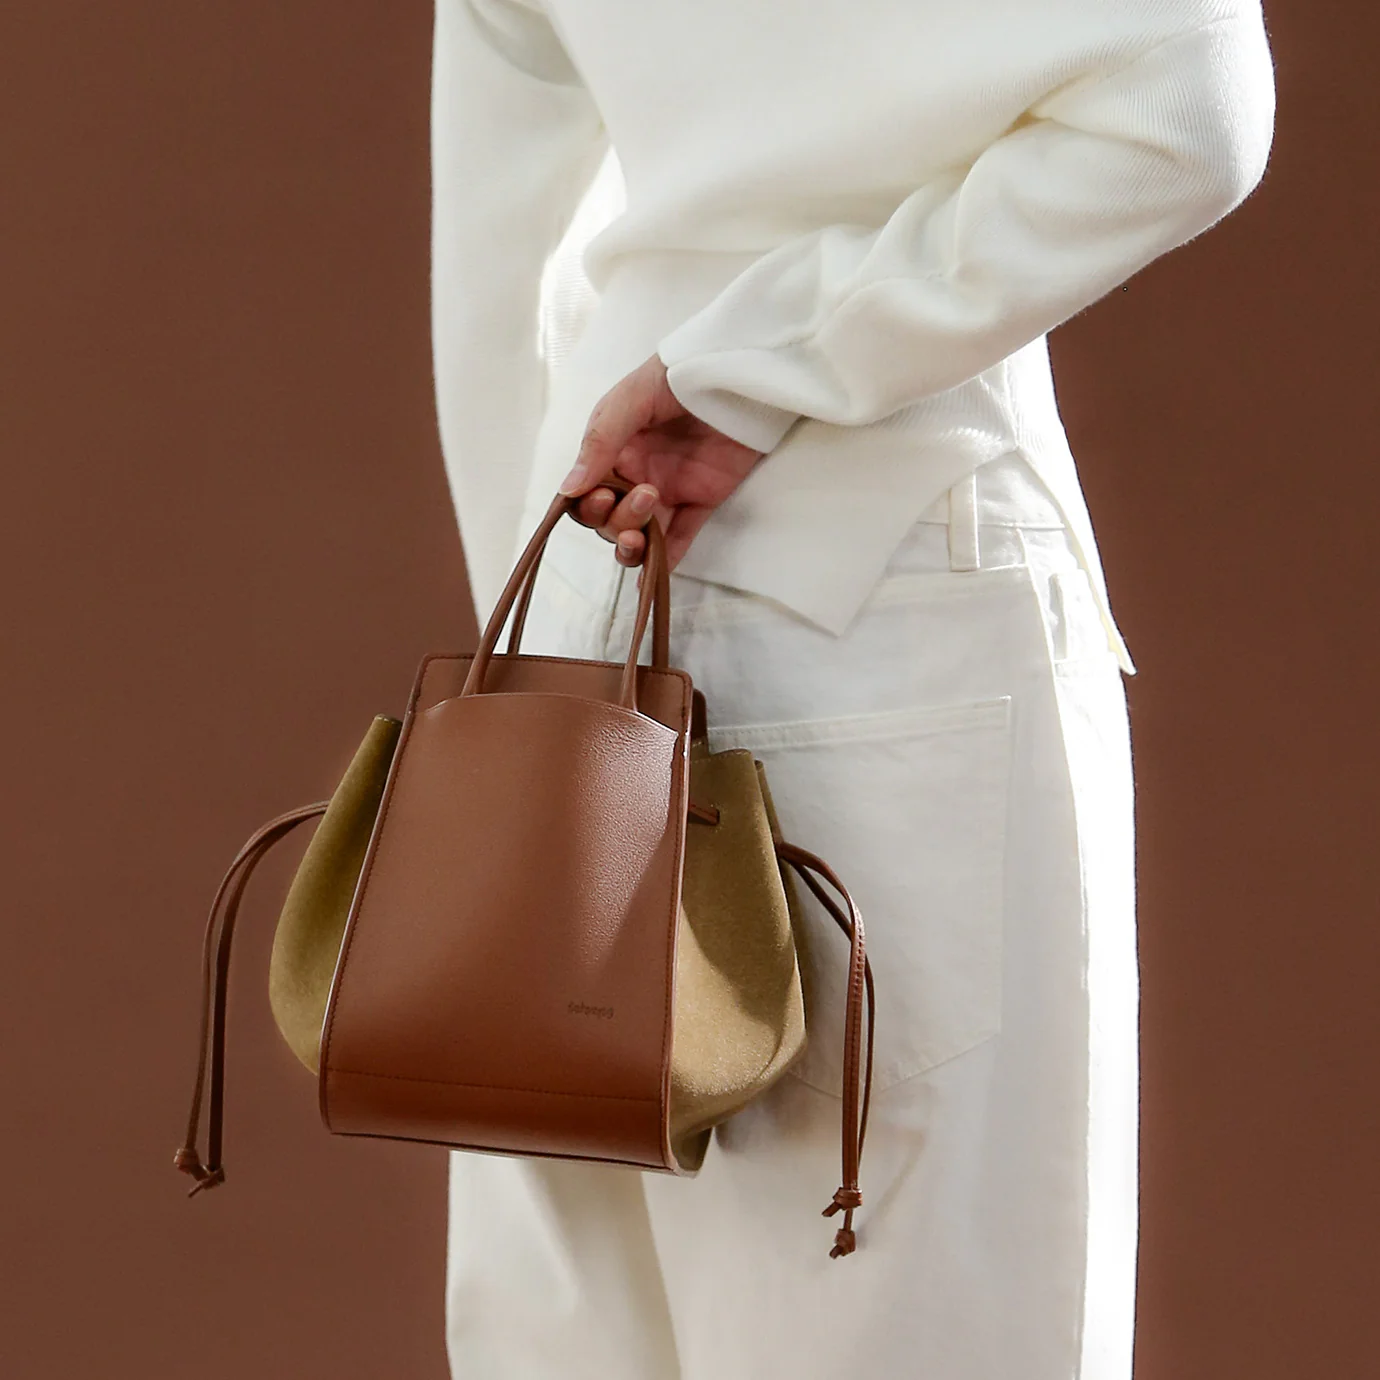
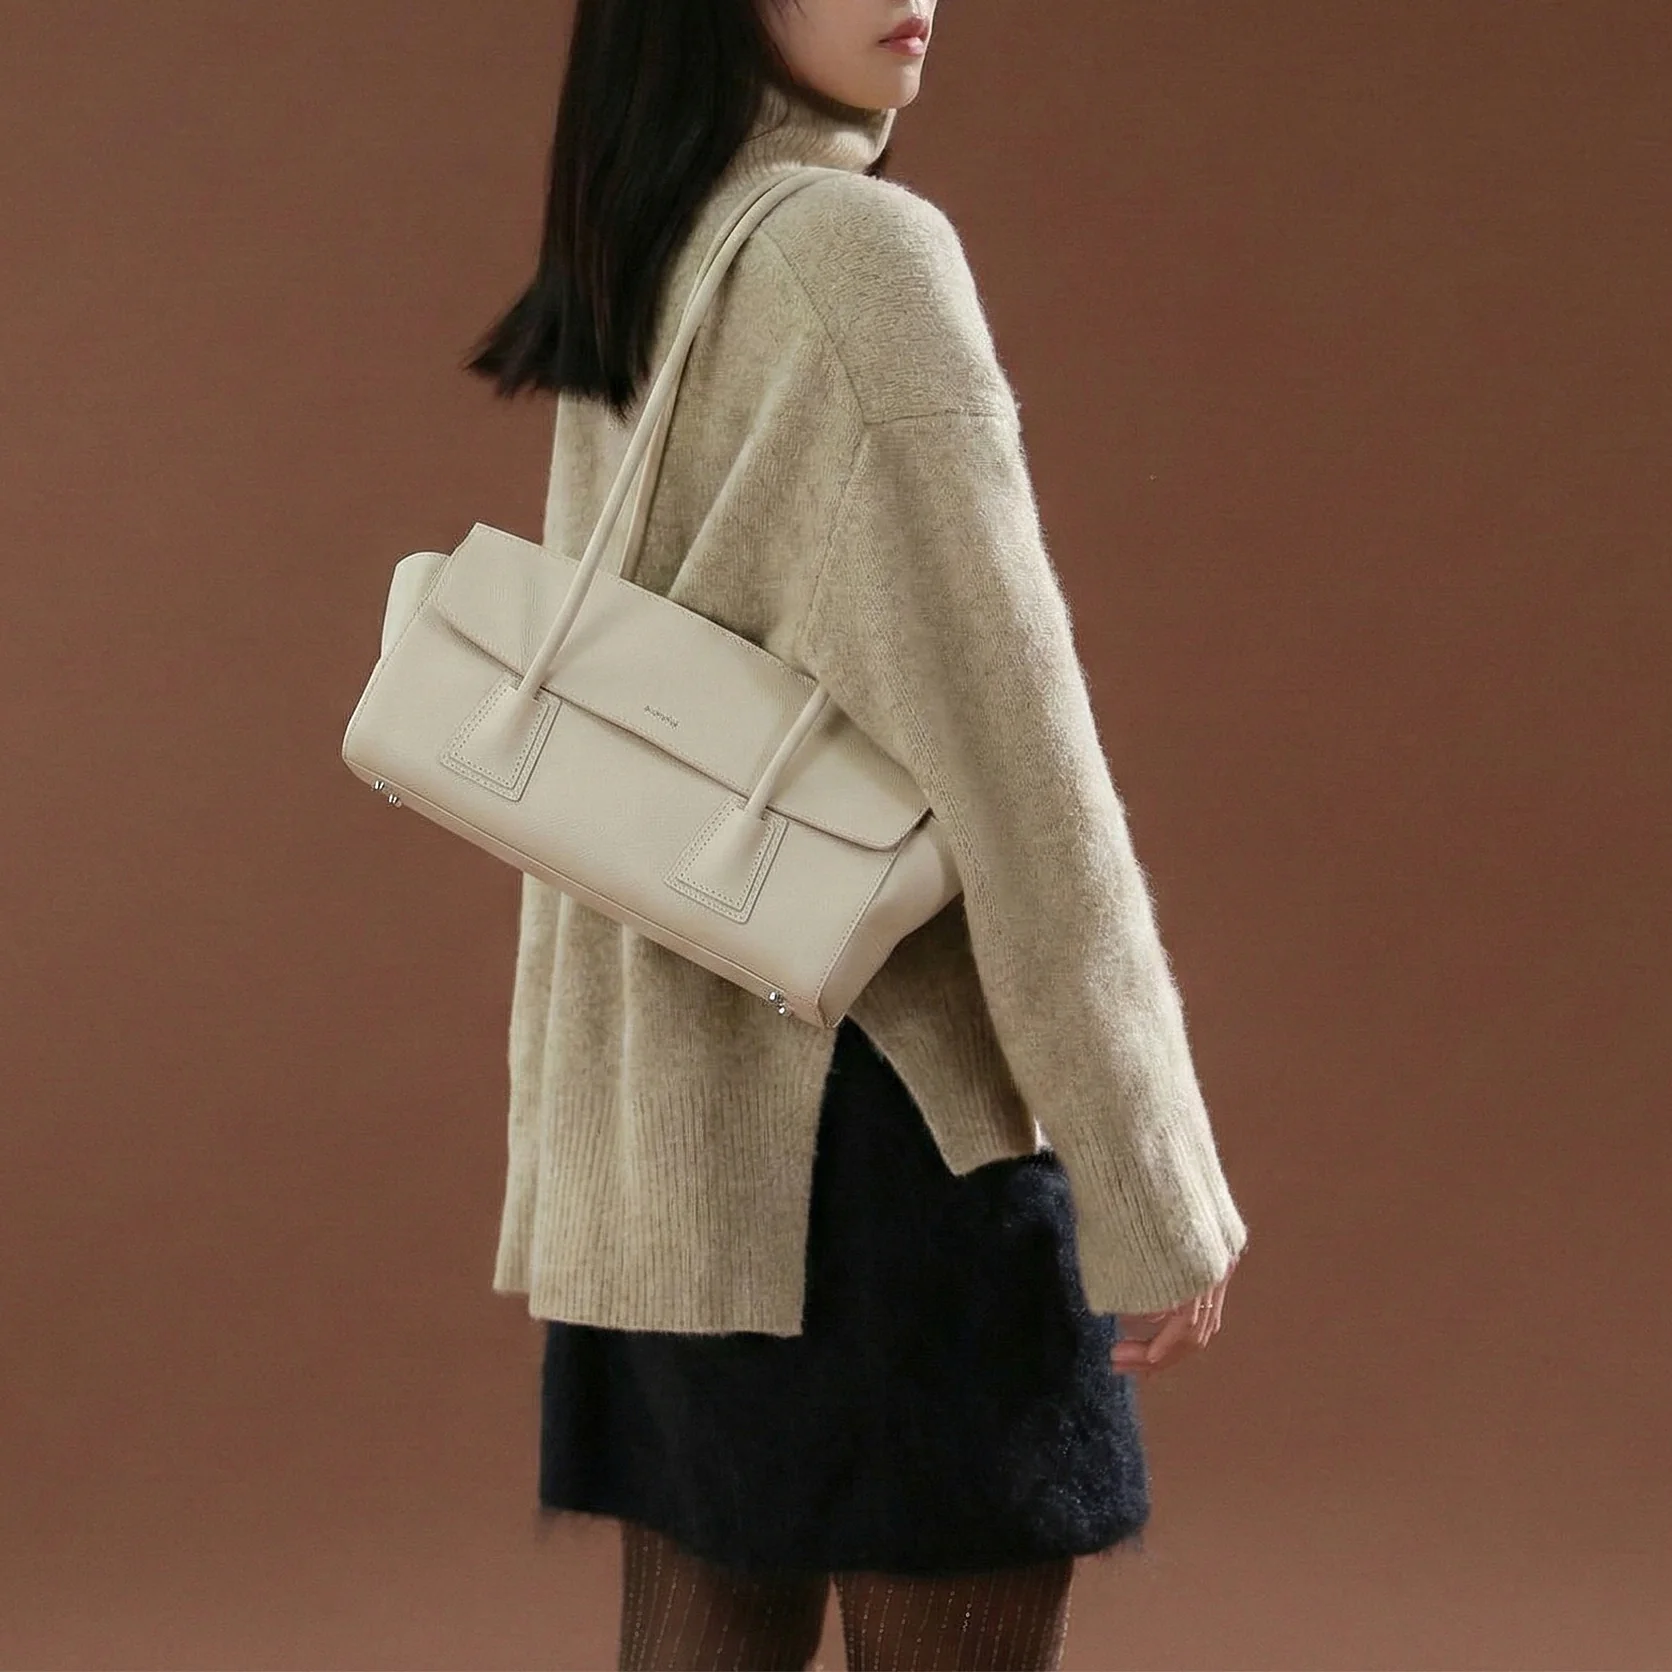
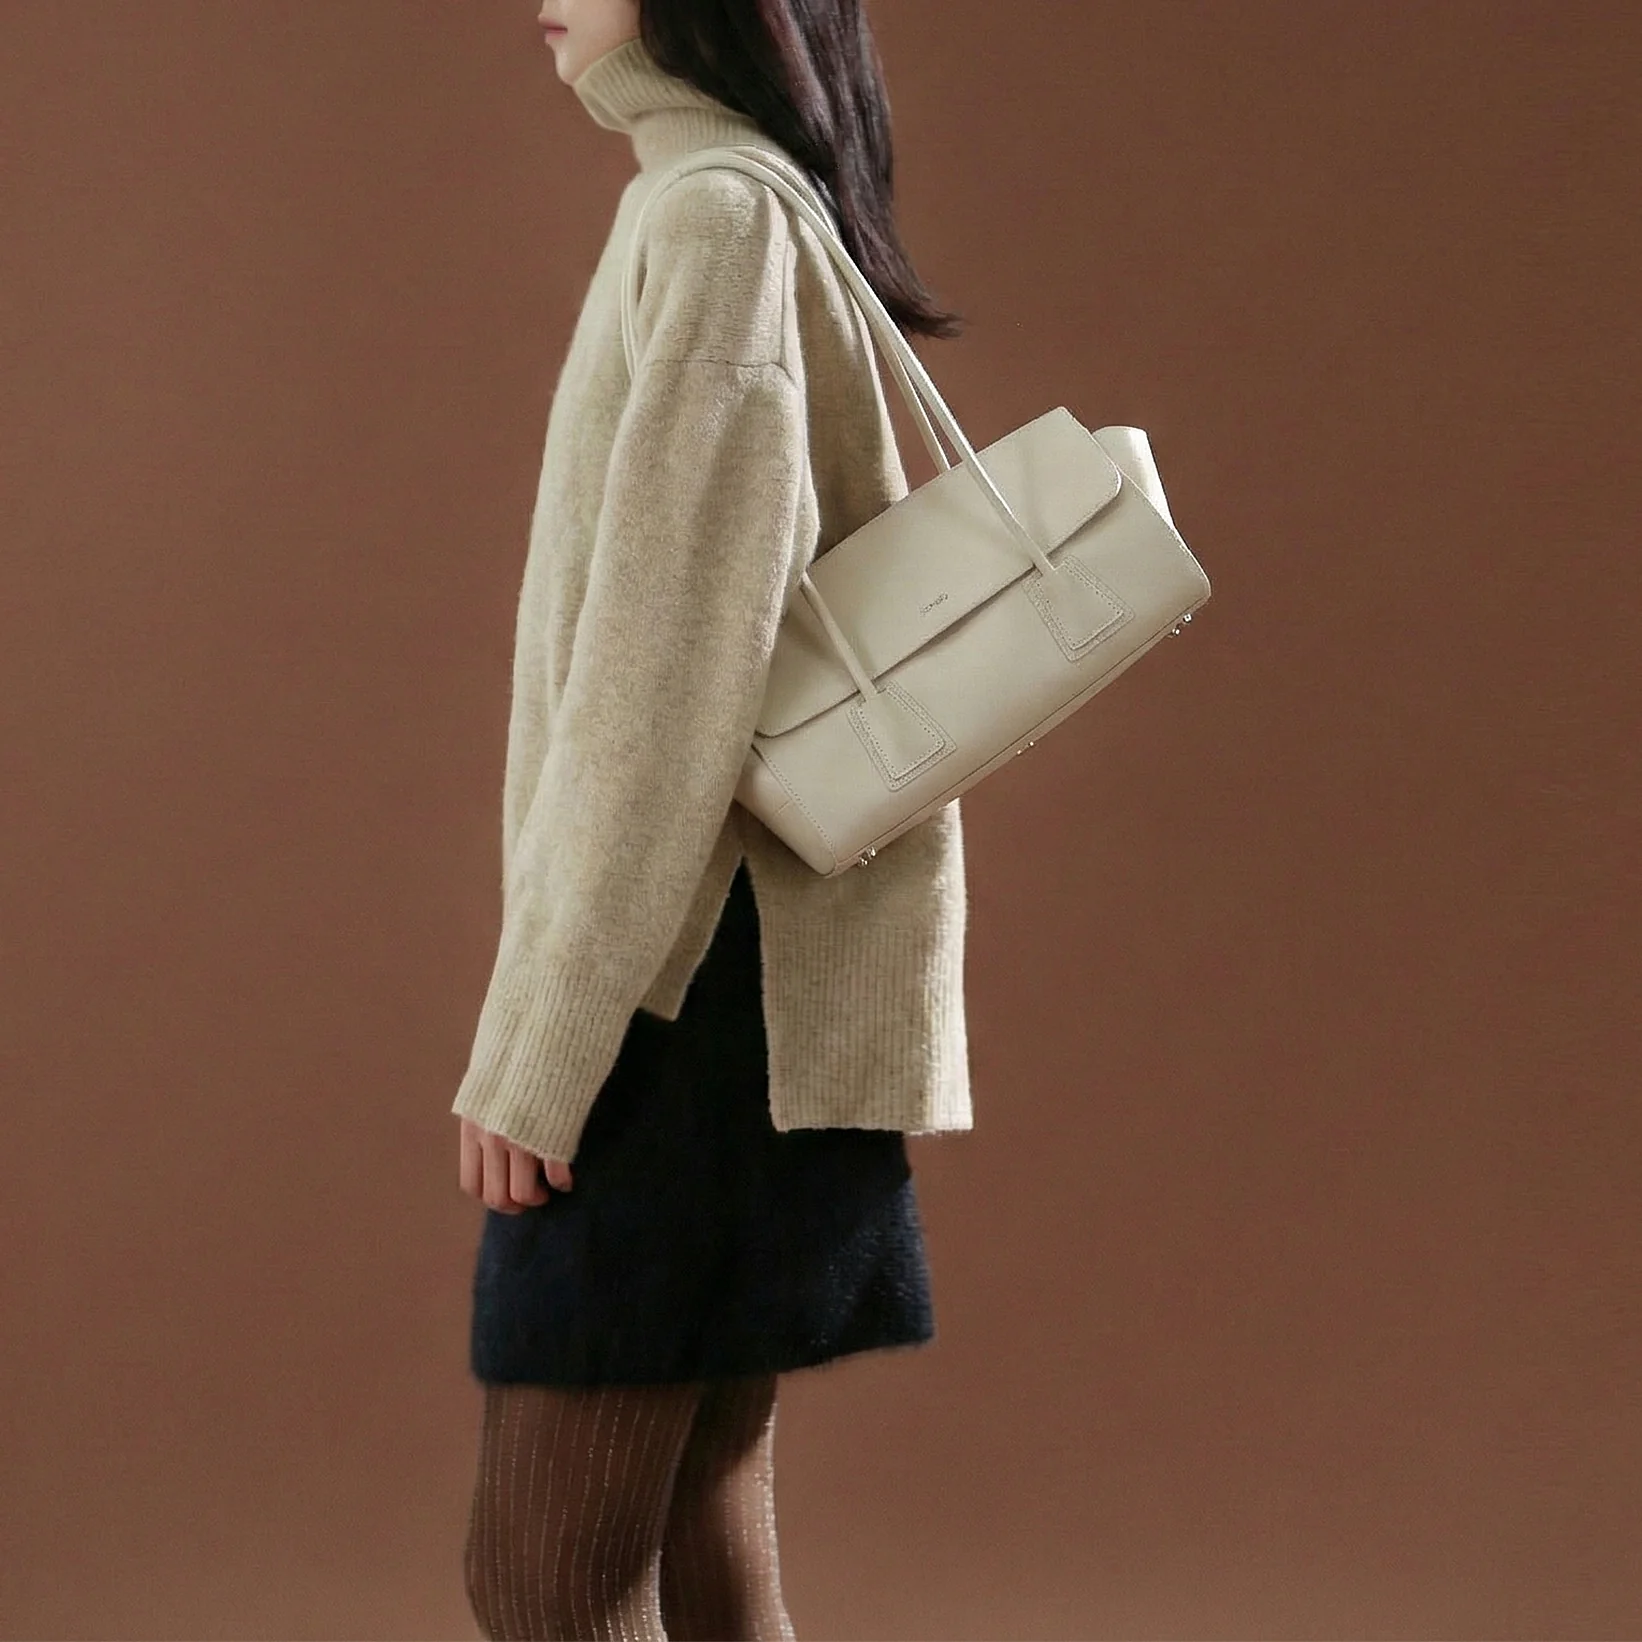
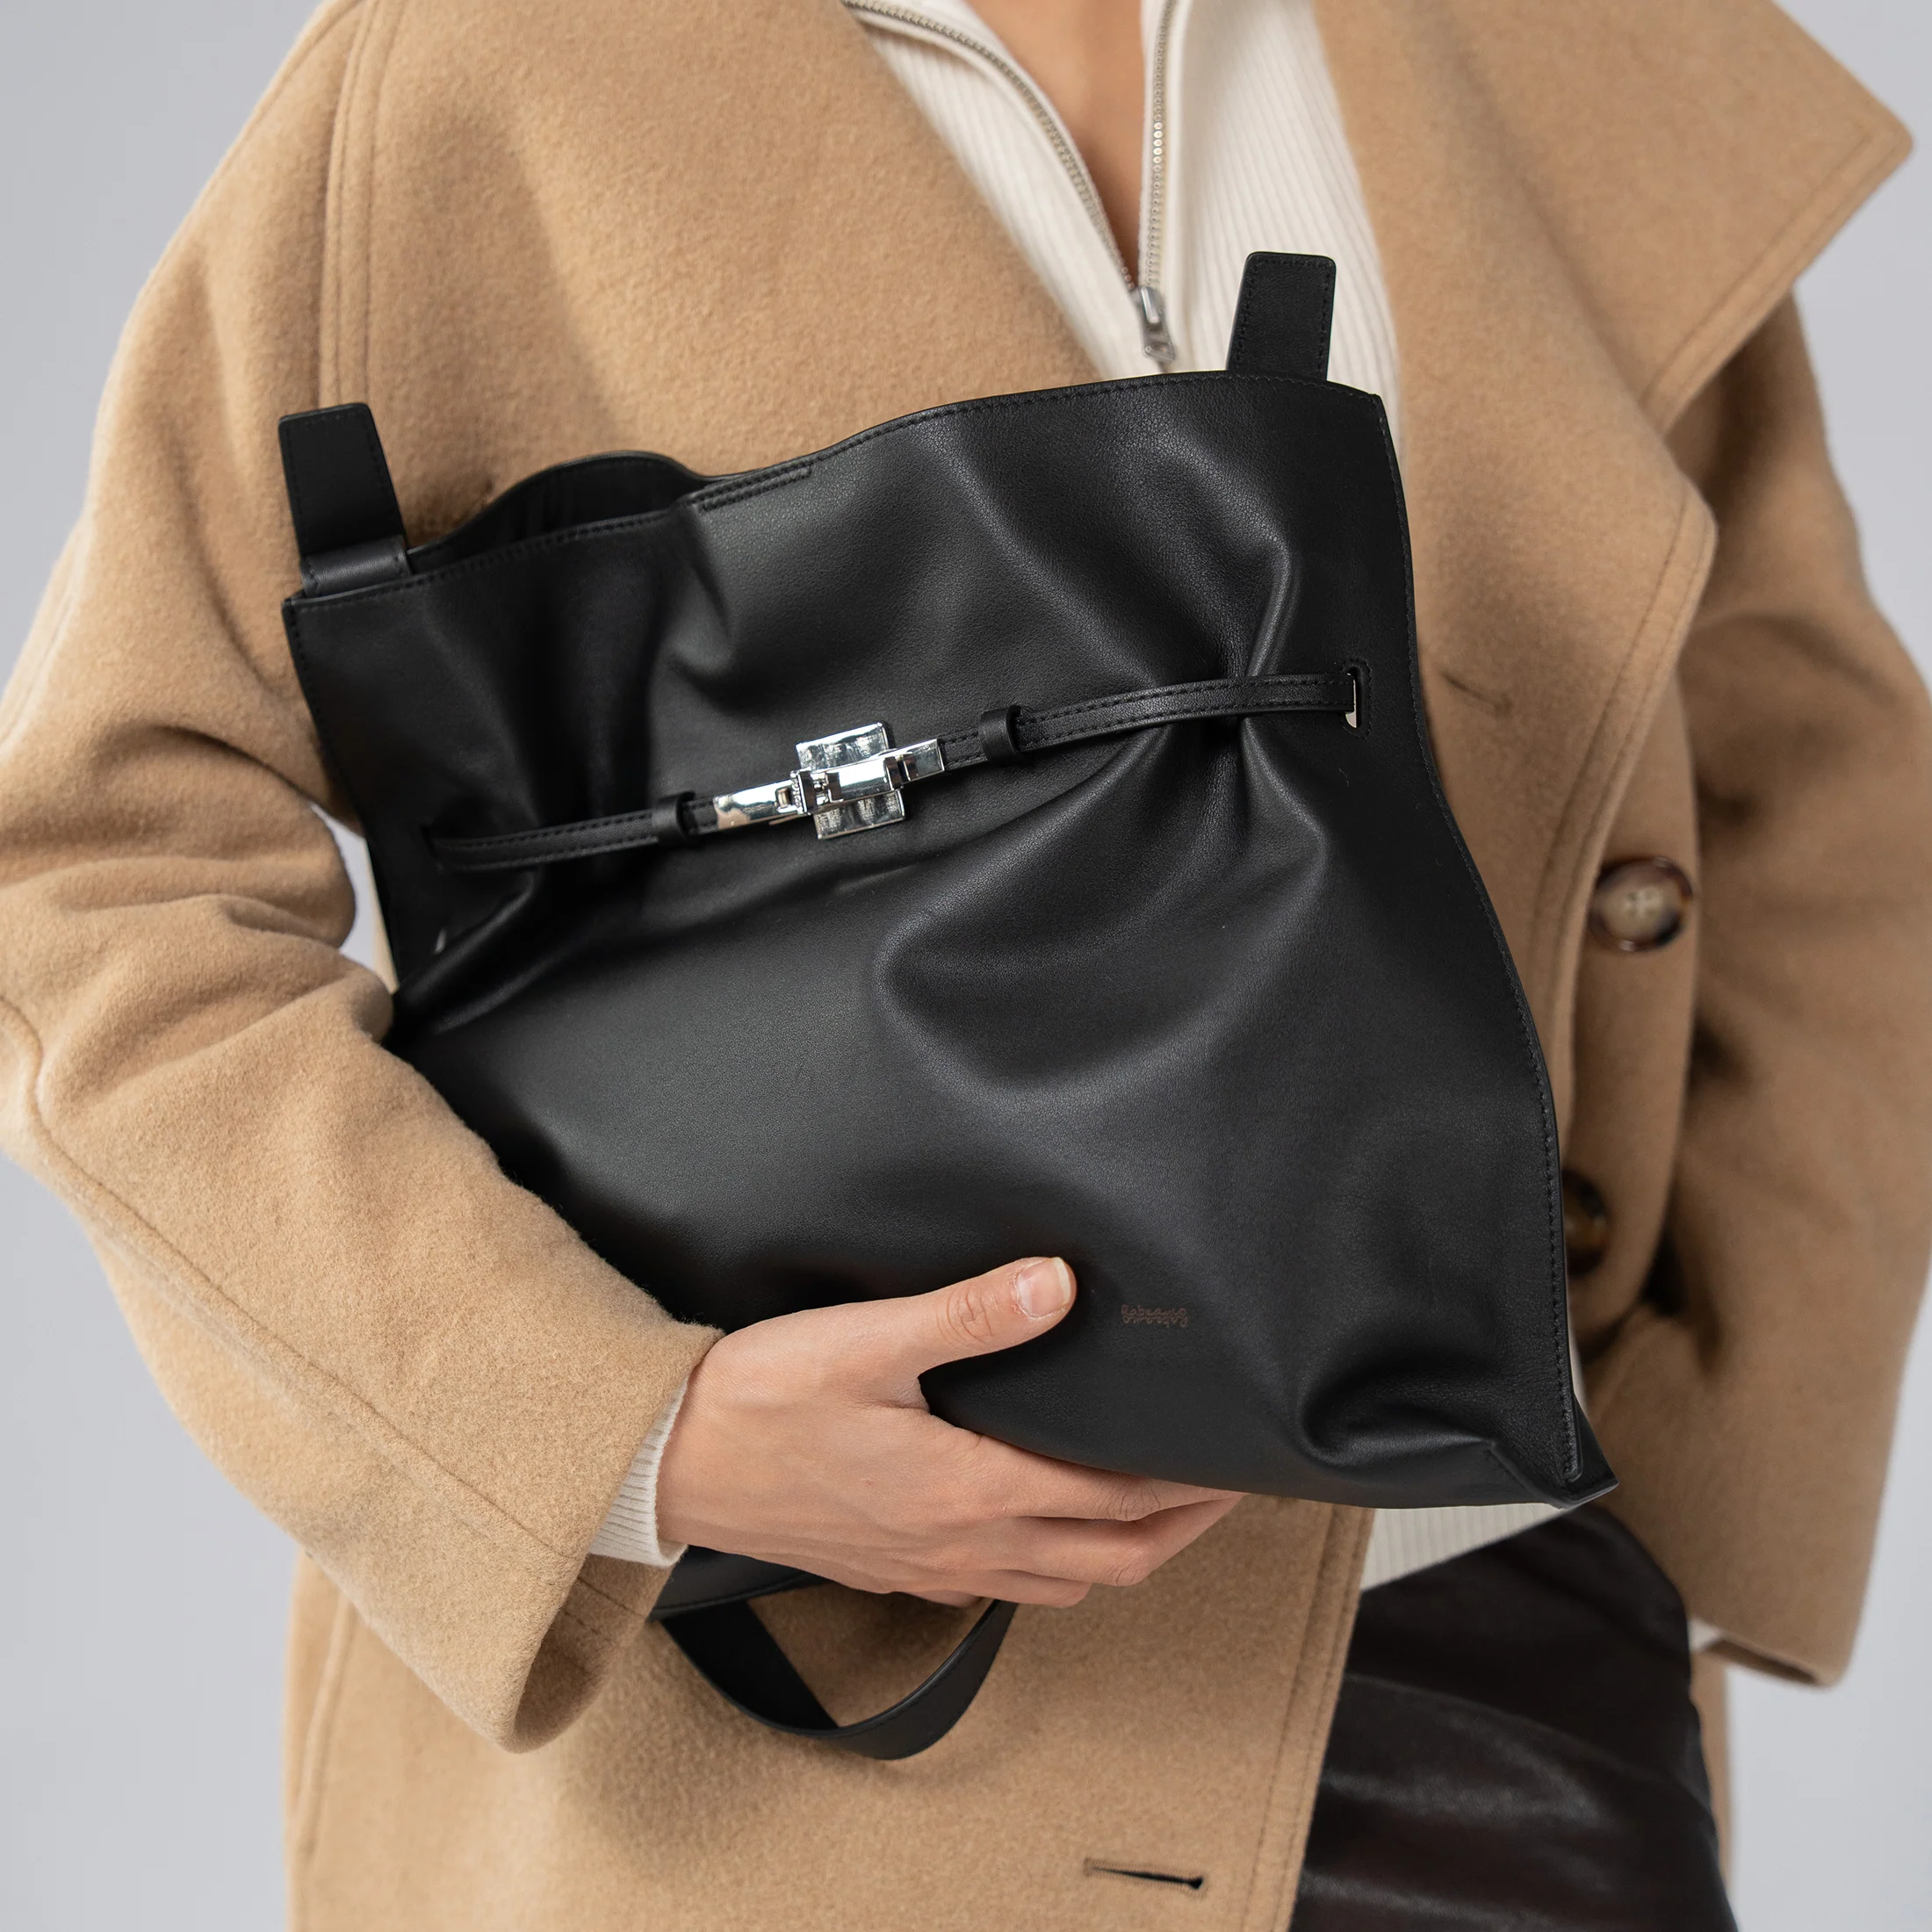
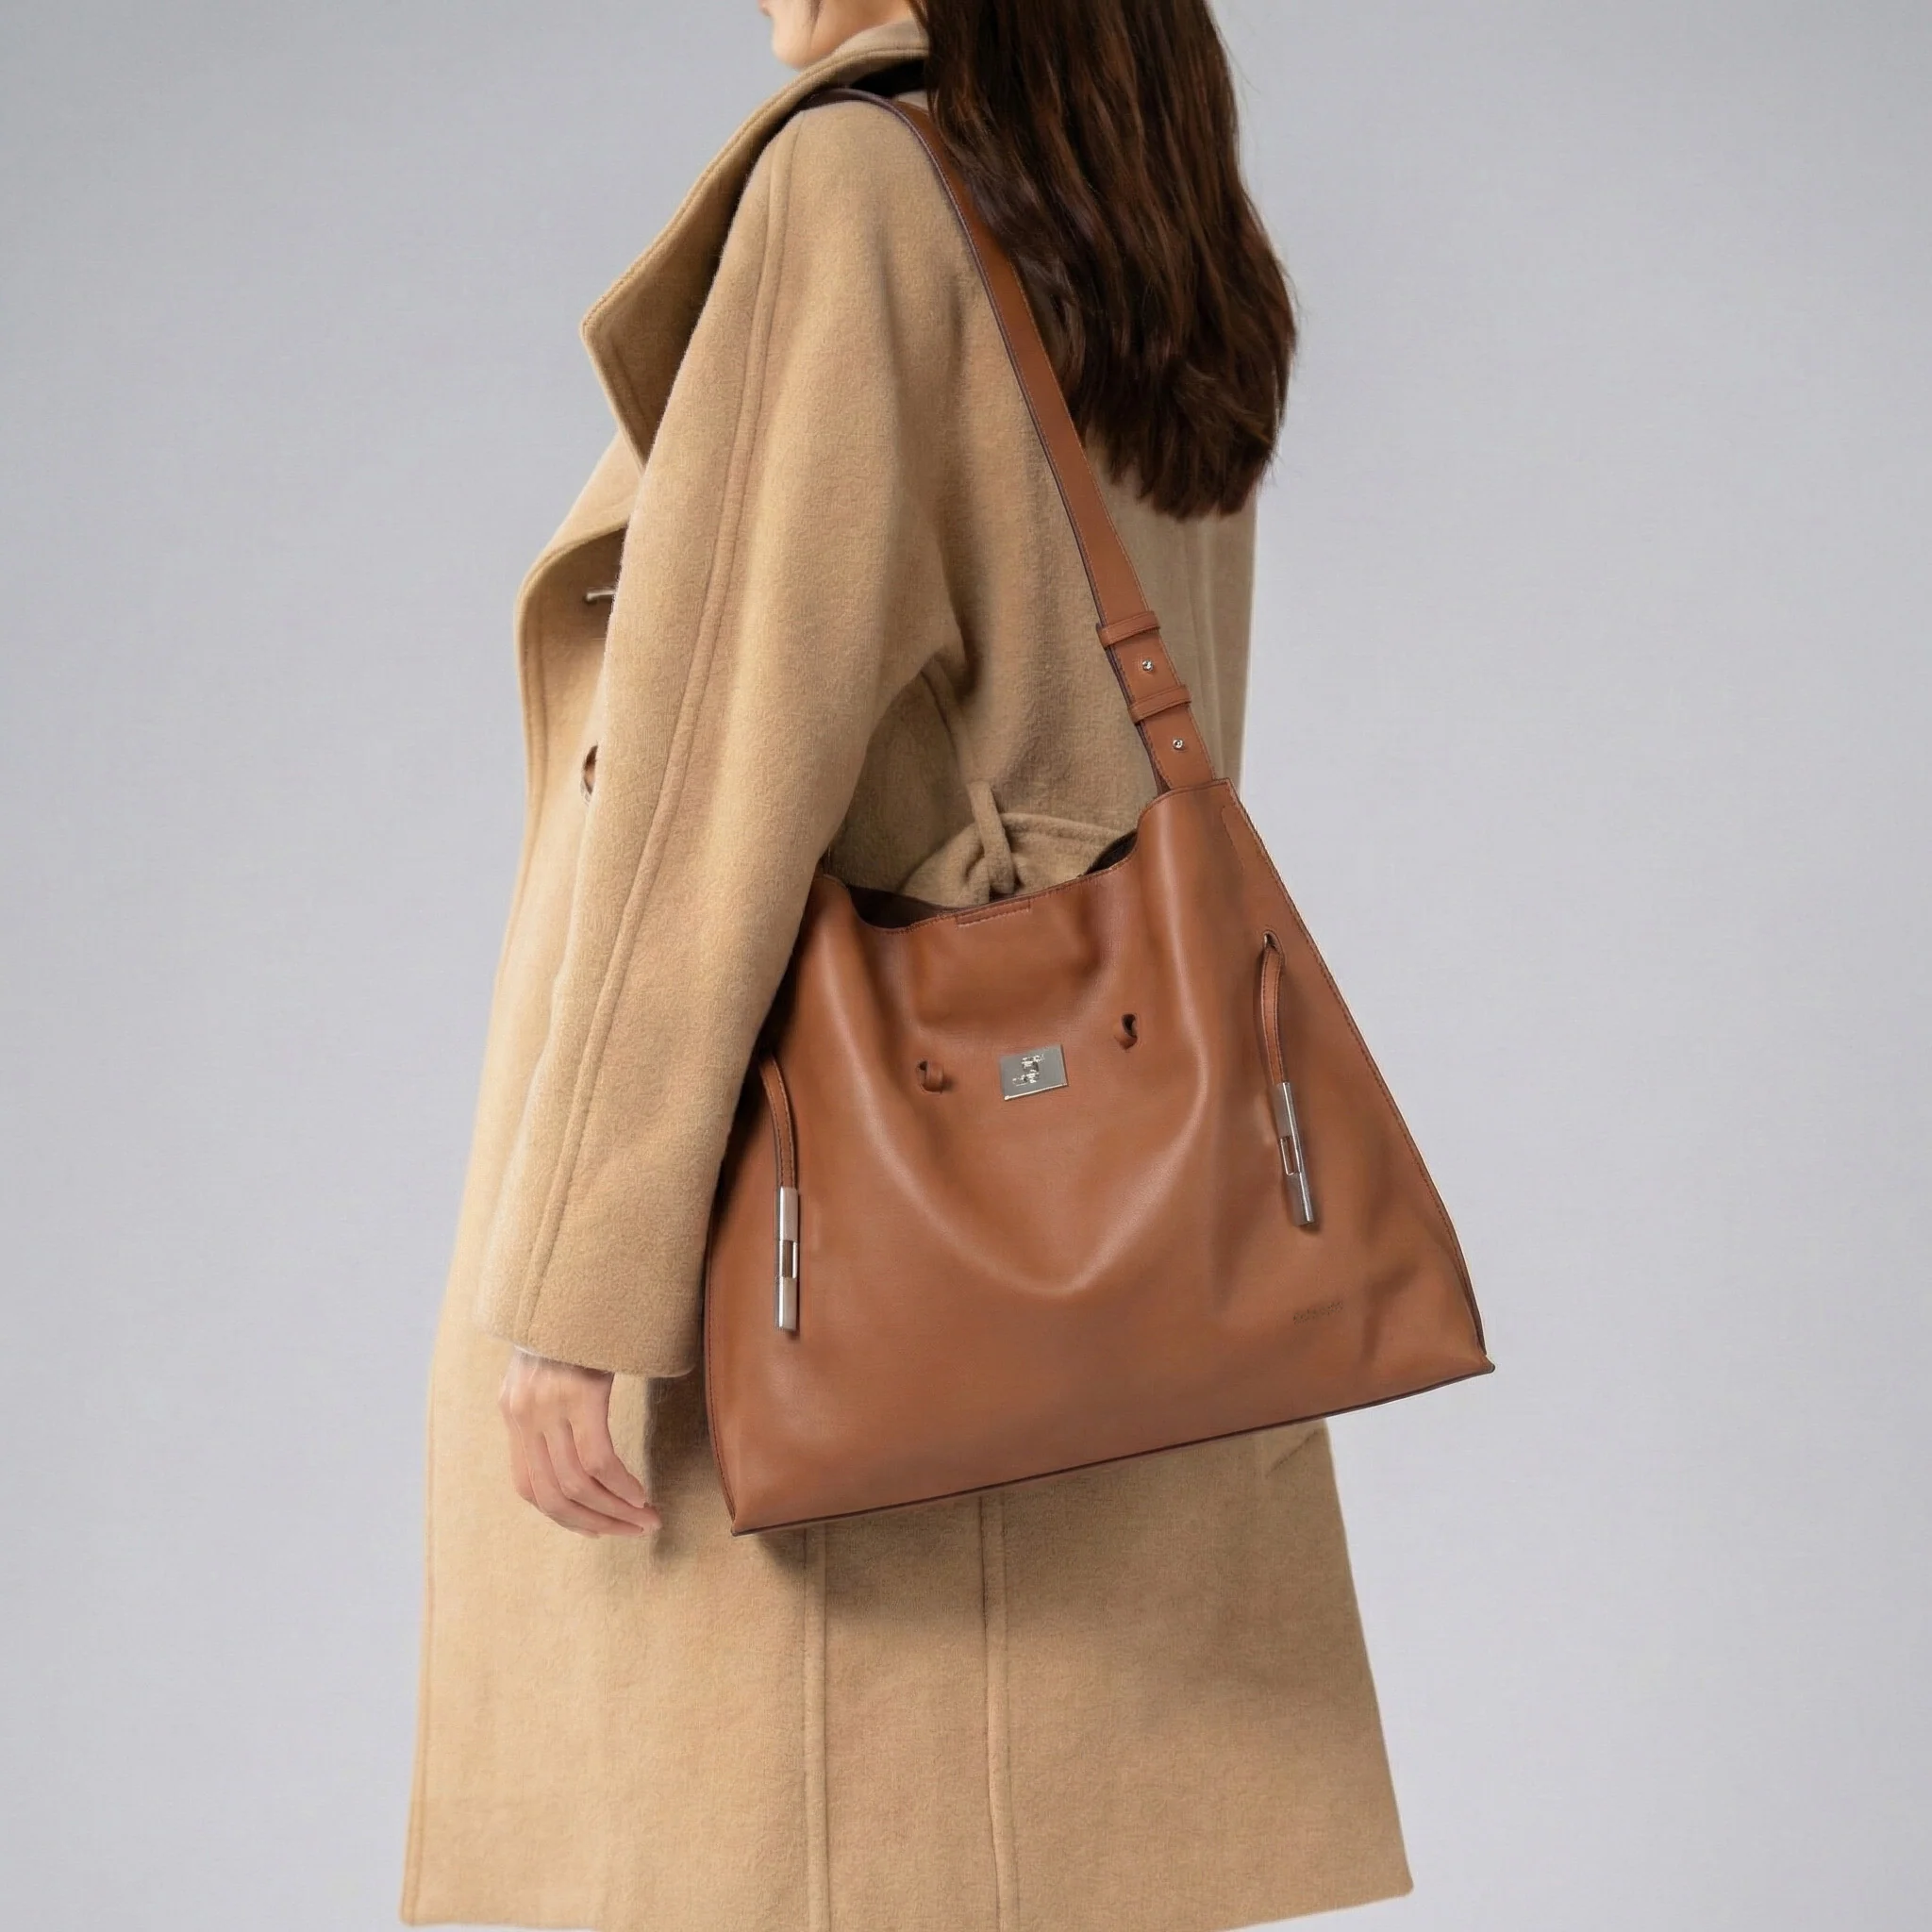
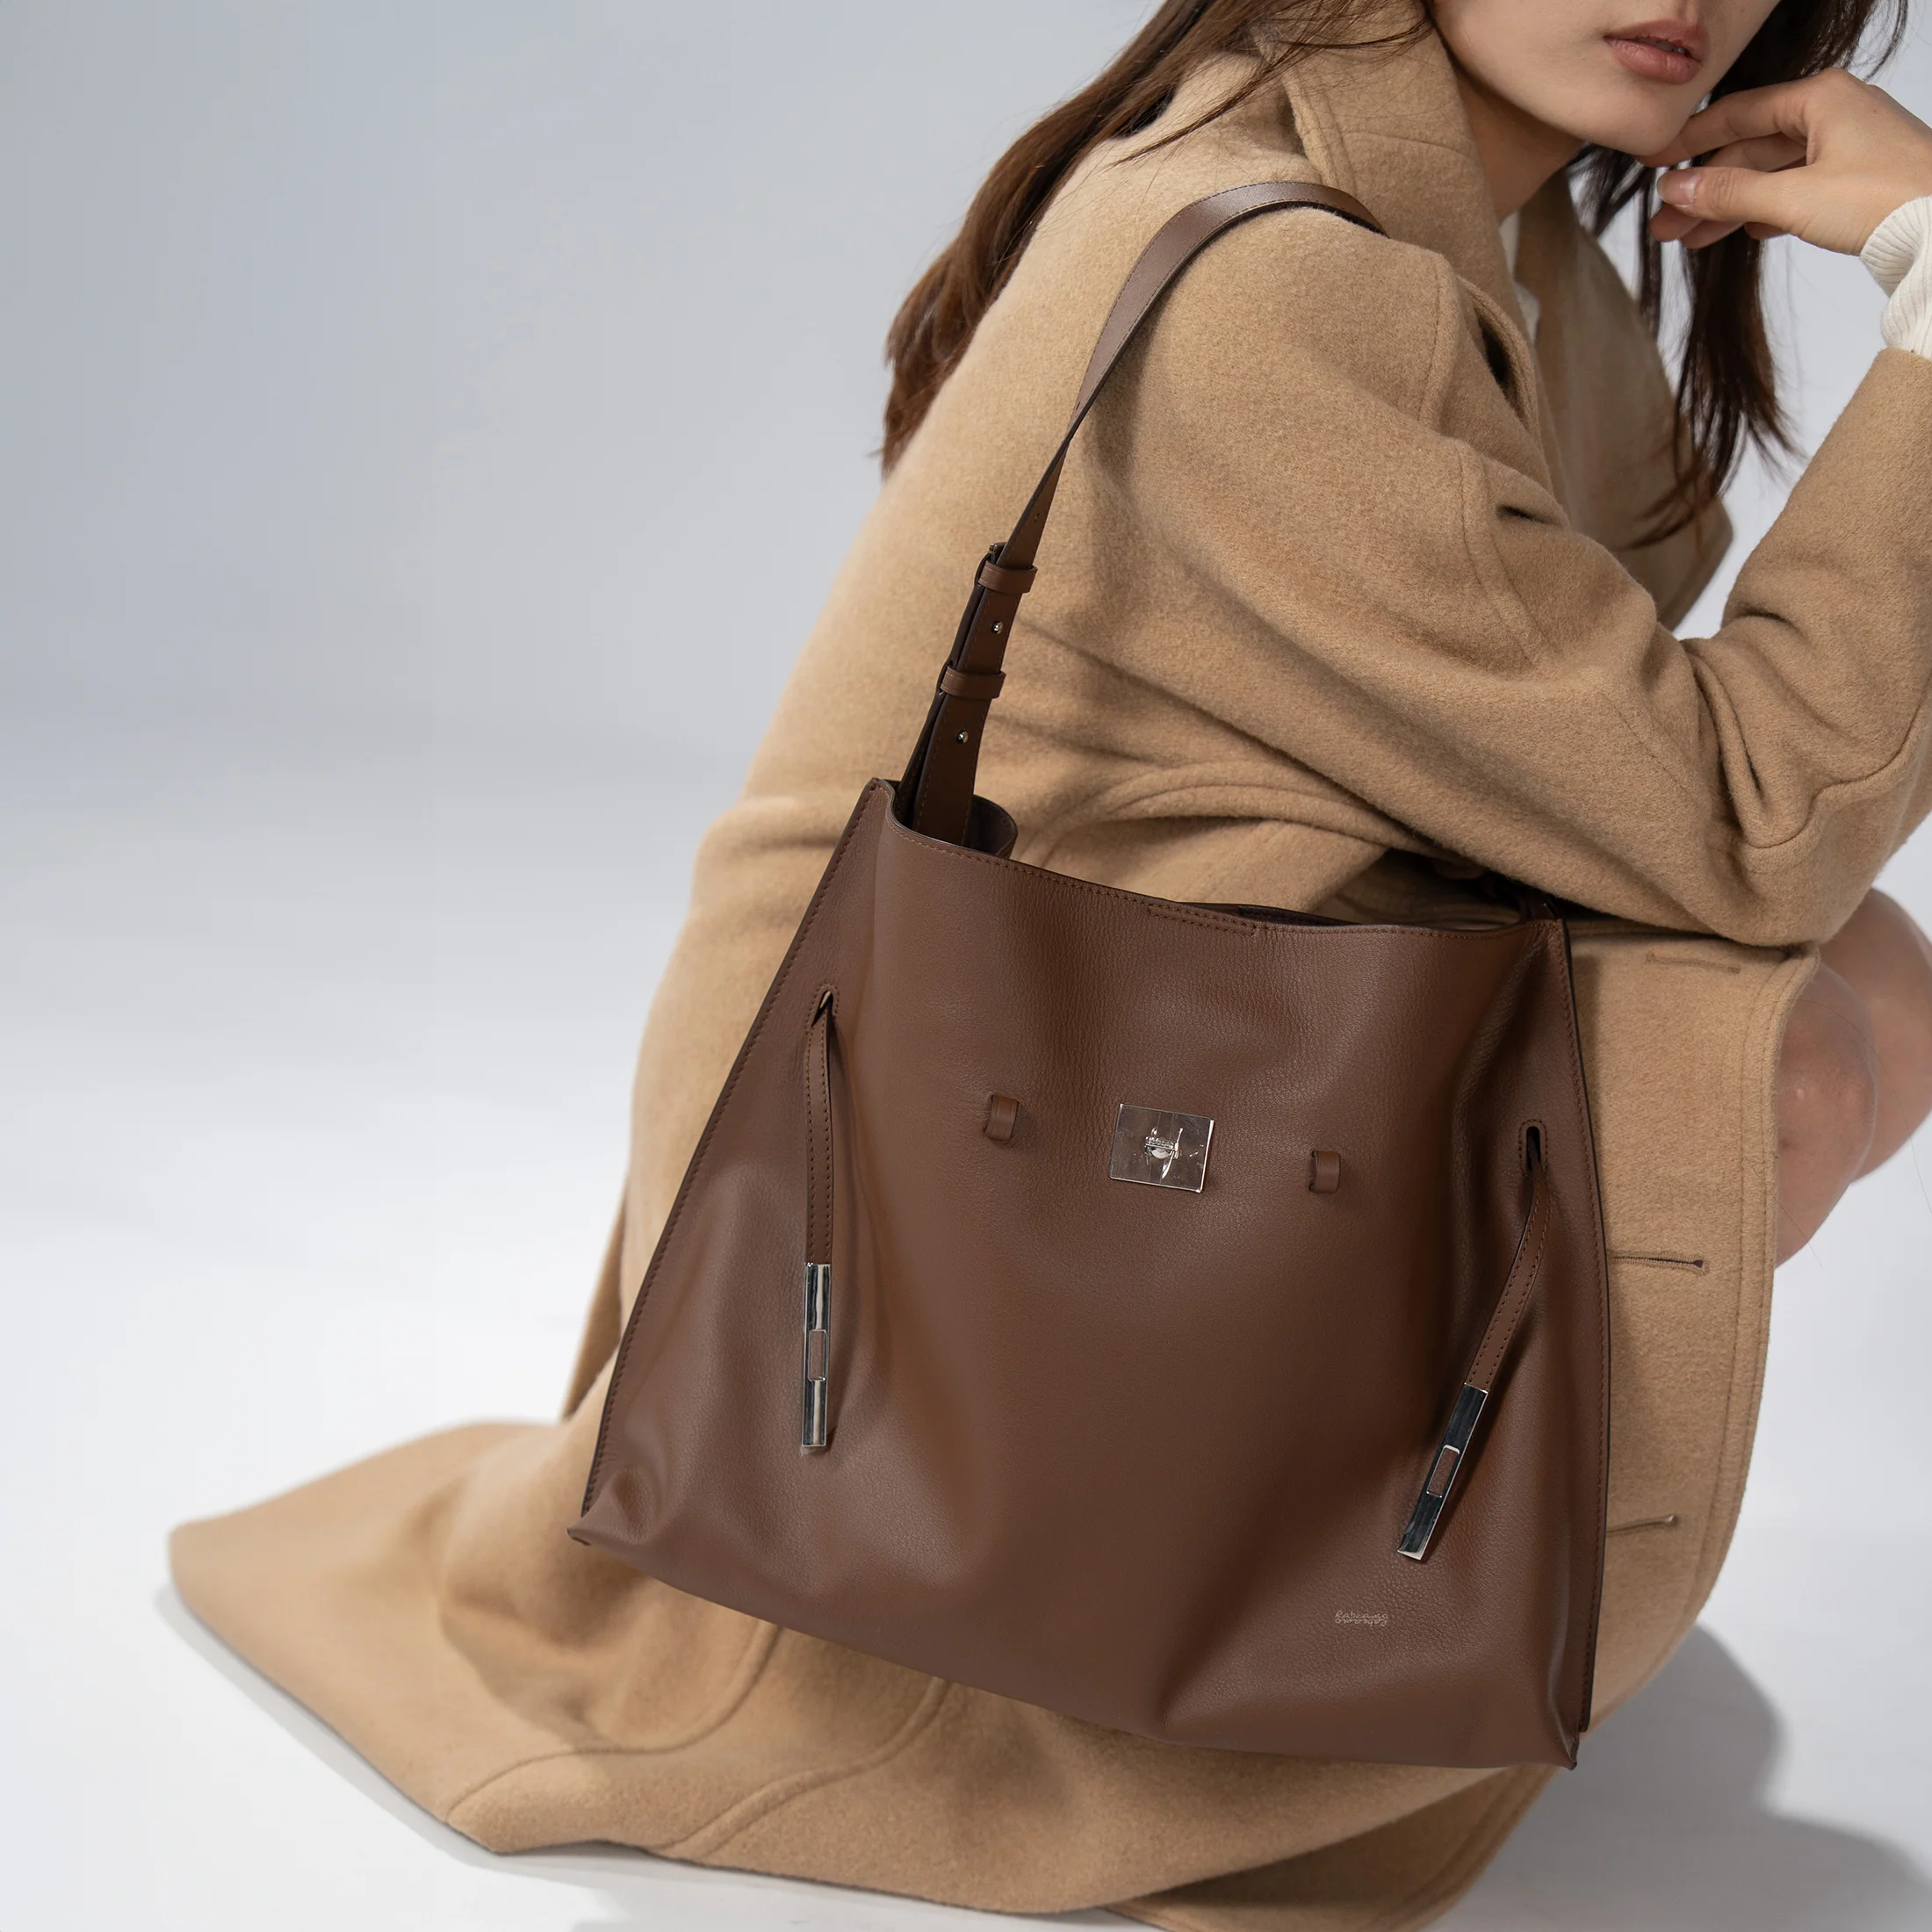
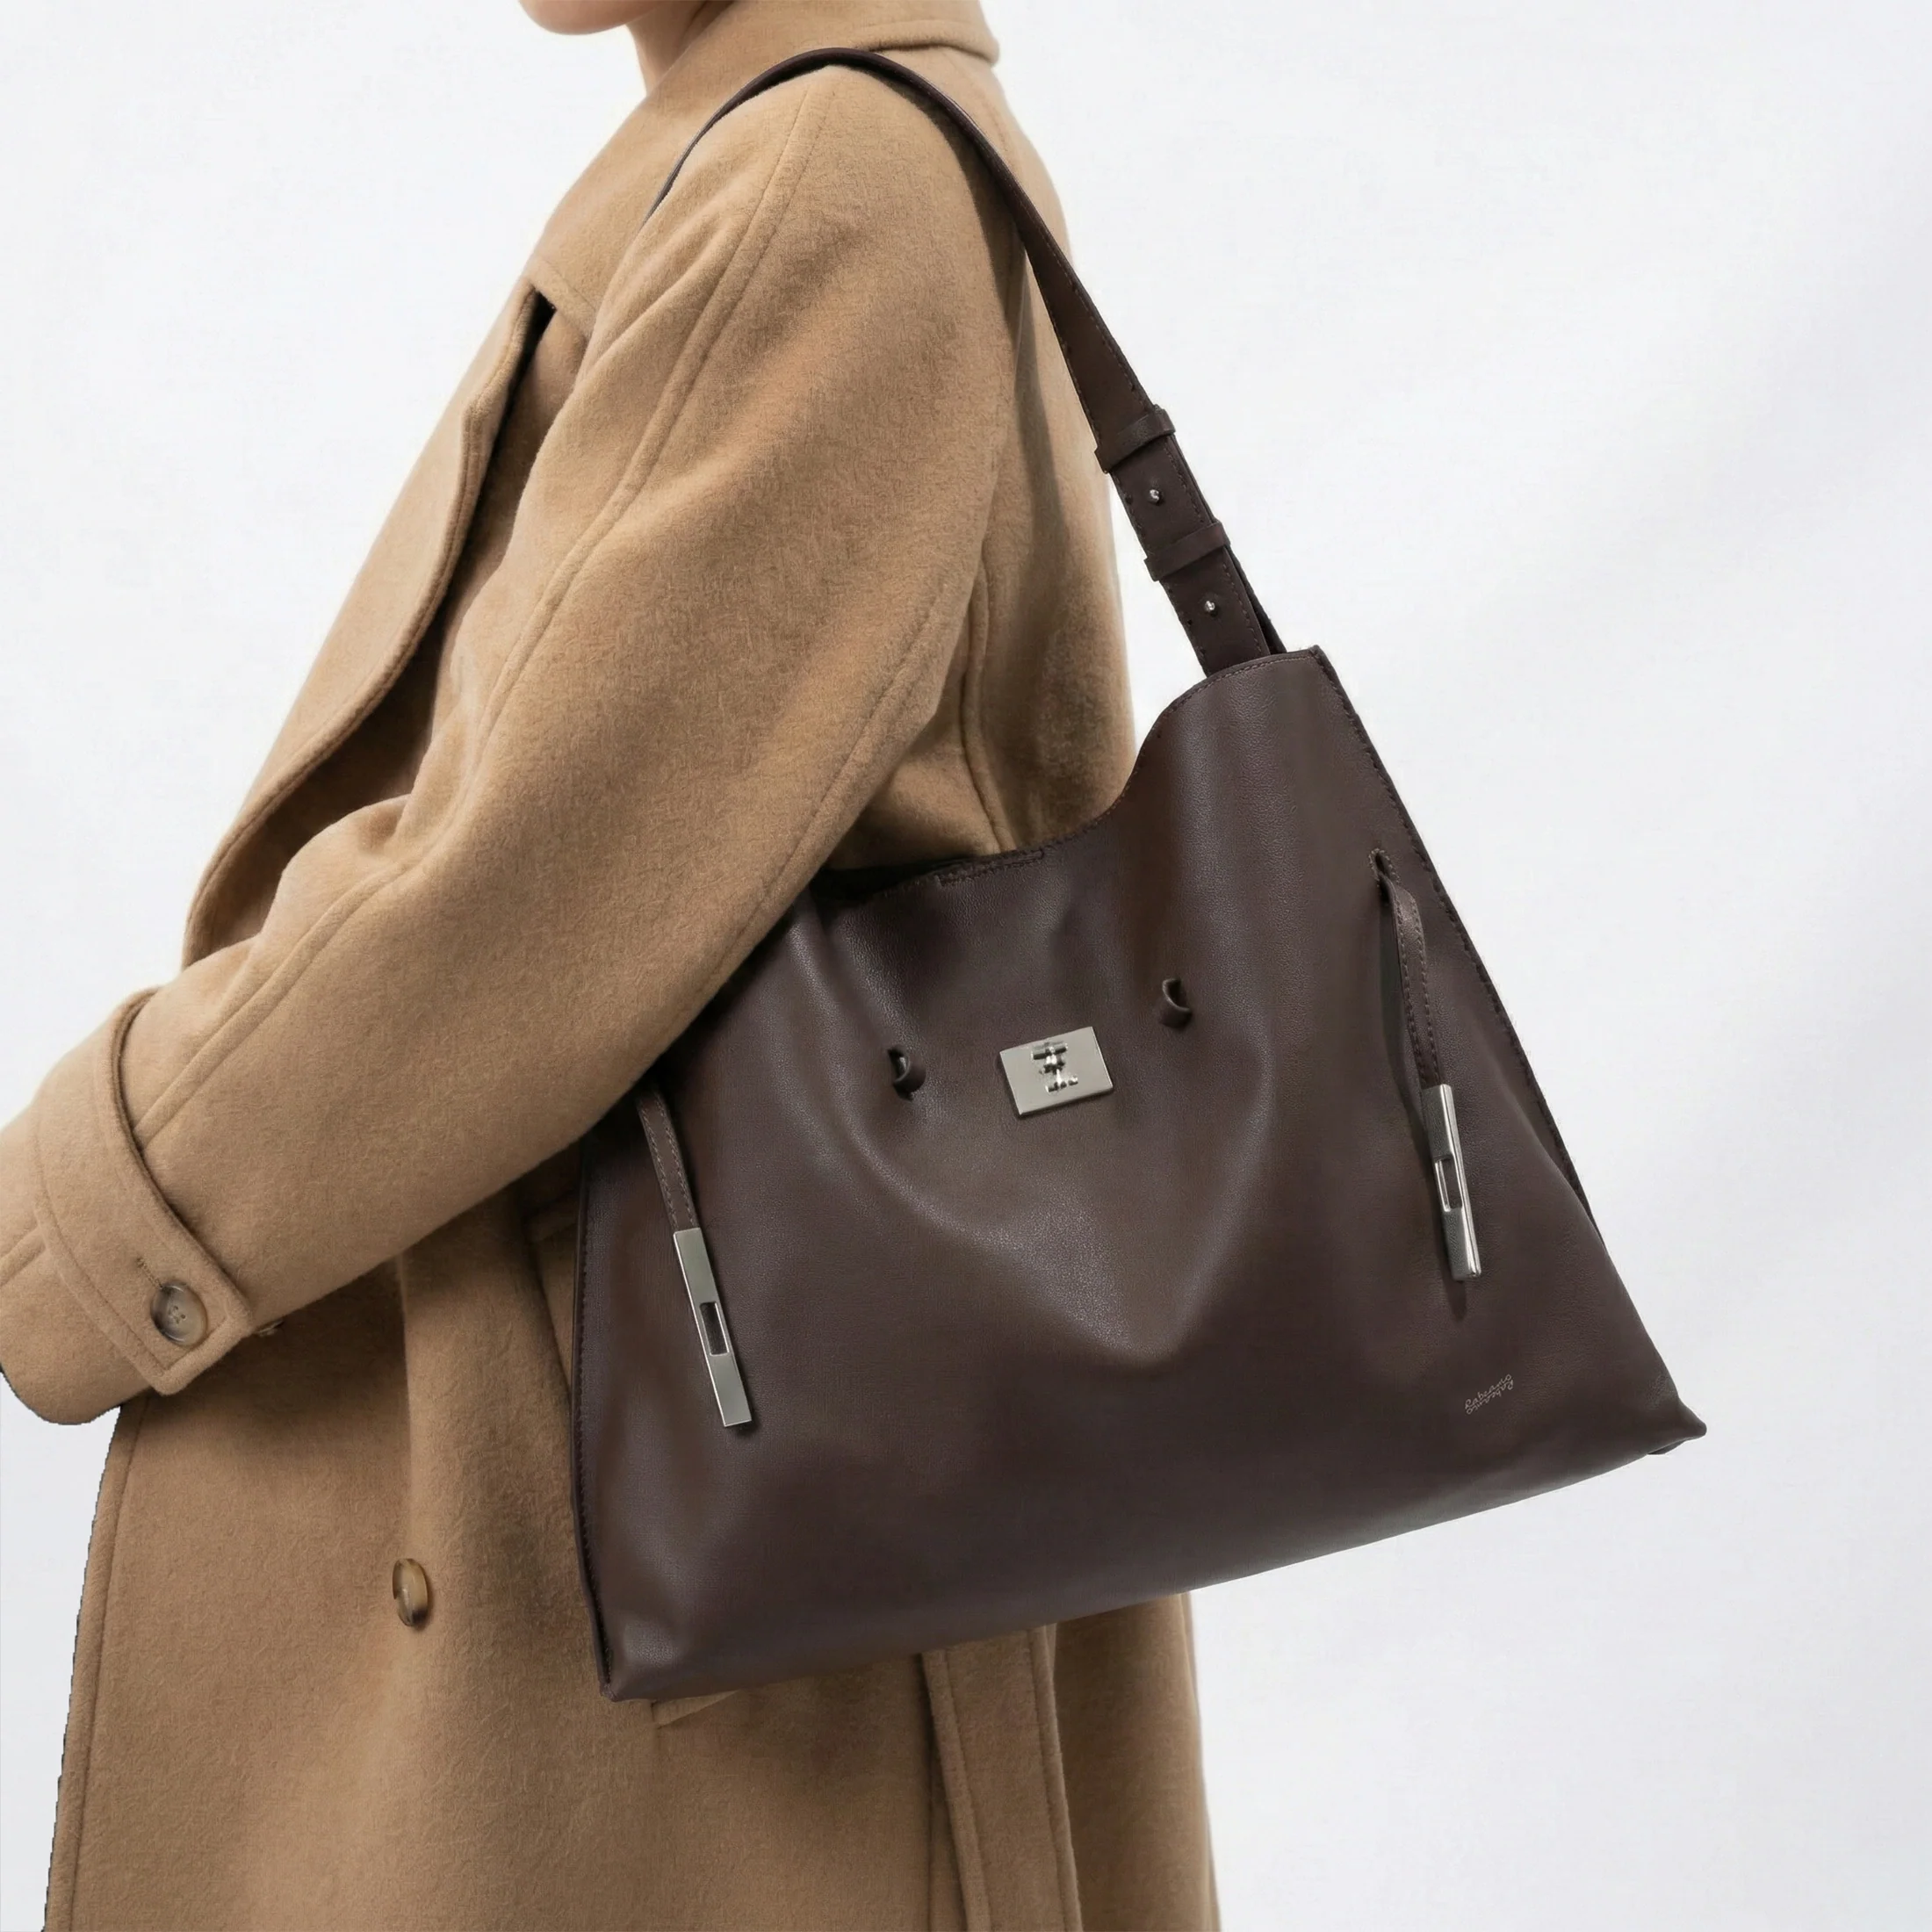
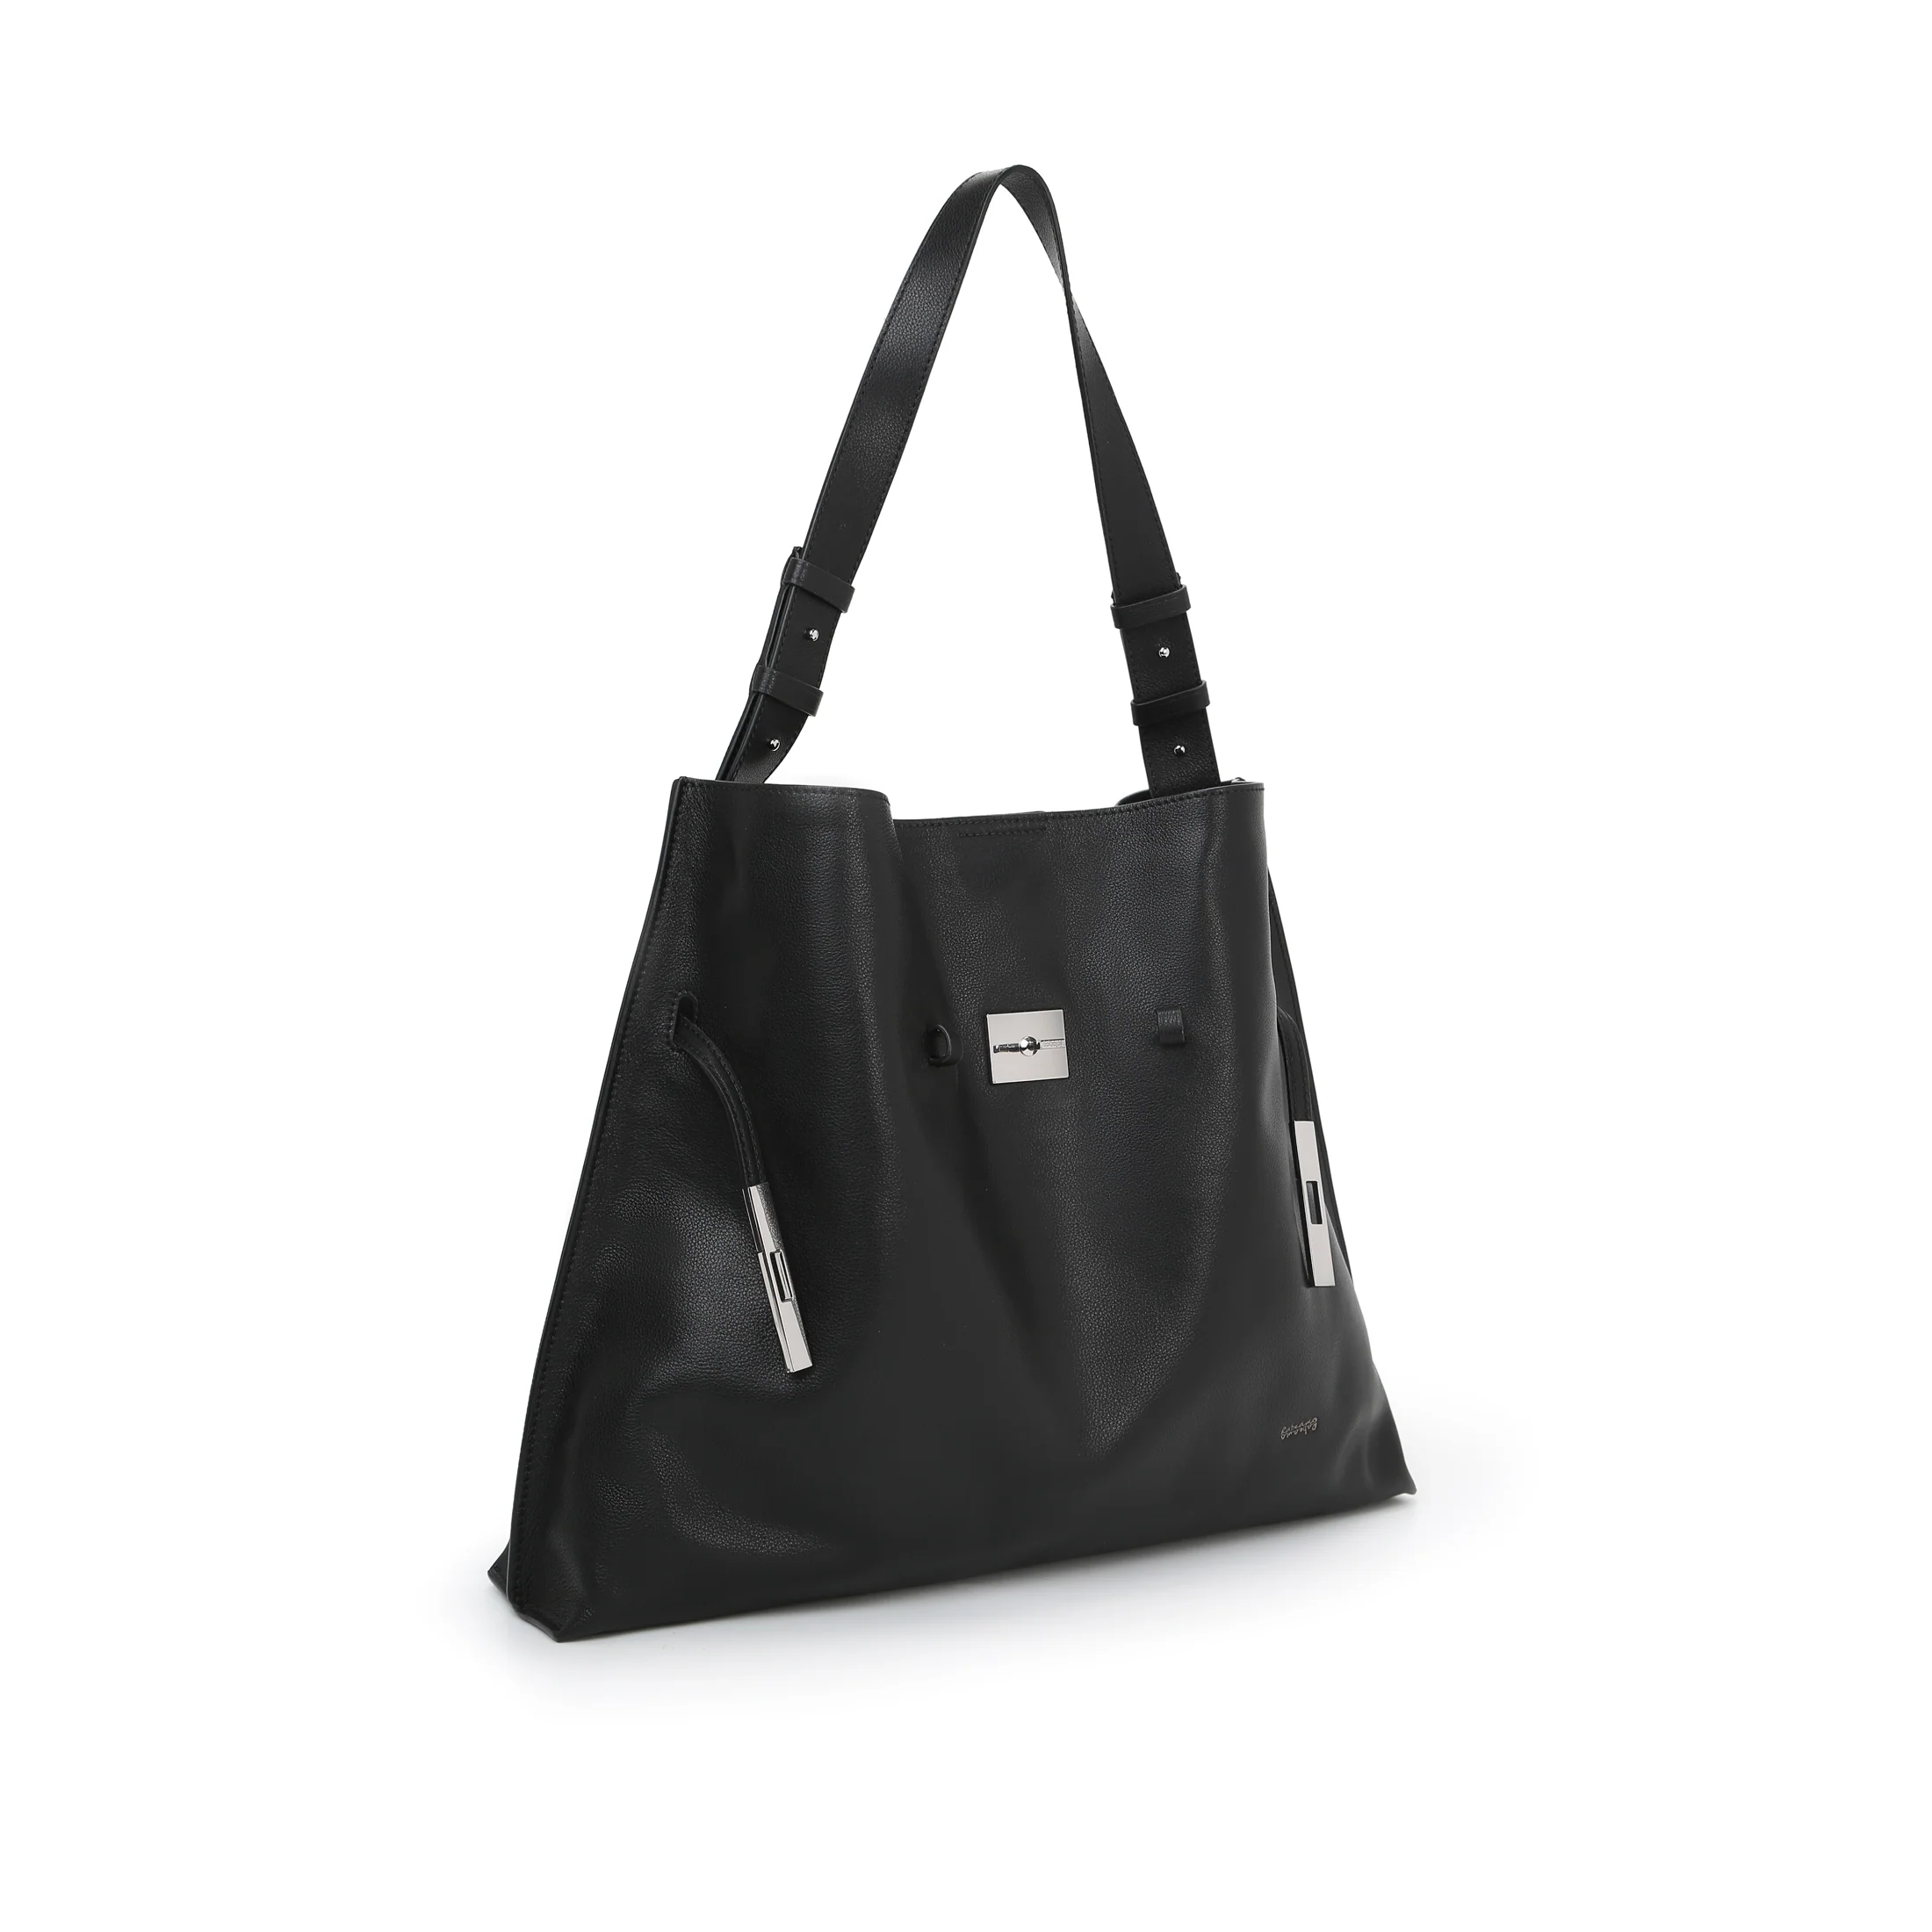
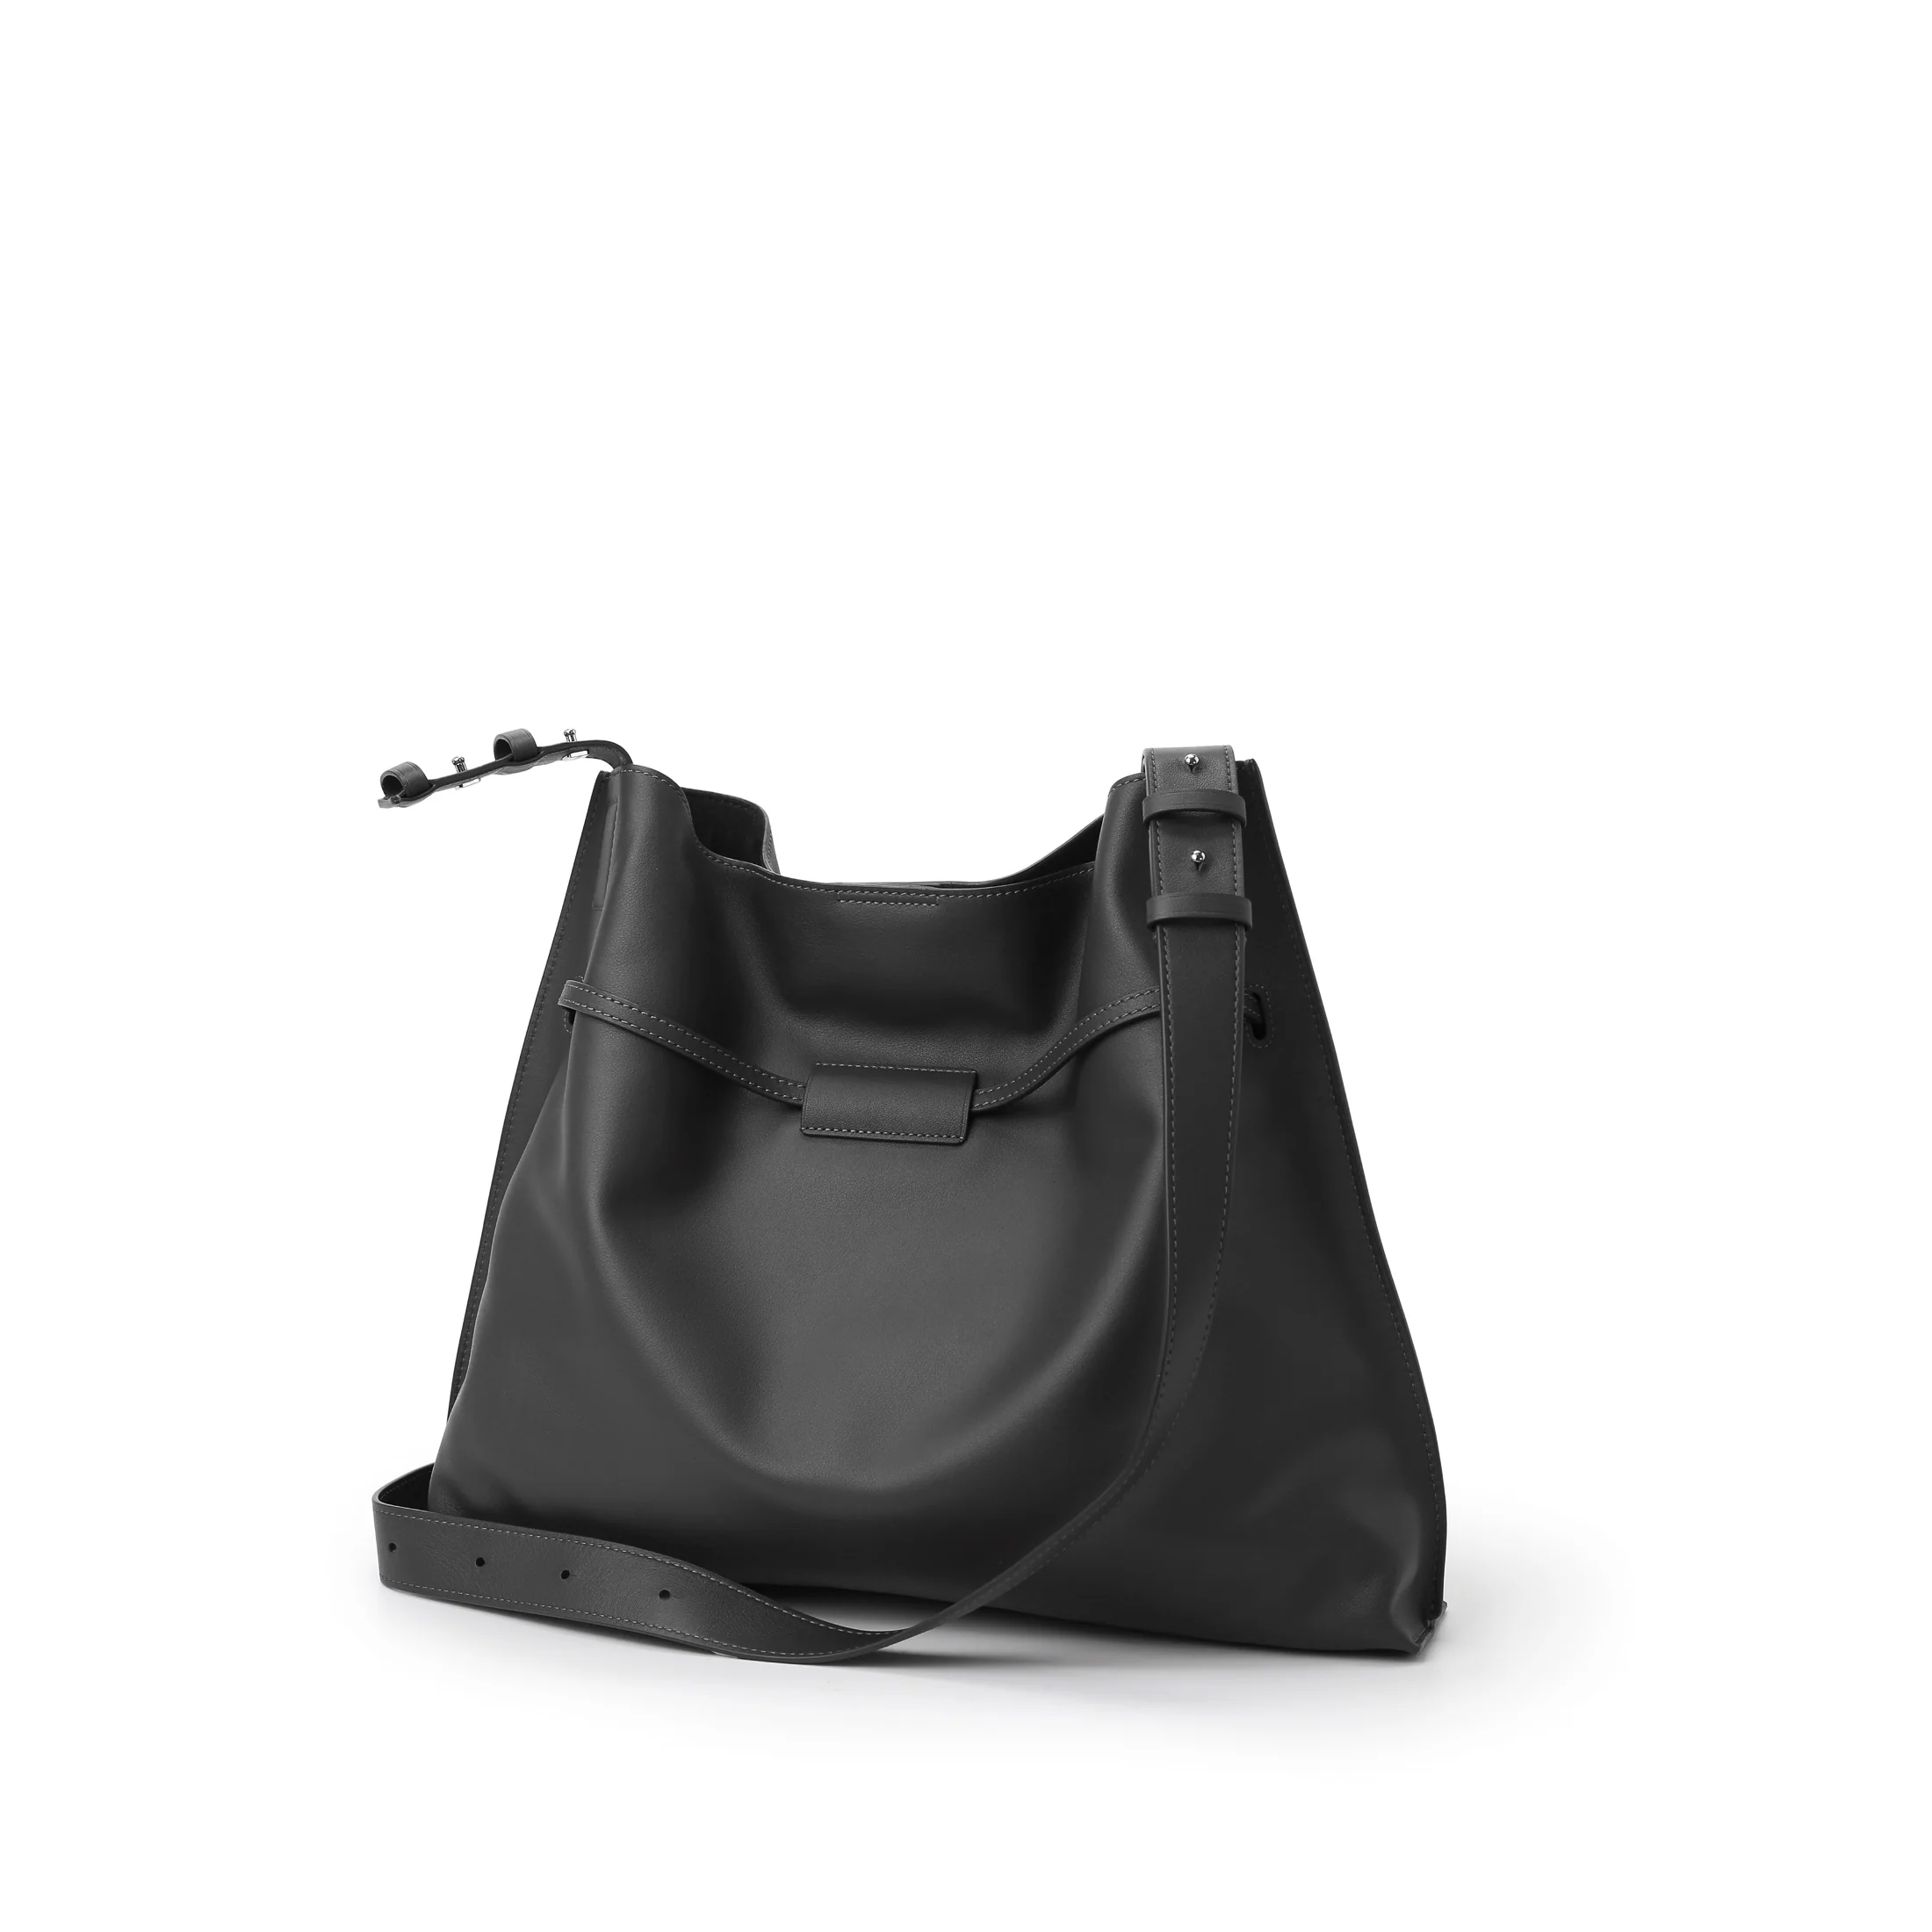
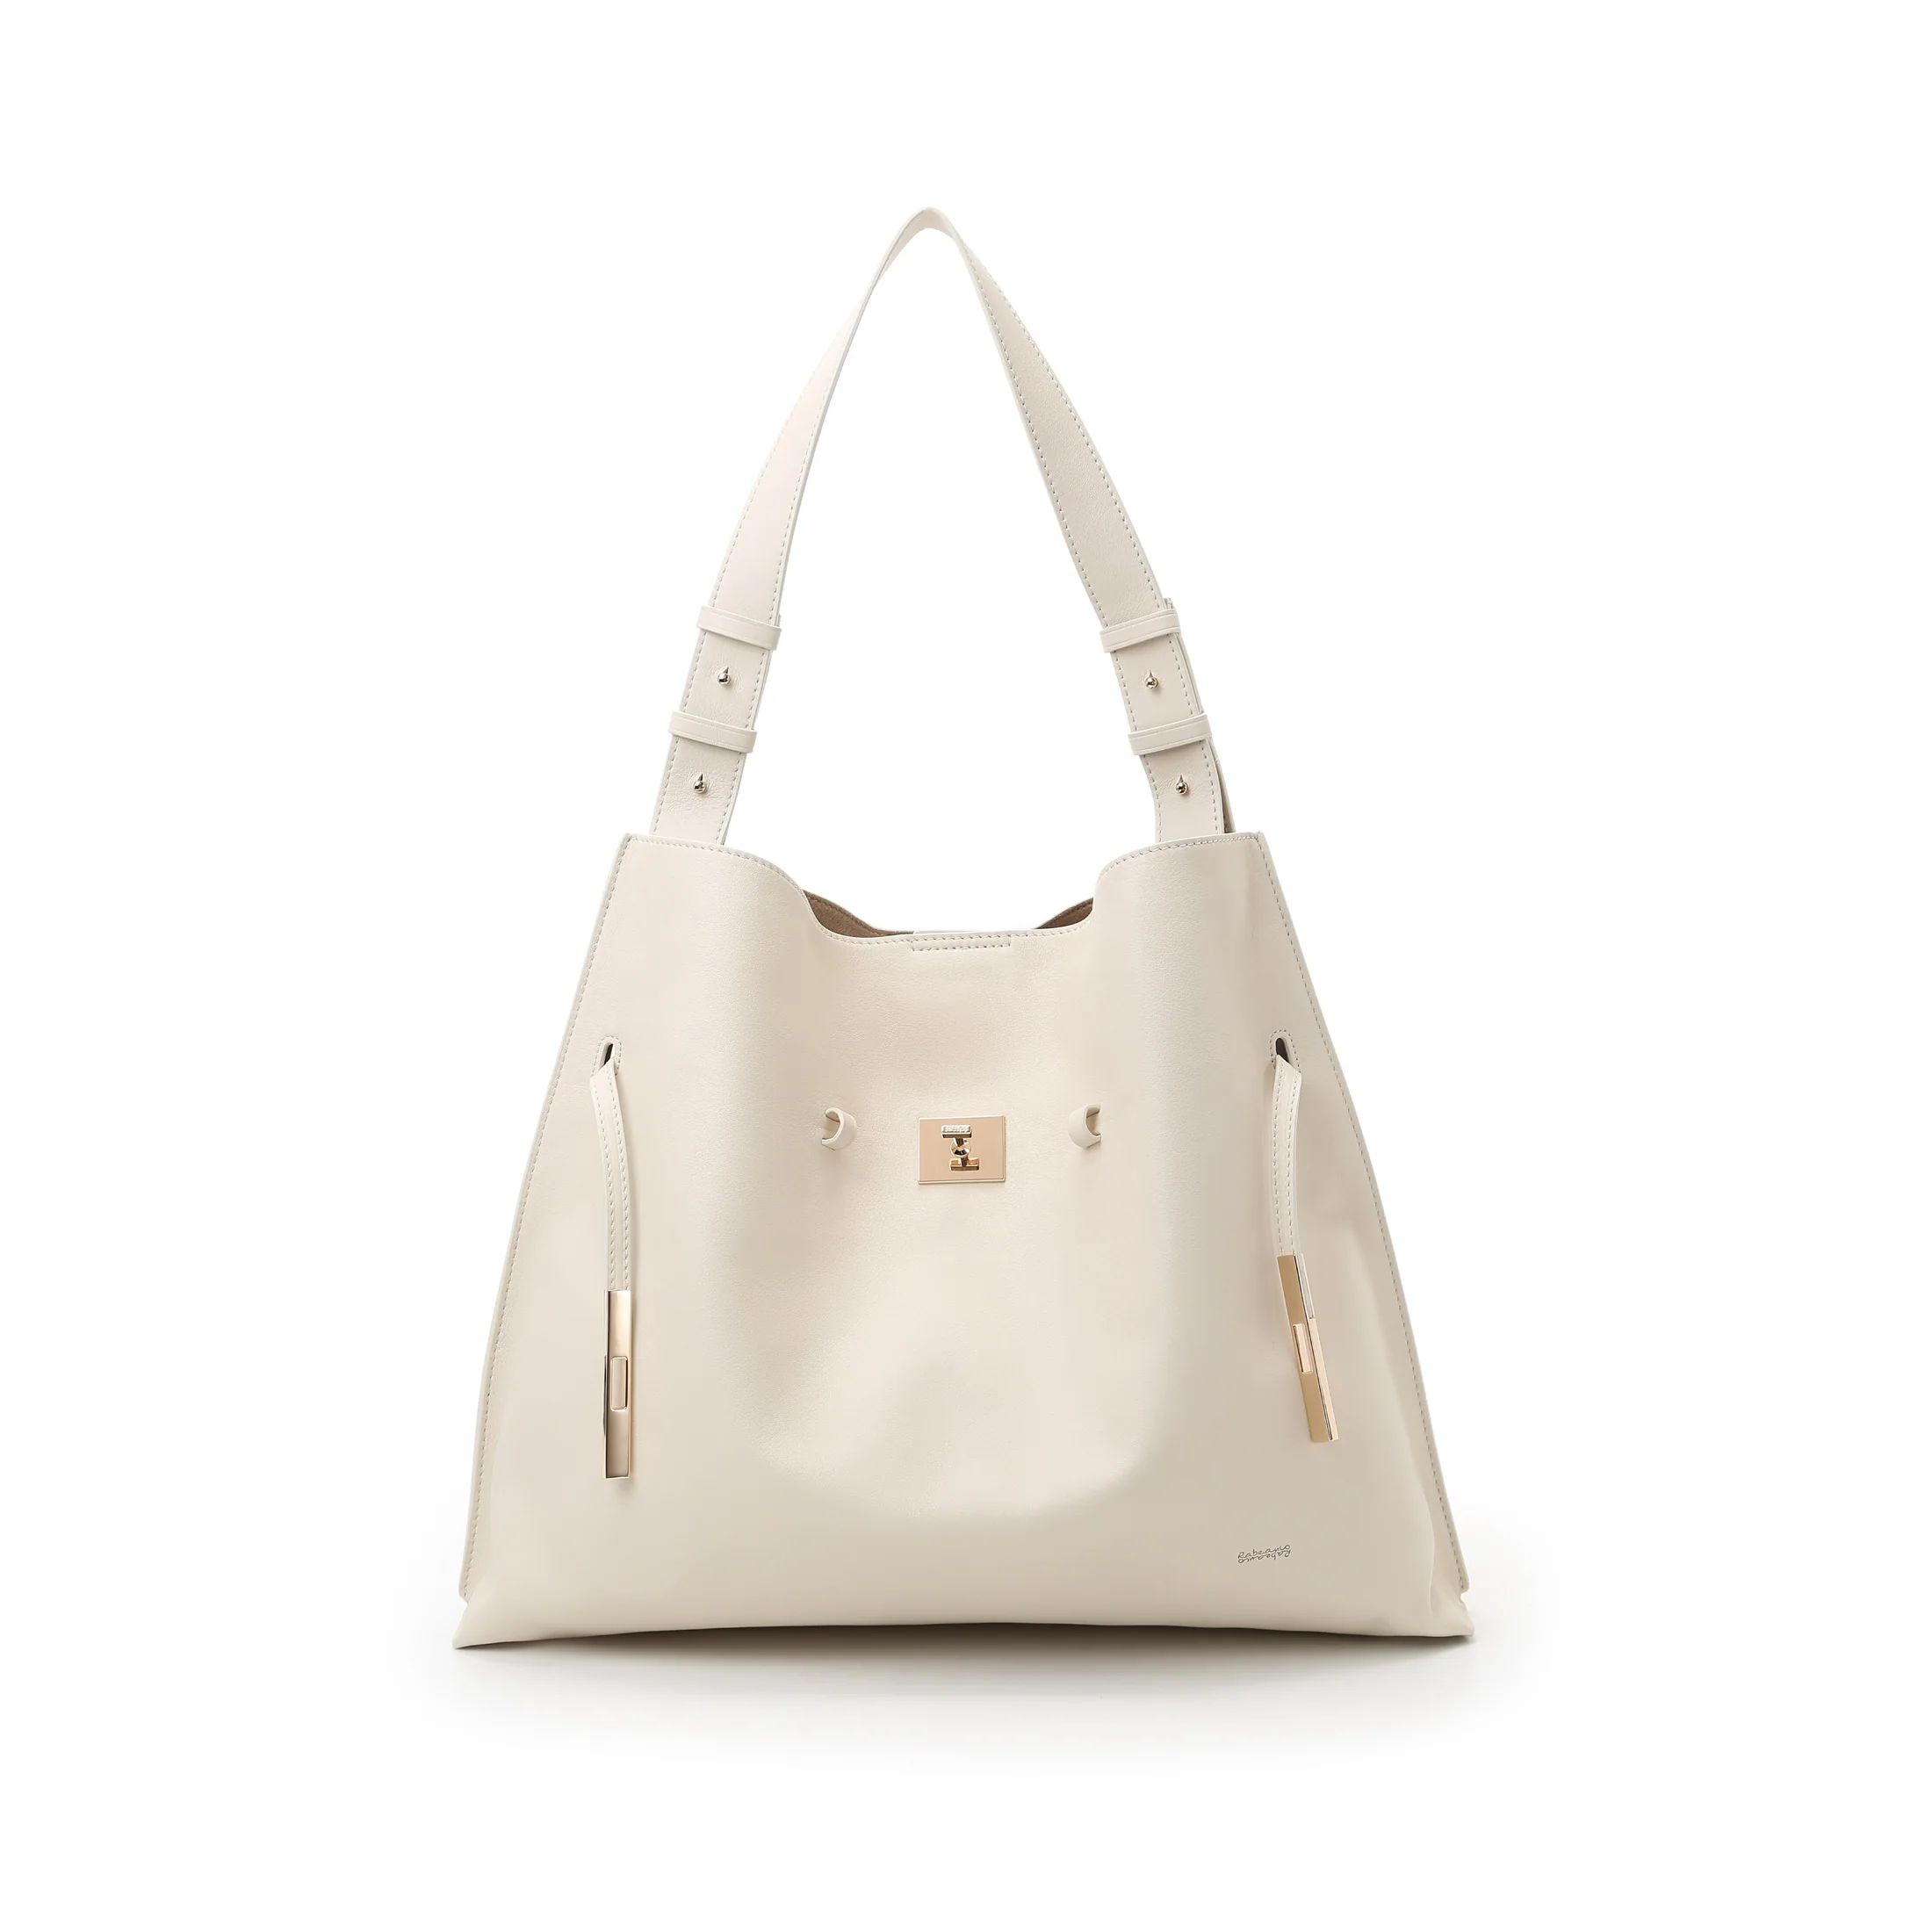
- Semi-structured body for a slouchier, more relaxed look
- Top closure secured by magnetic button
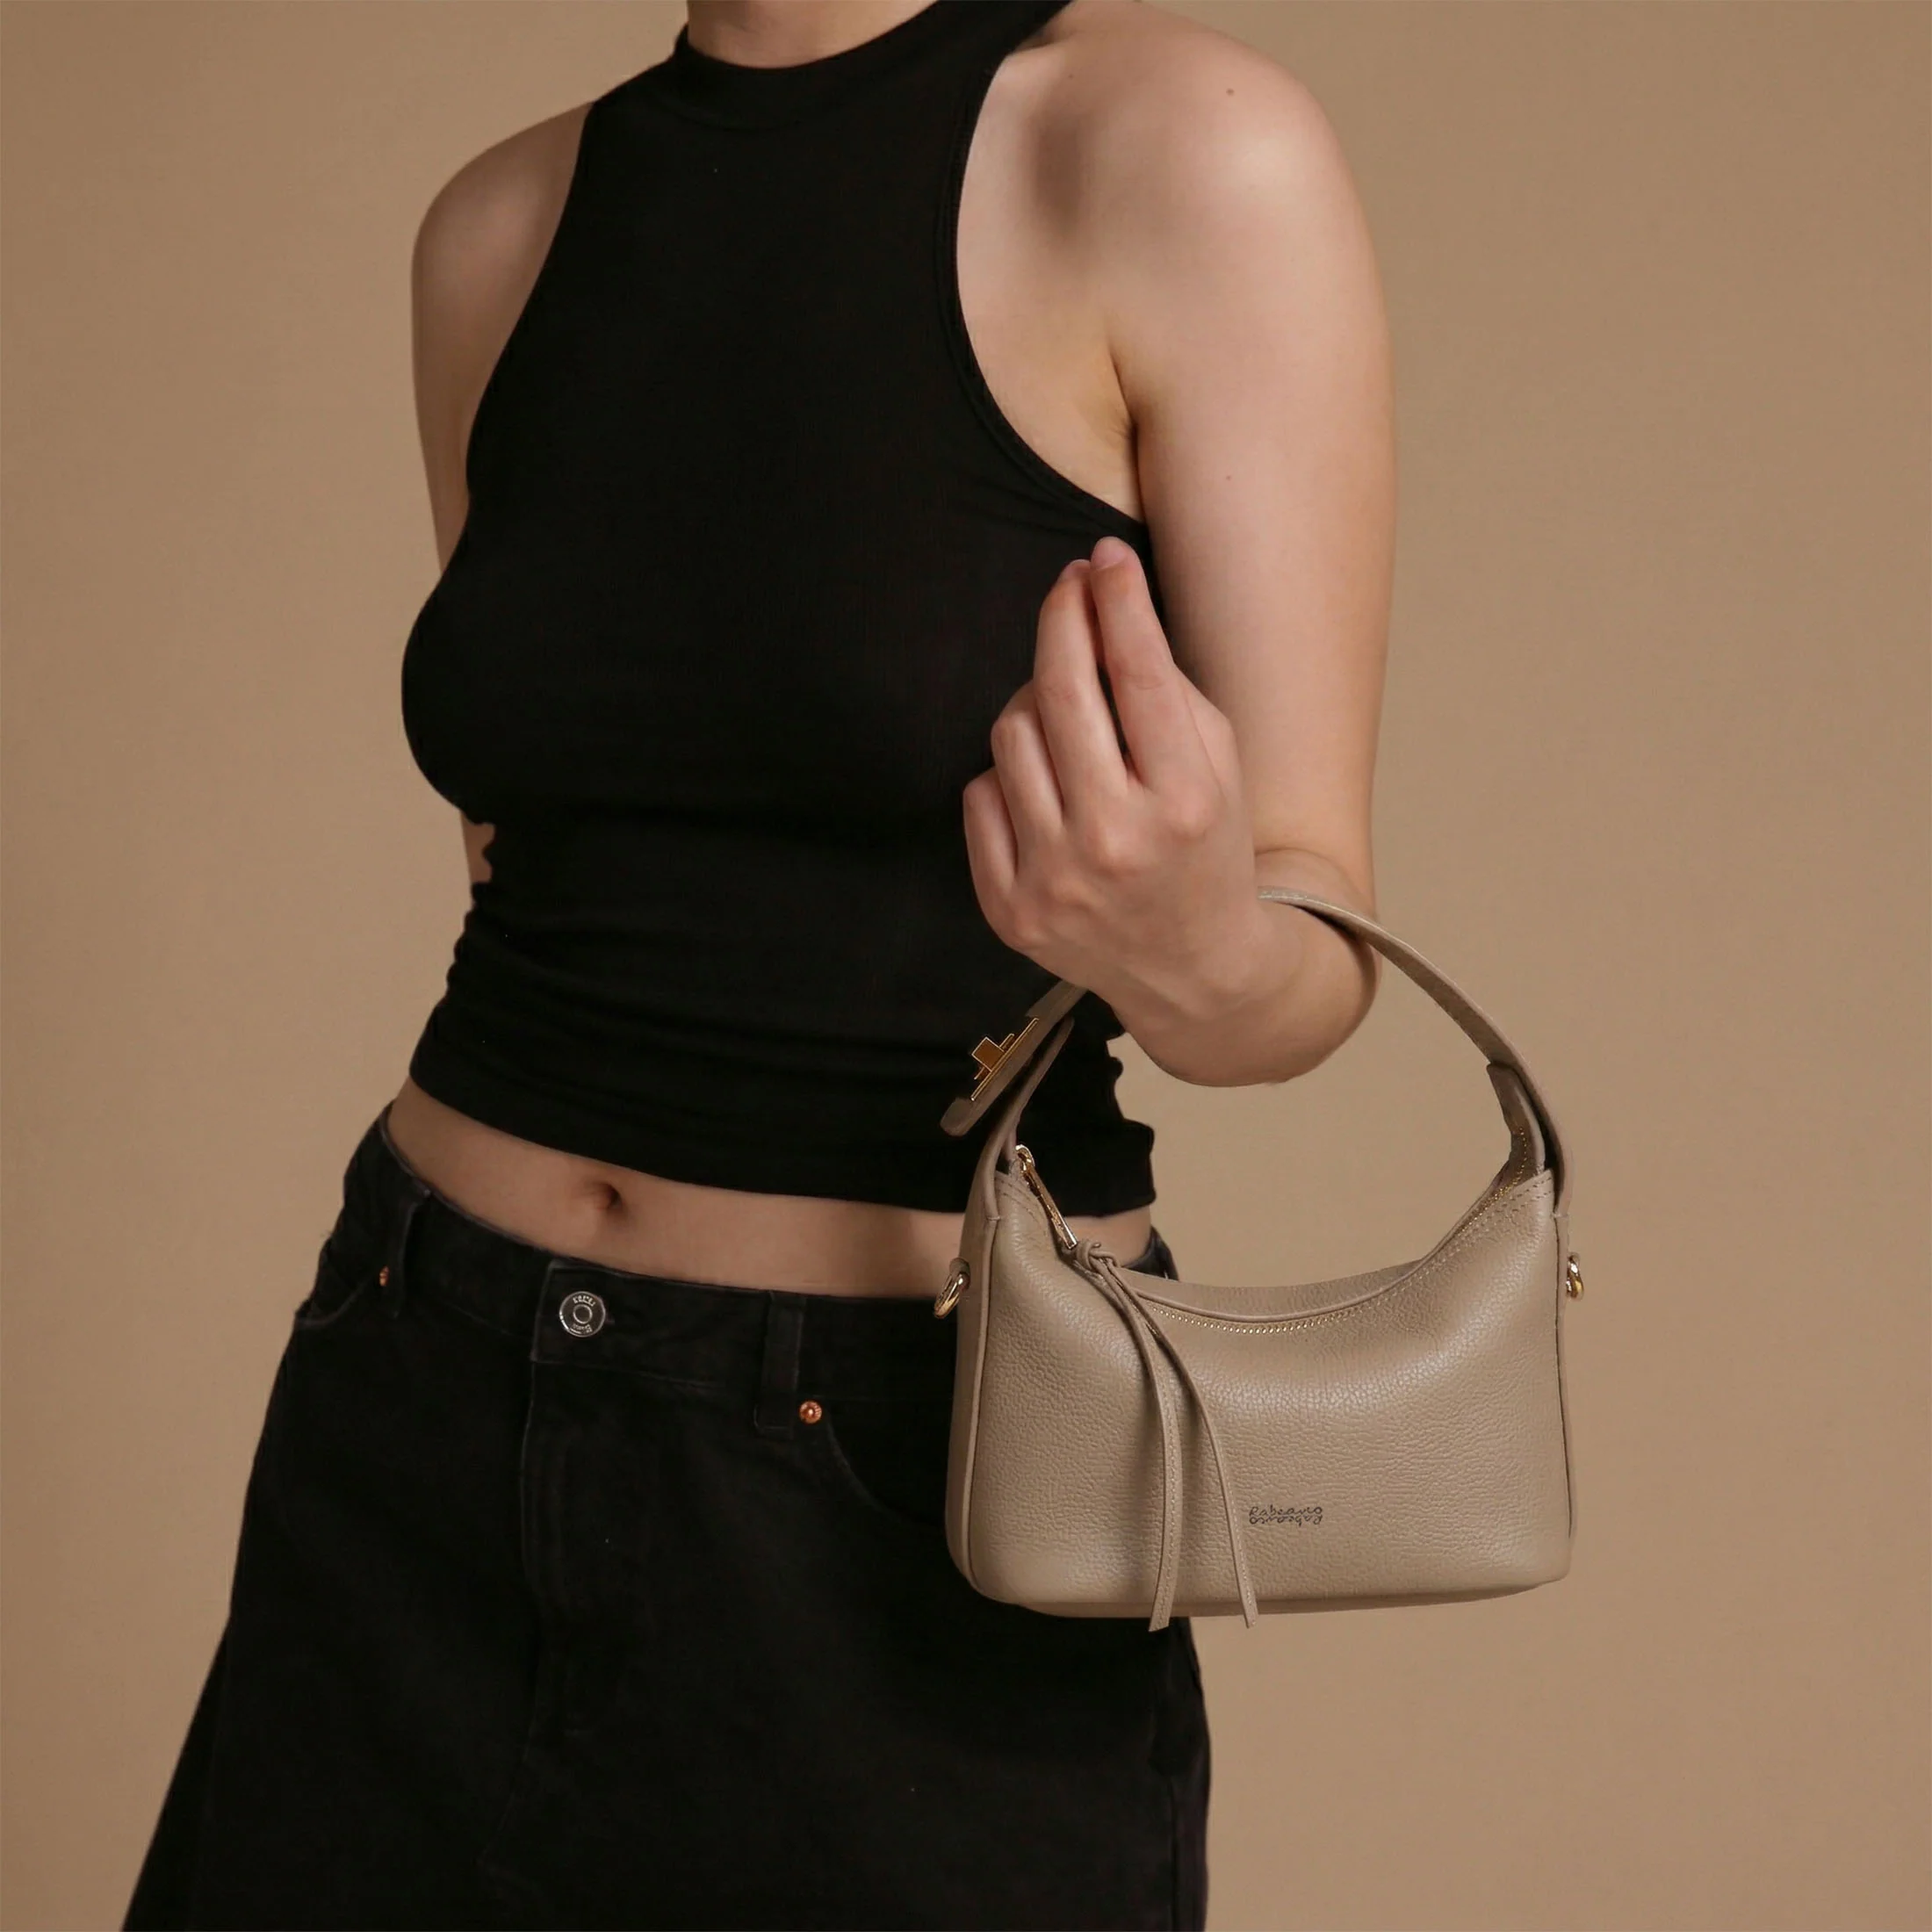
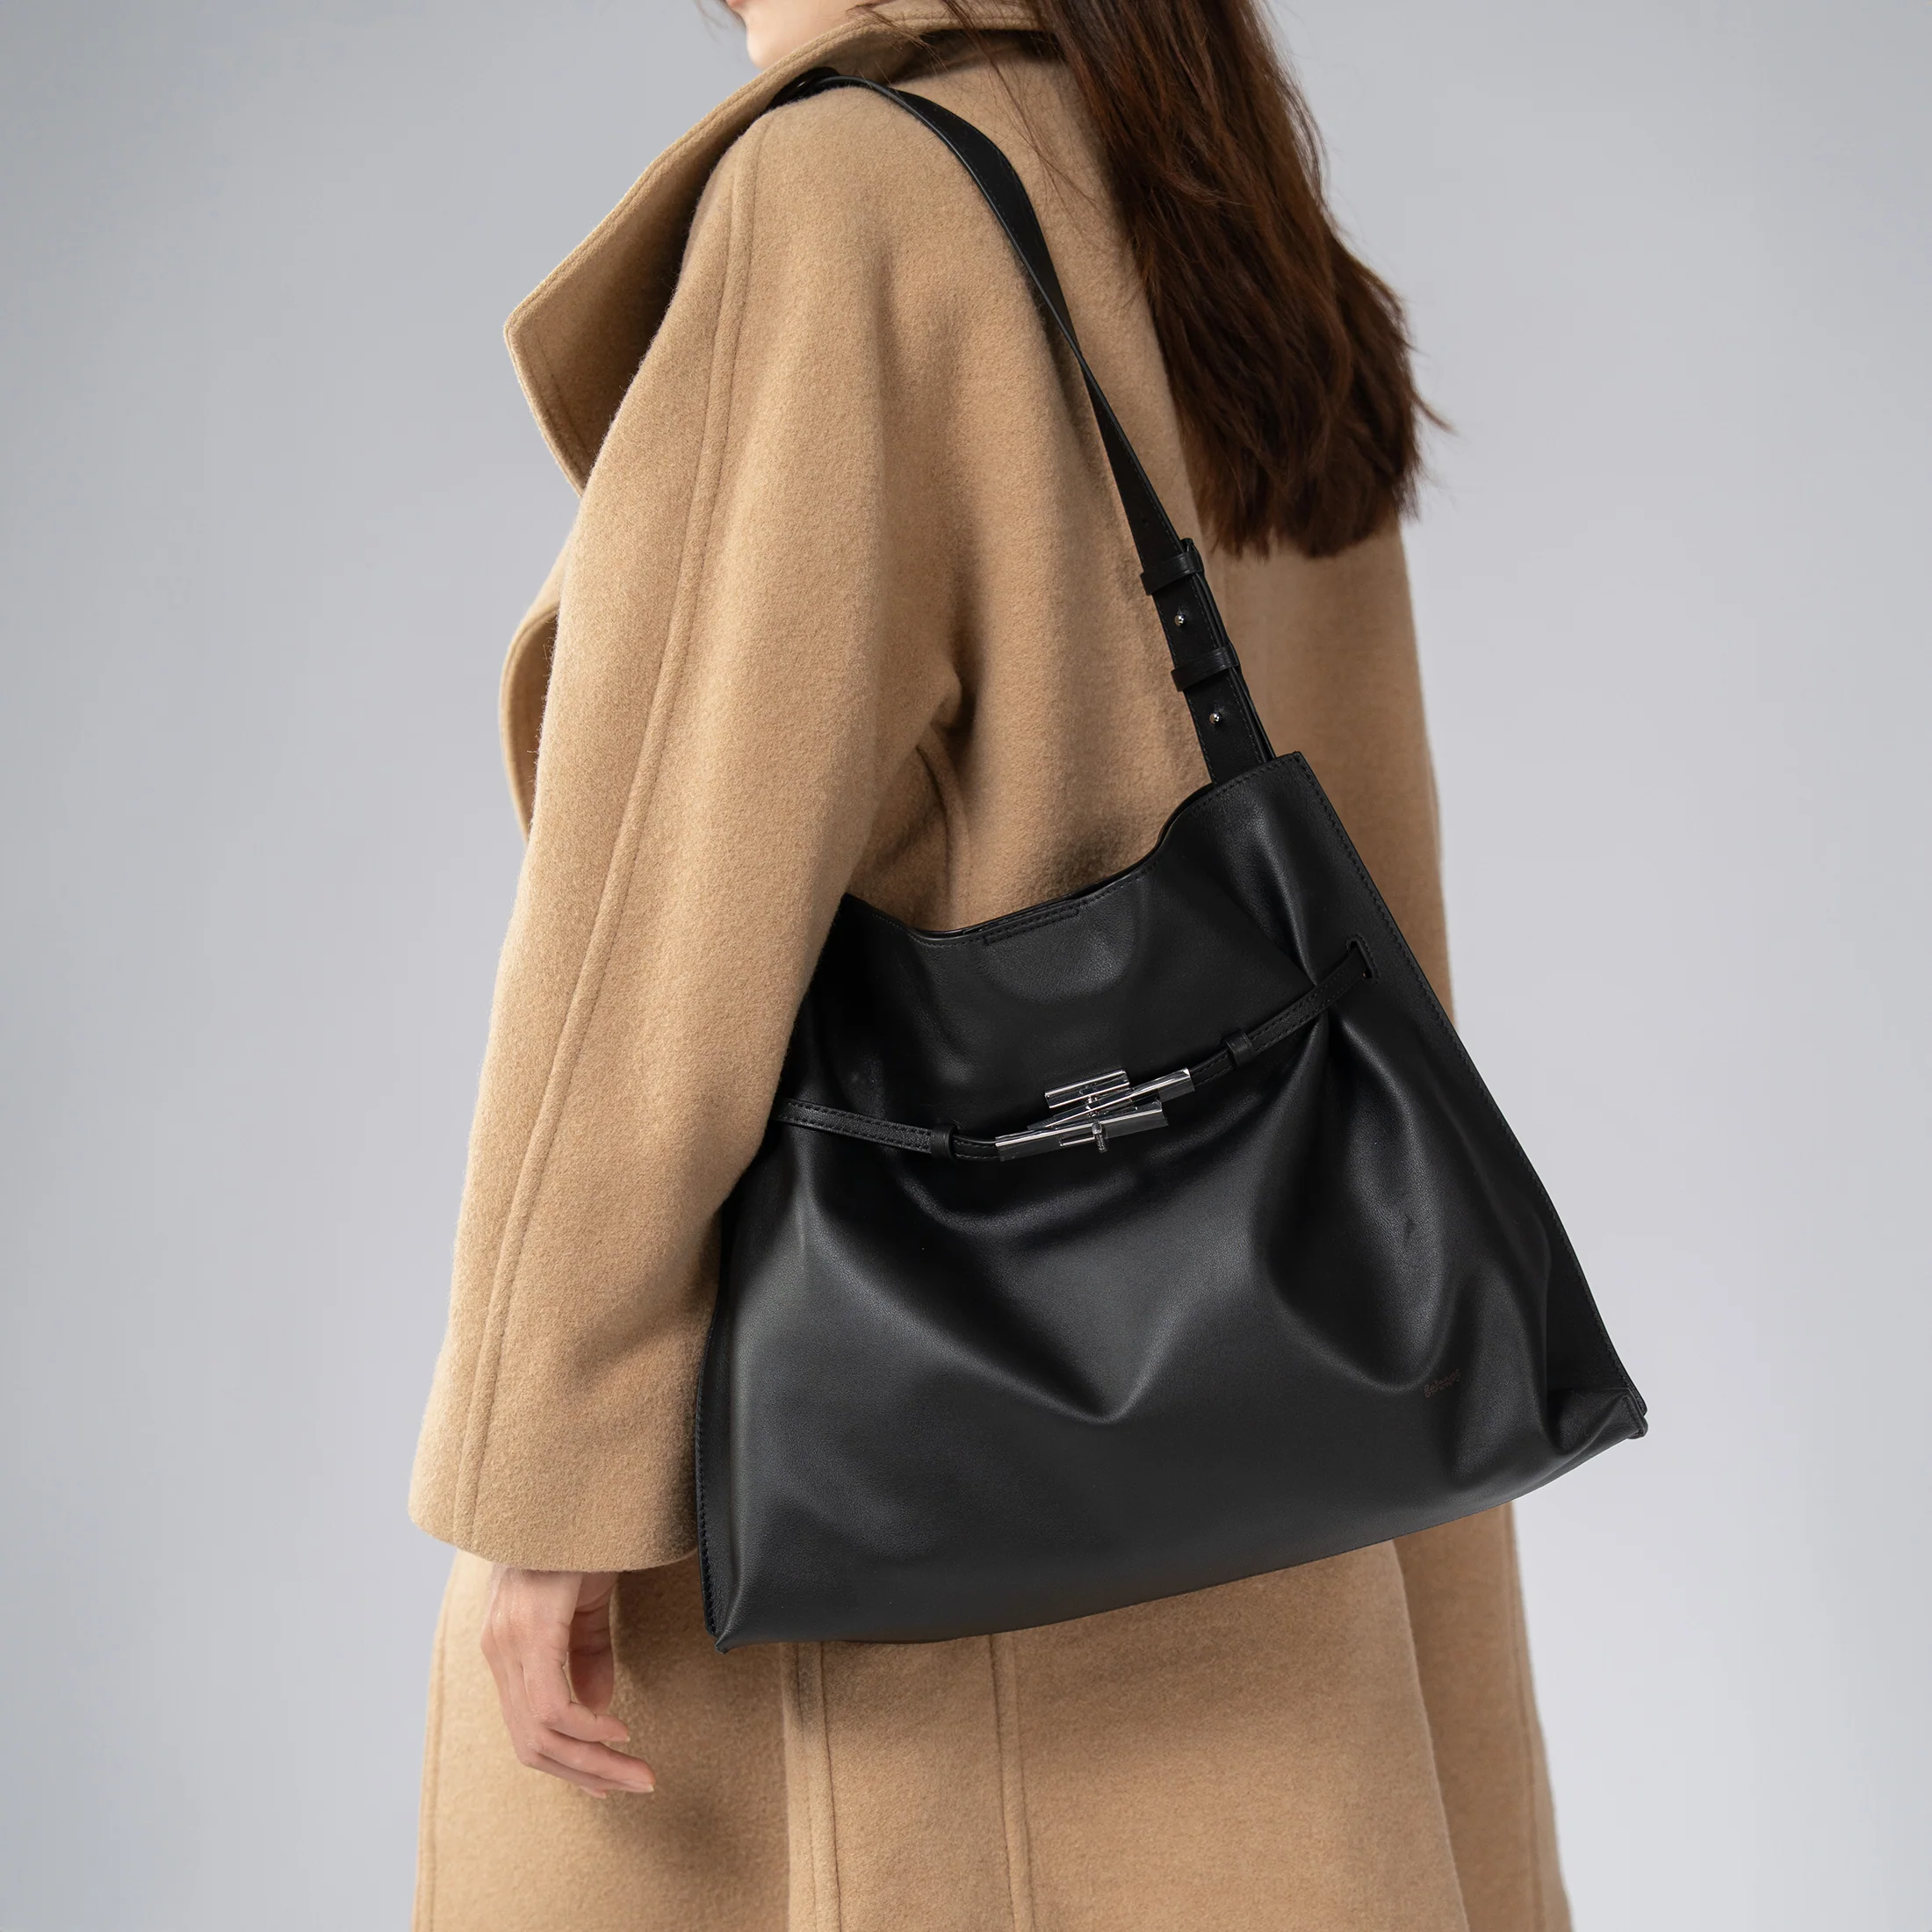
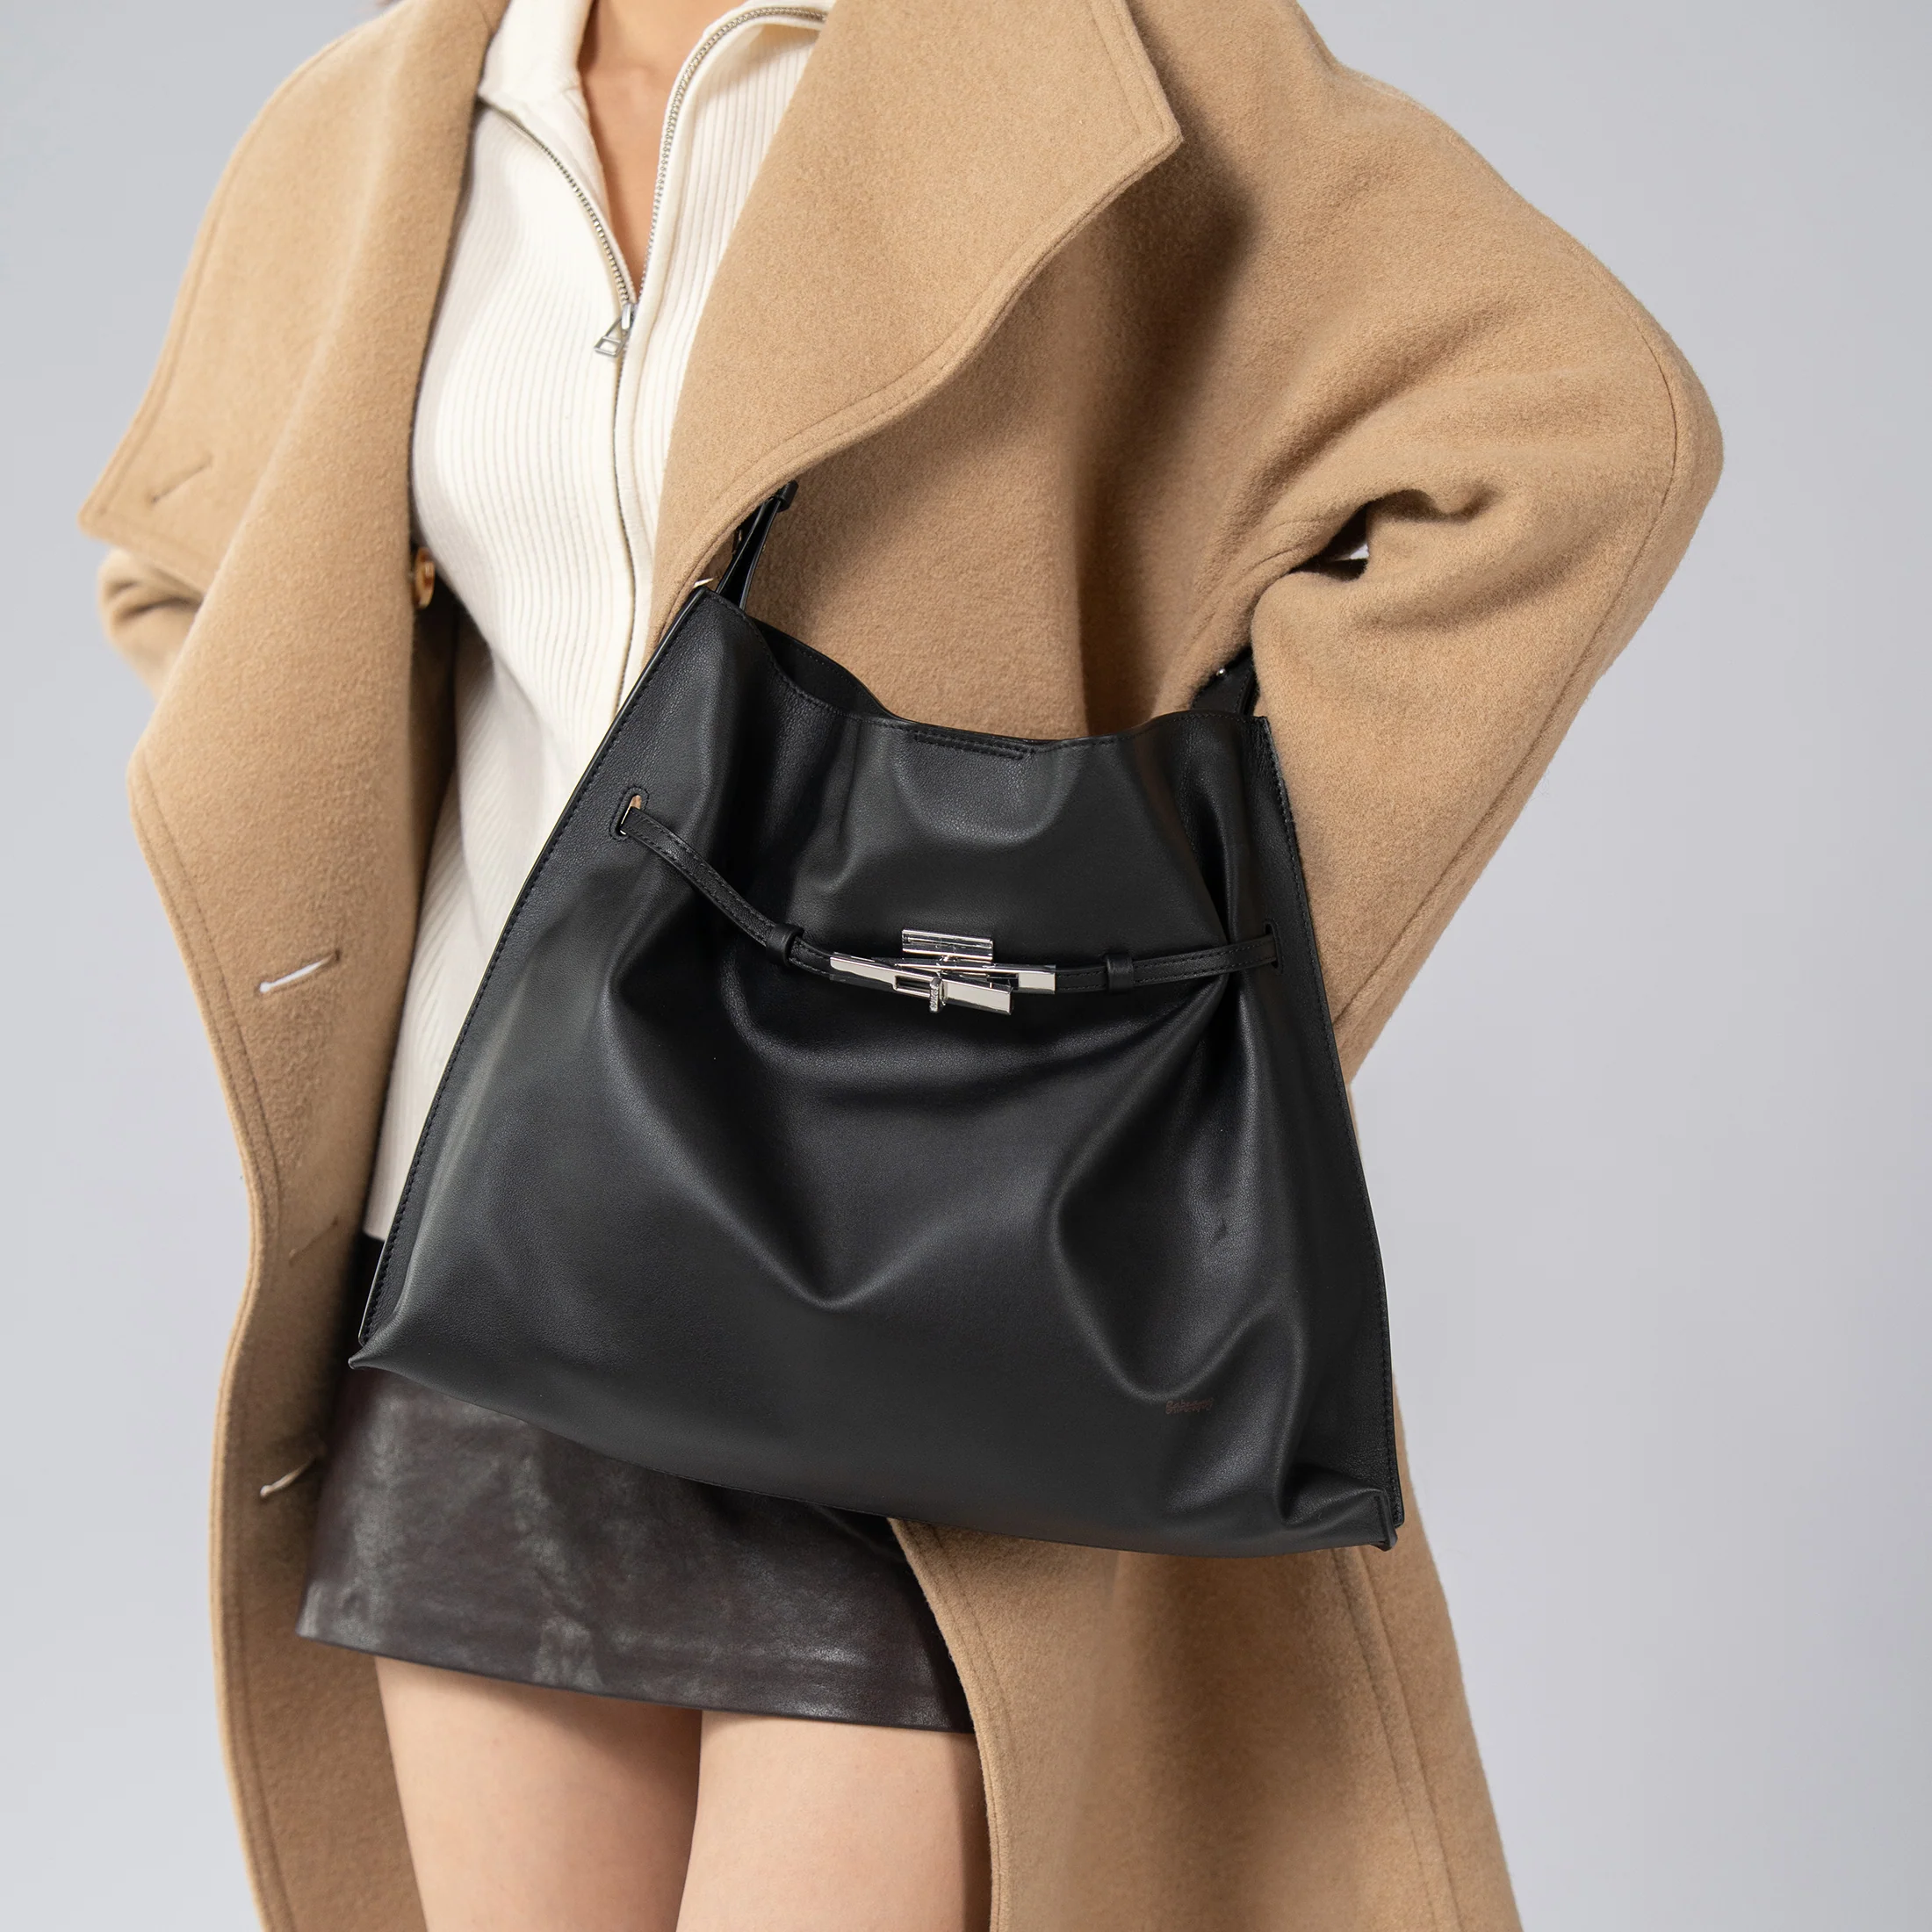
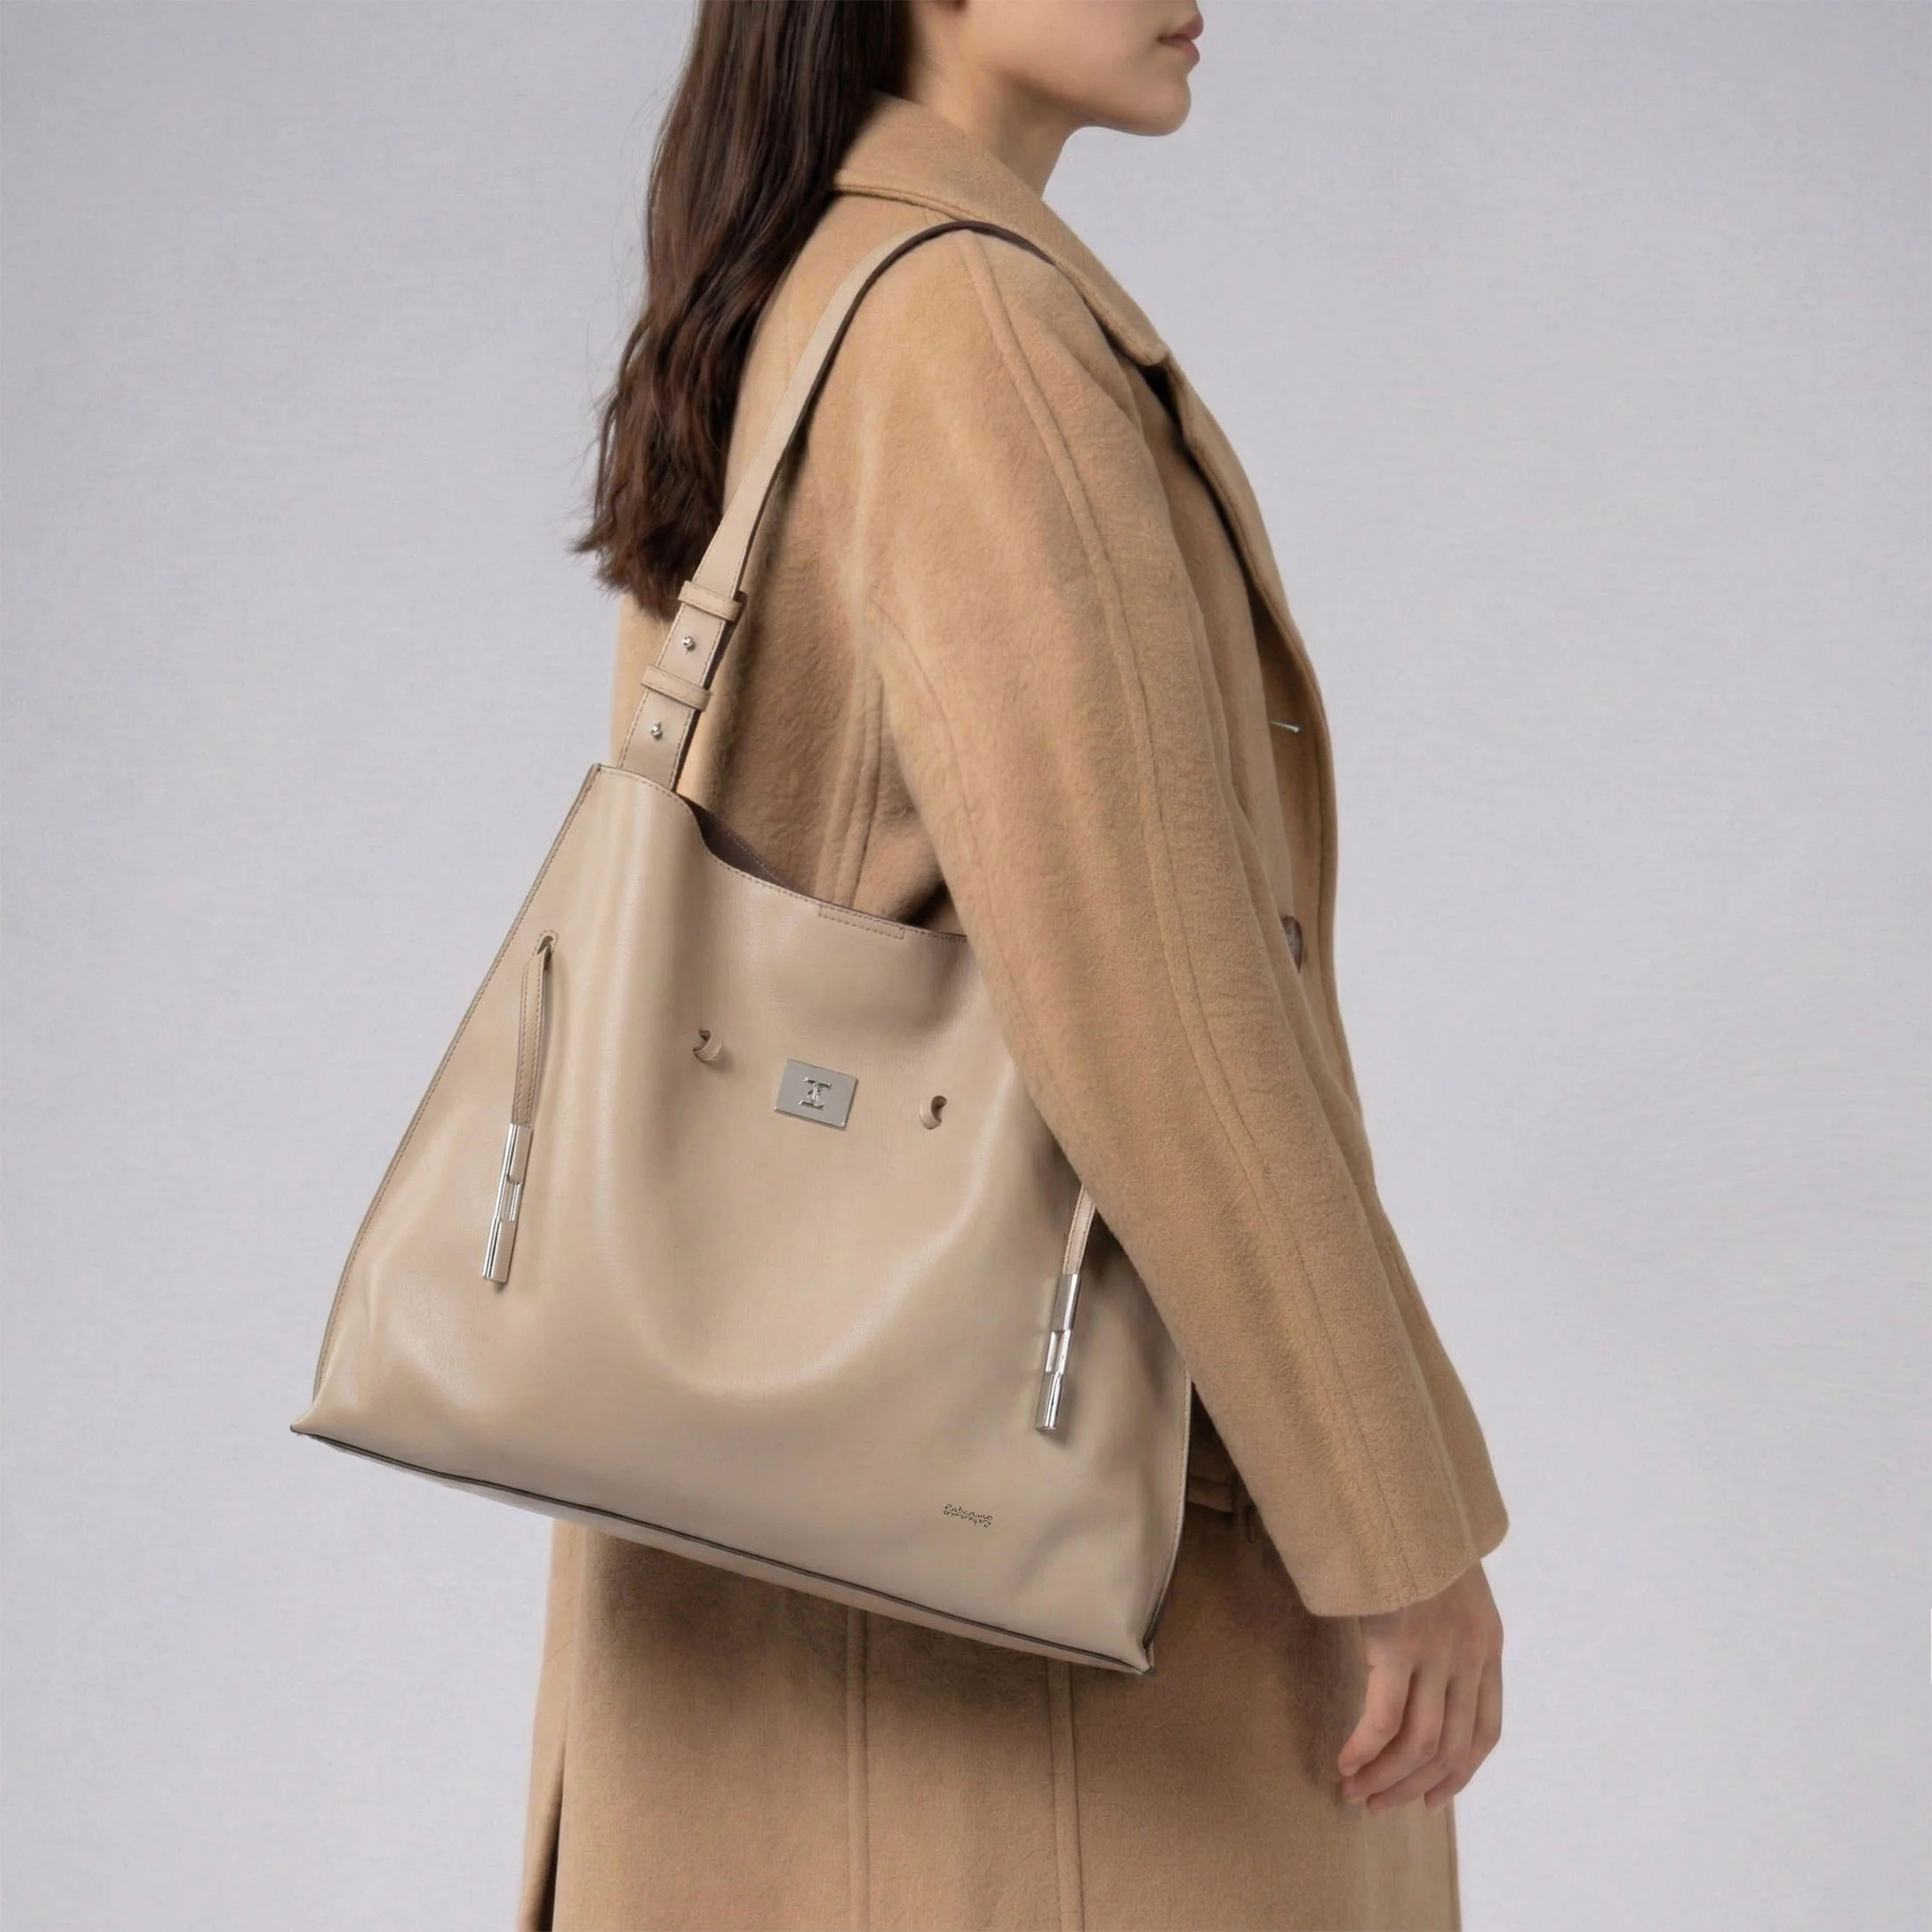
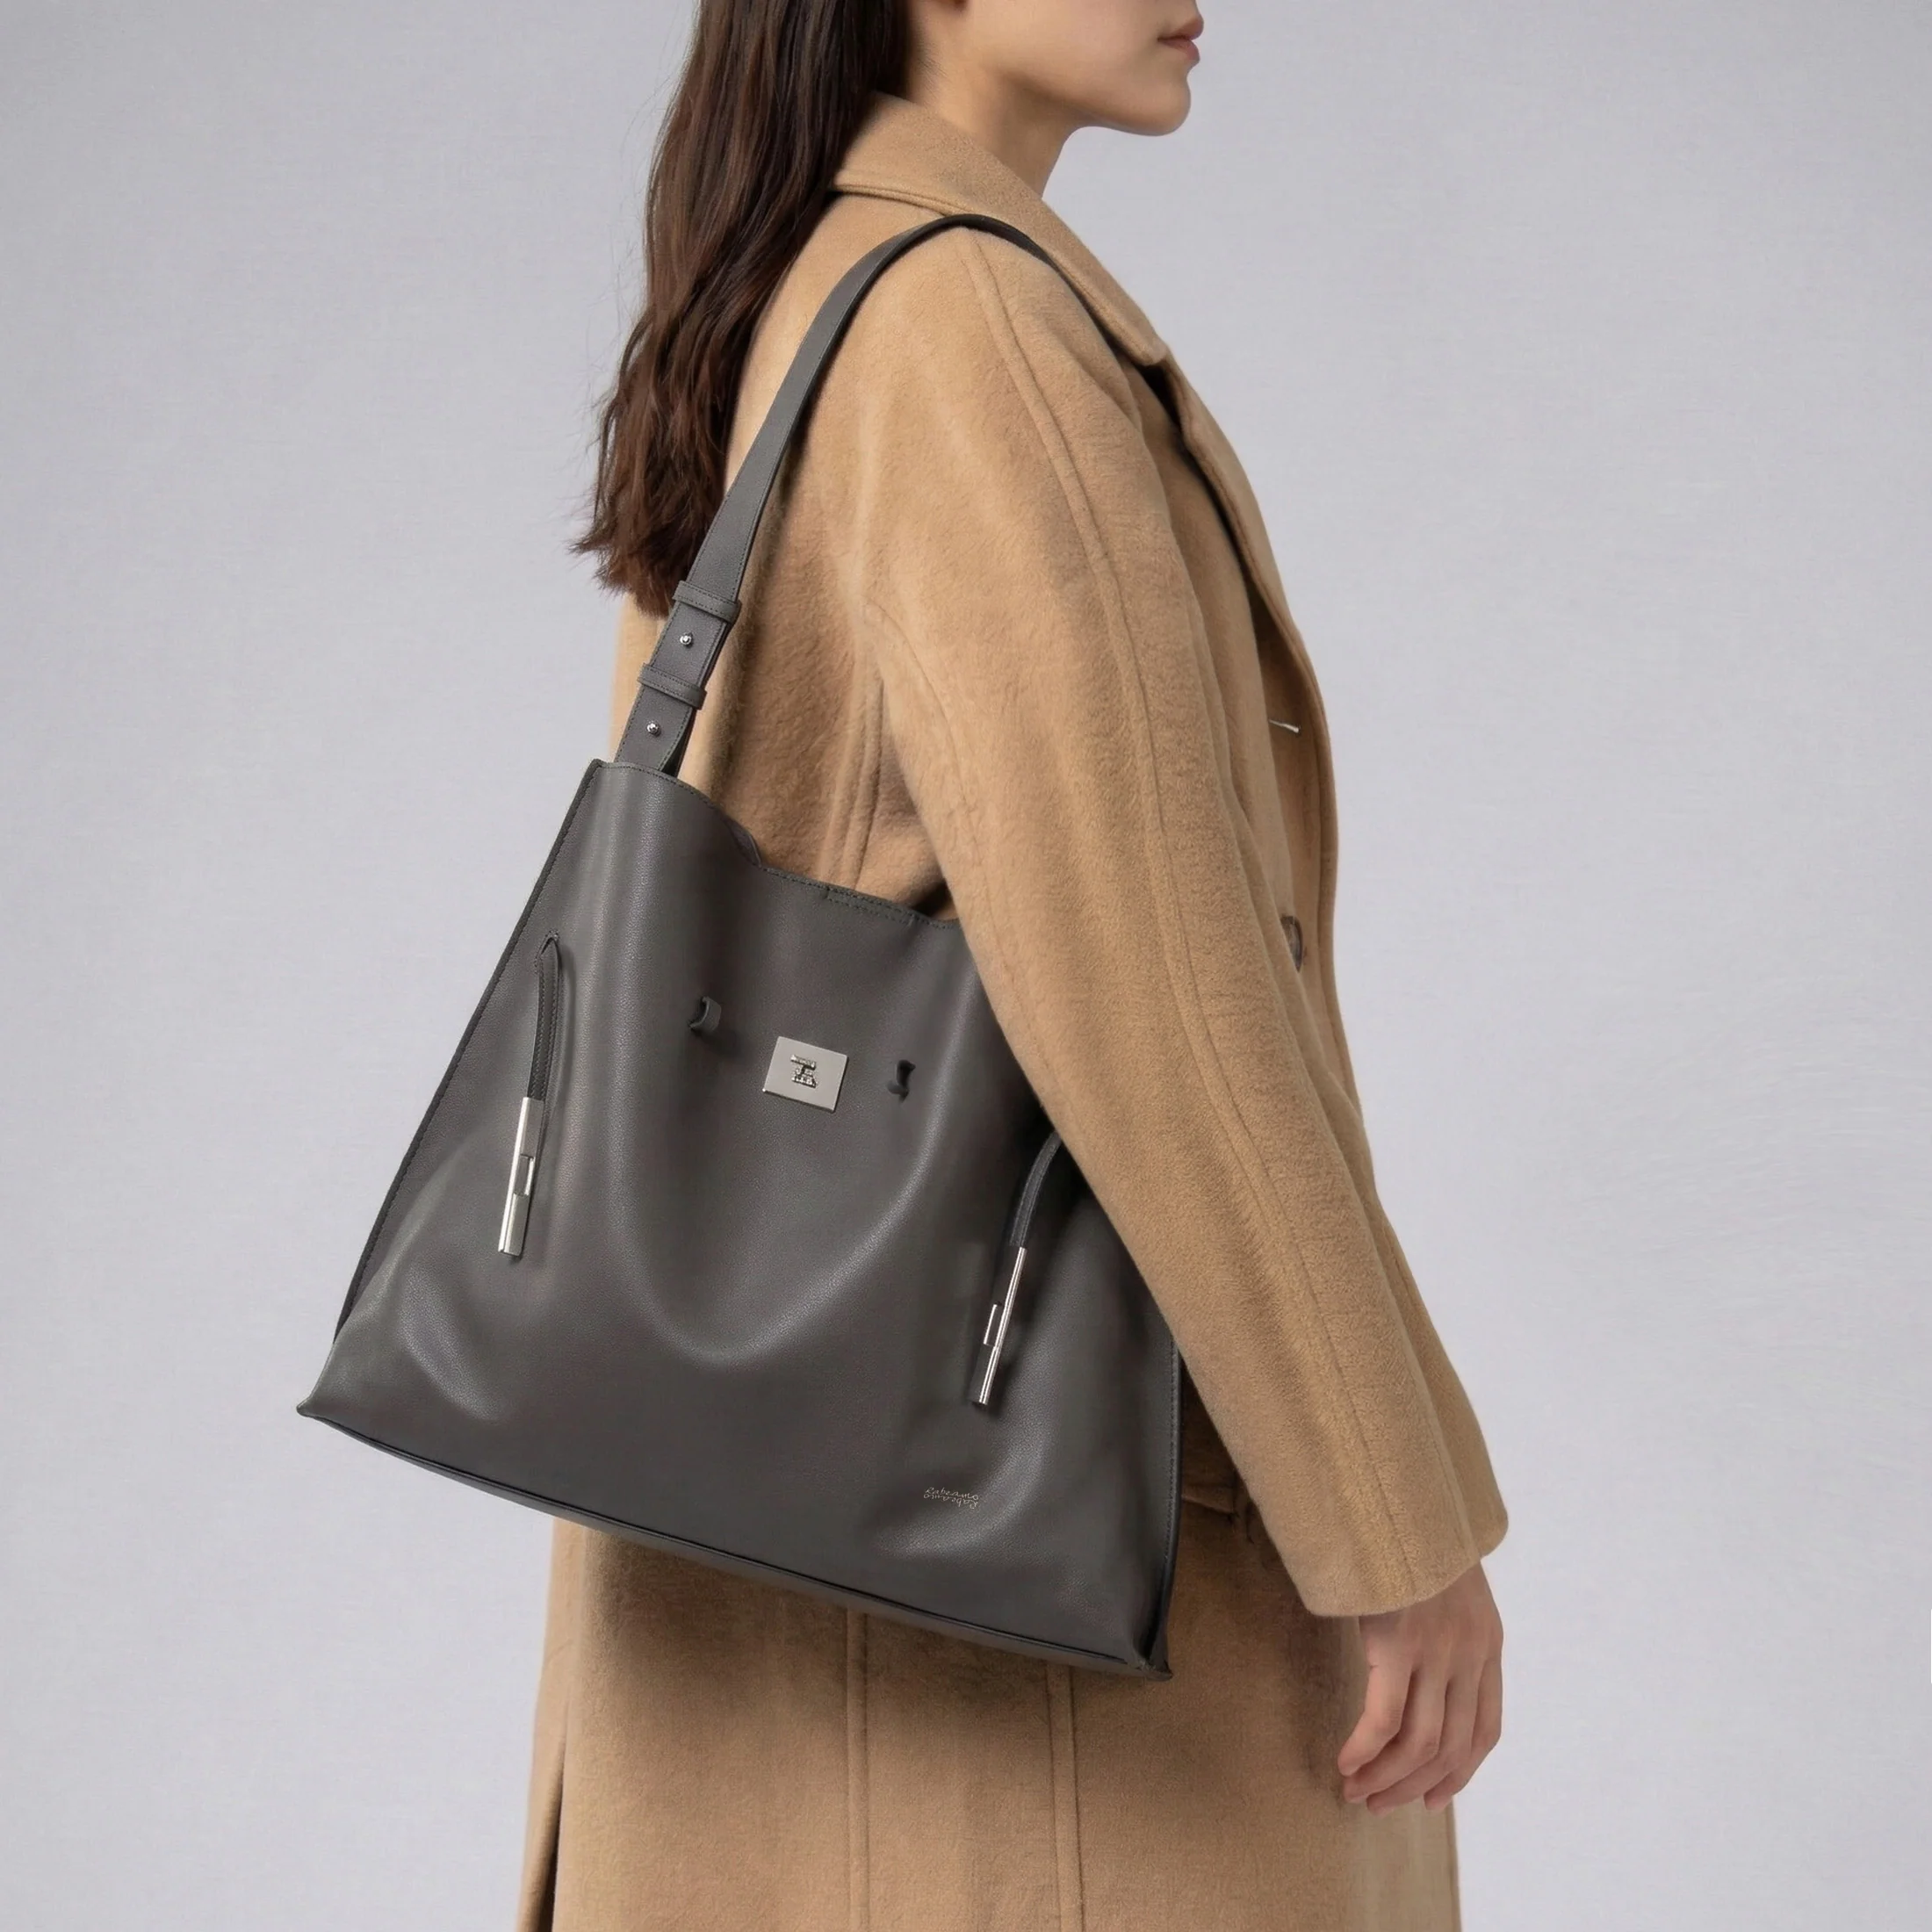
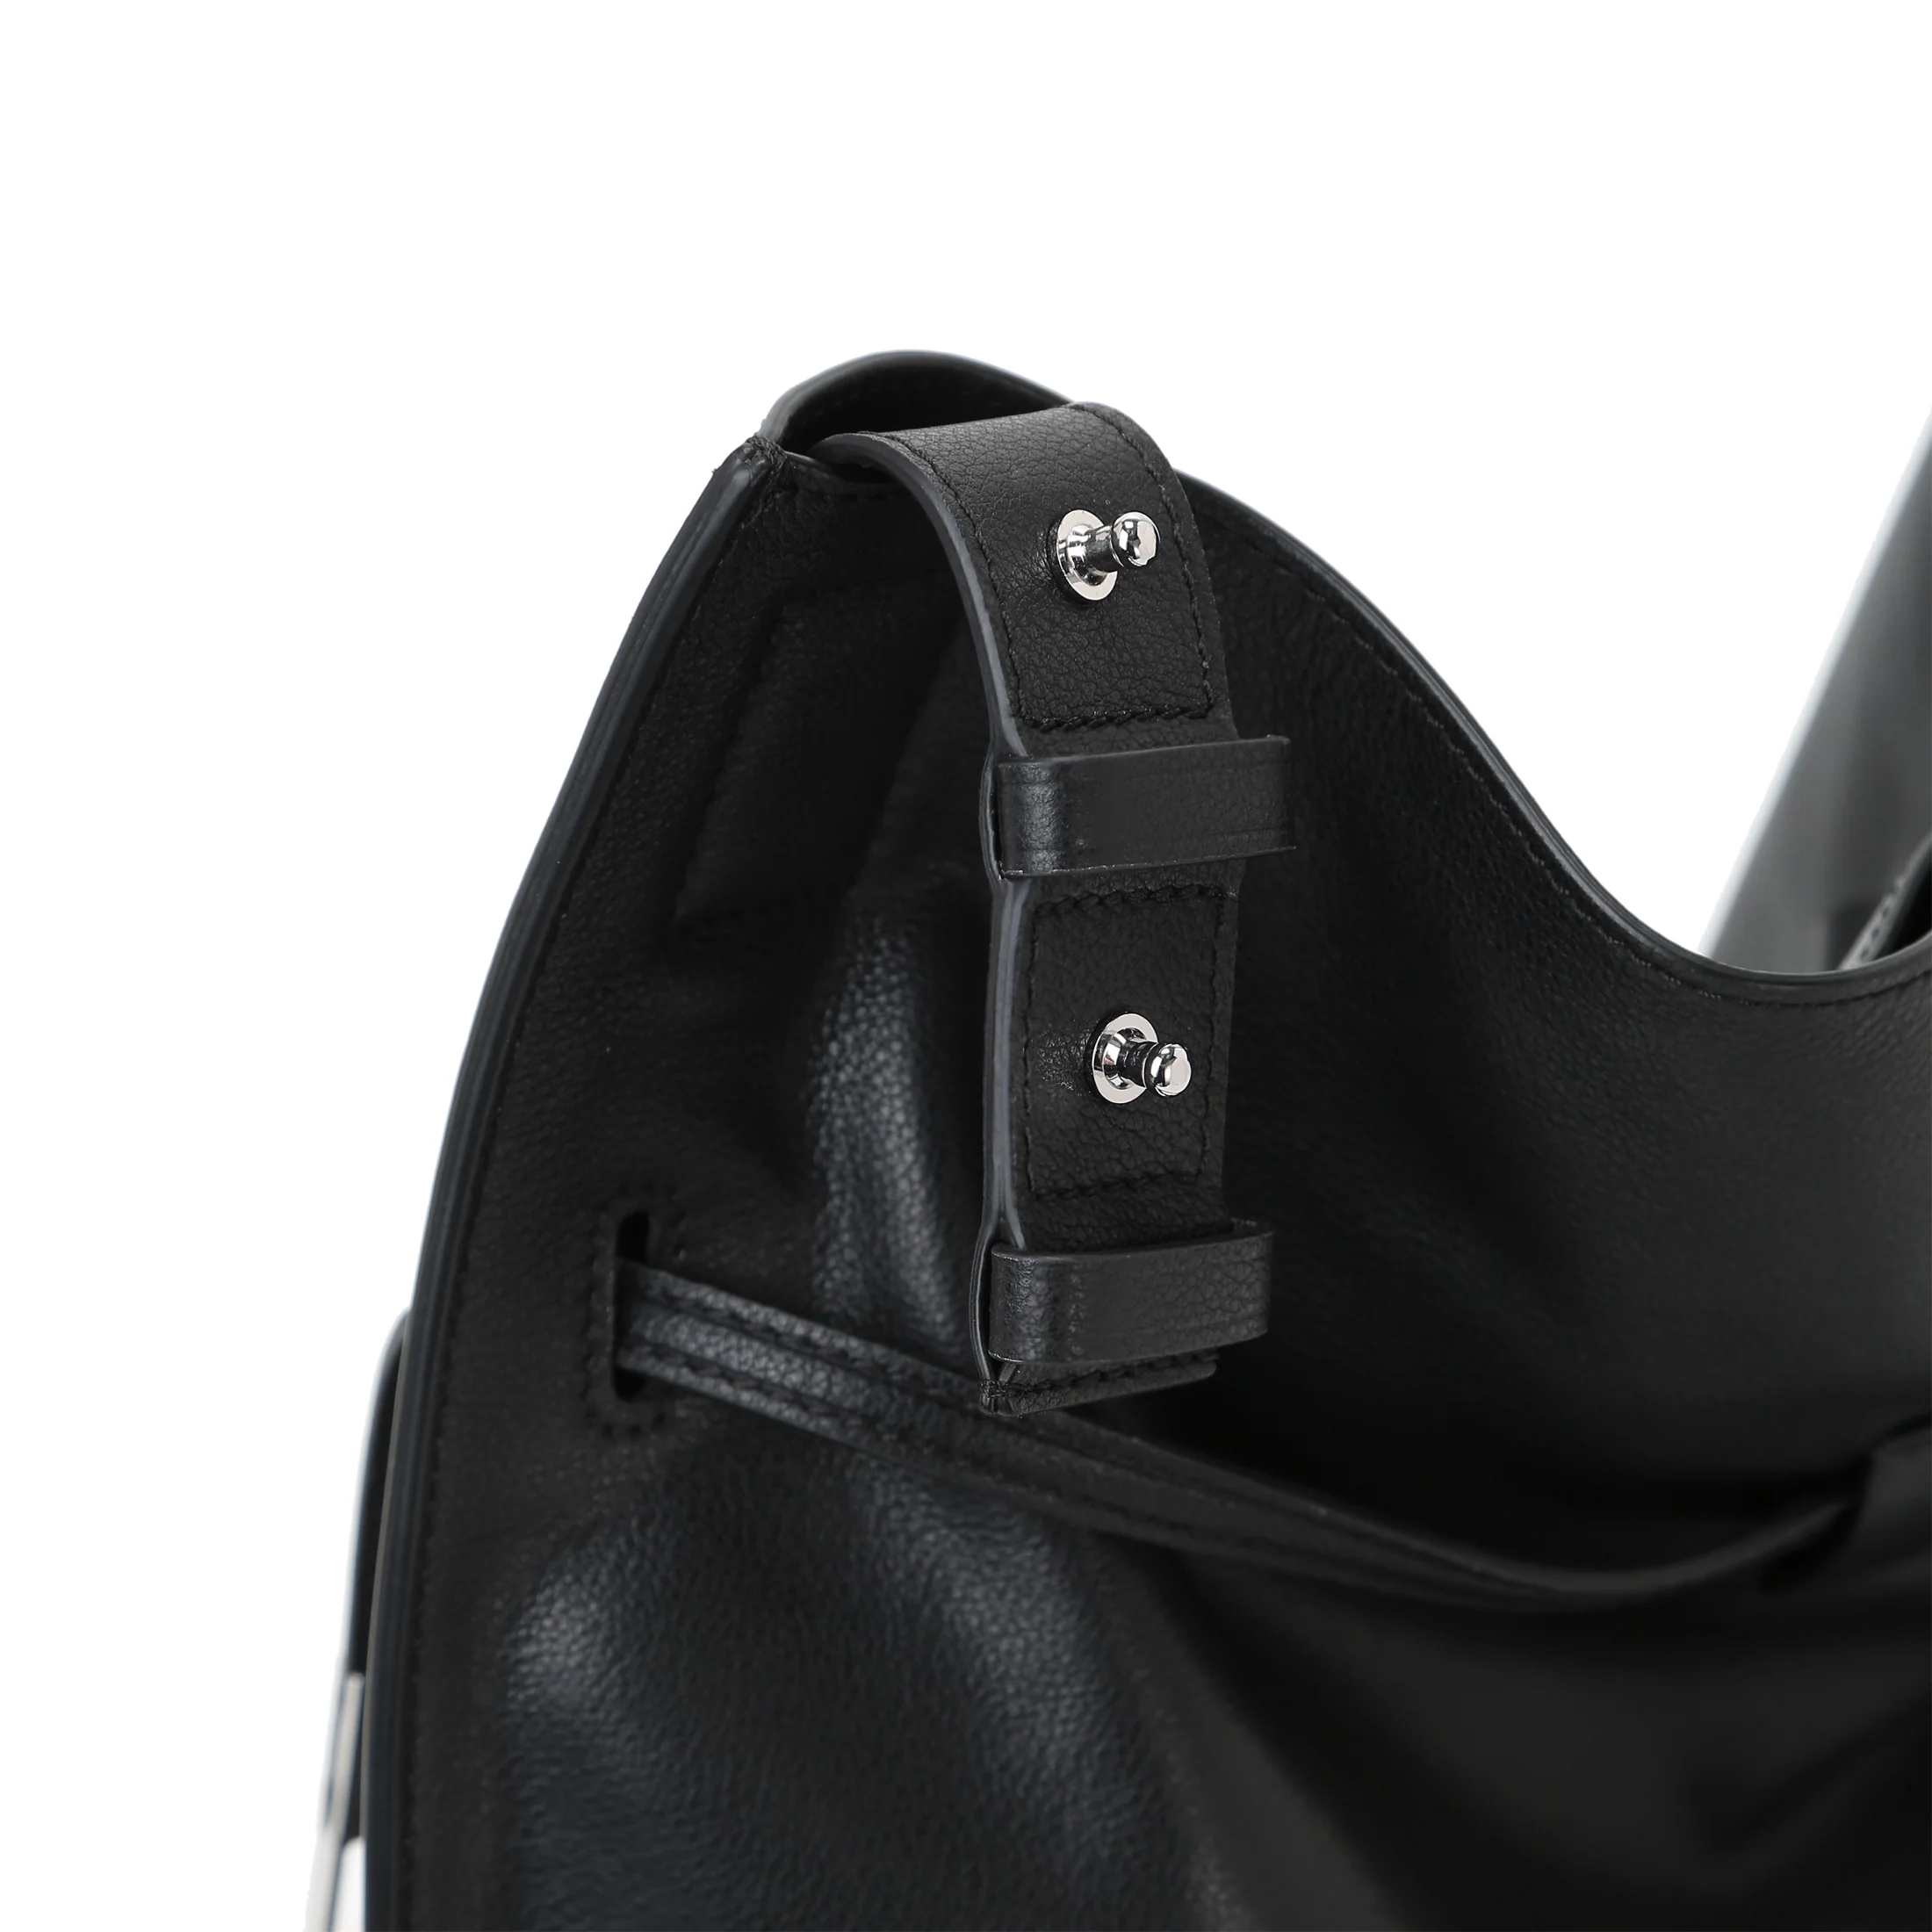
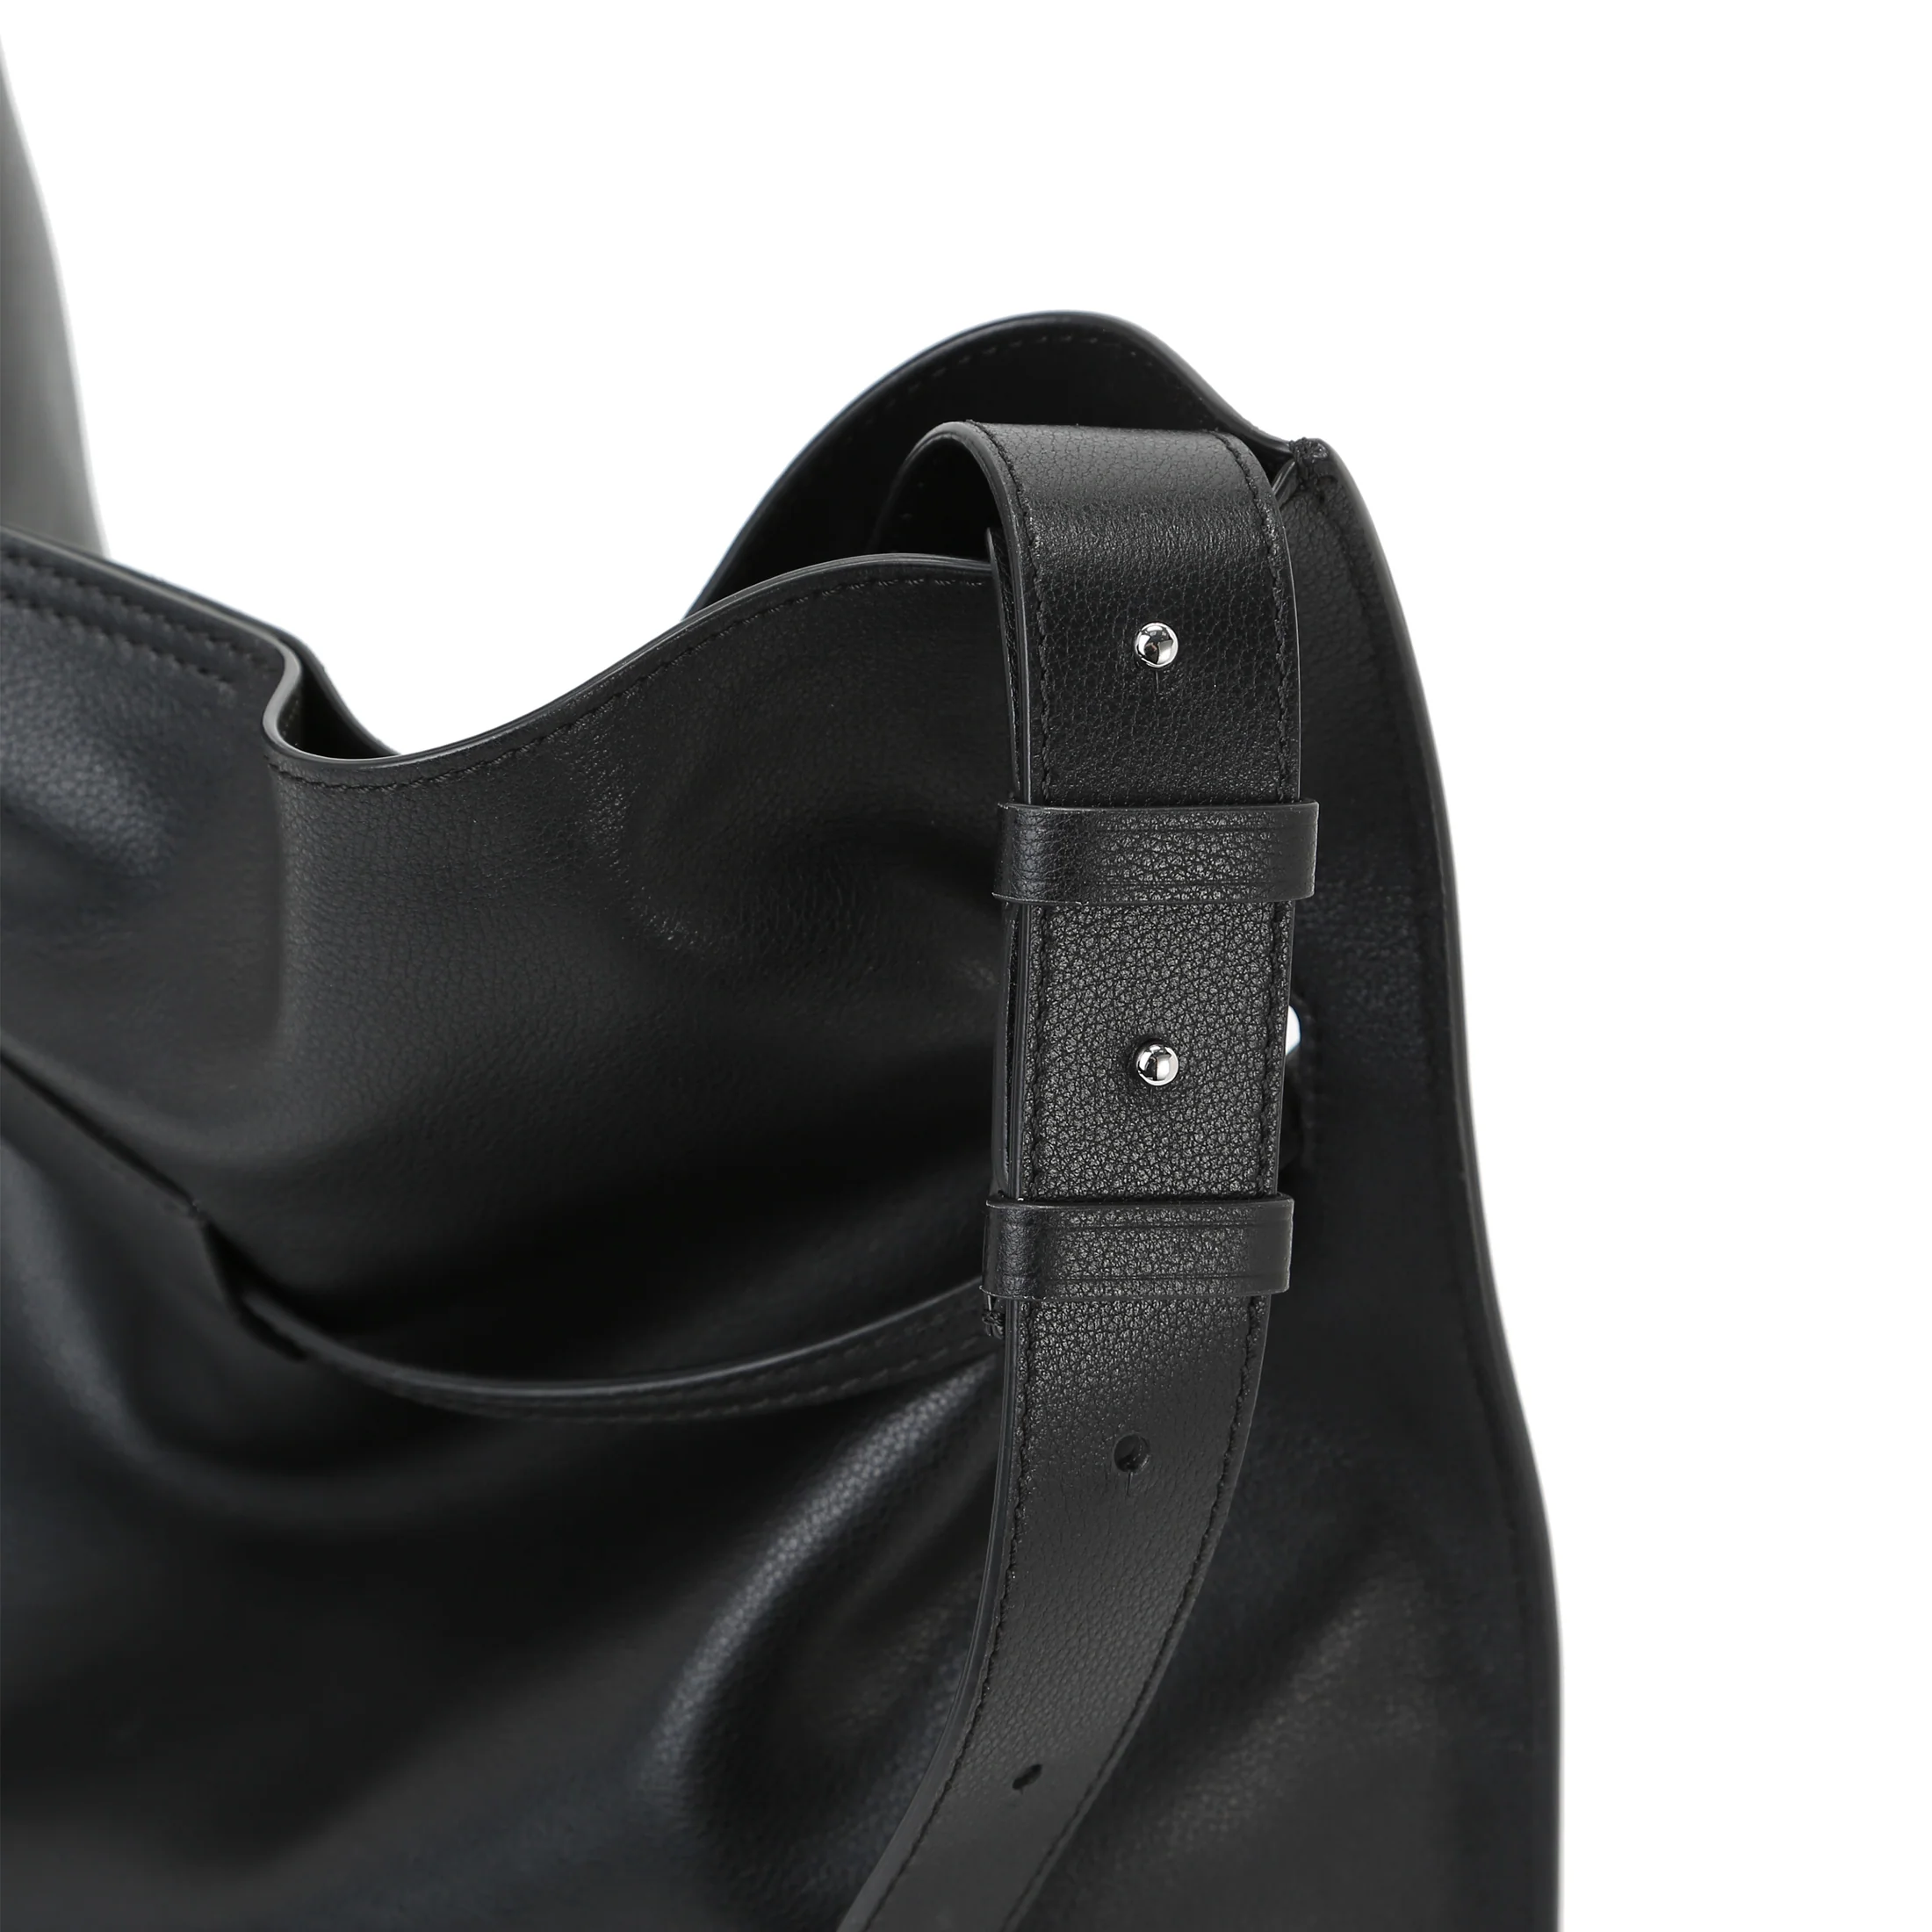
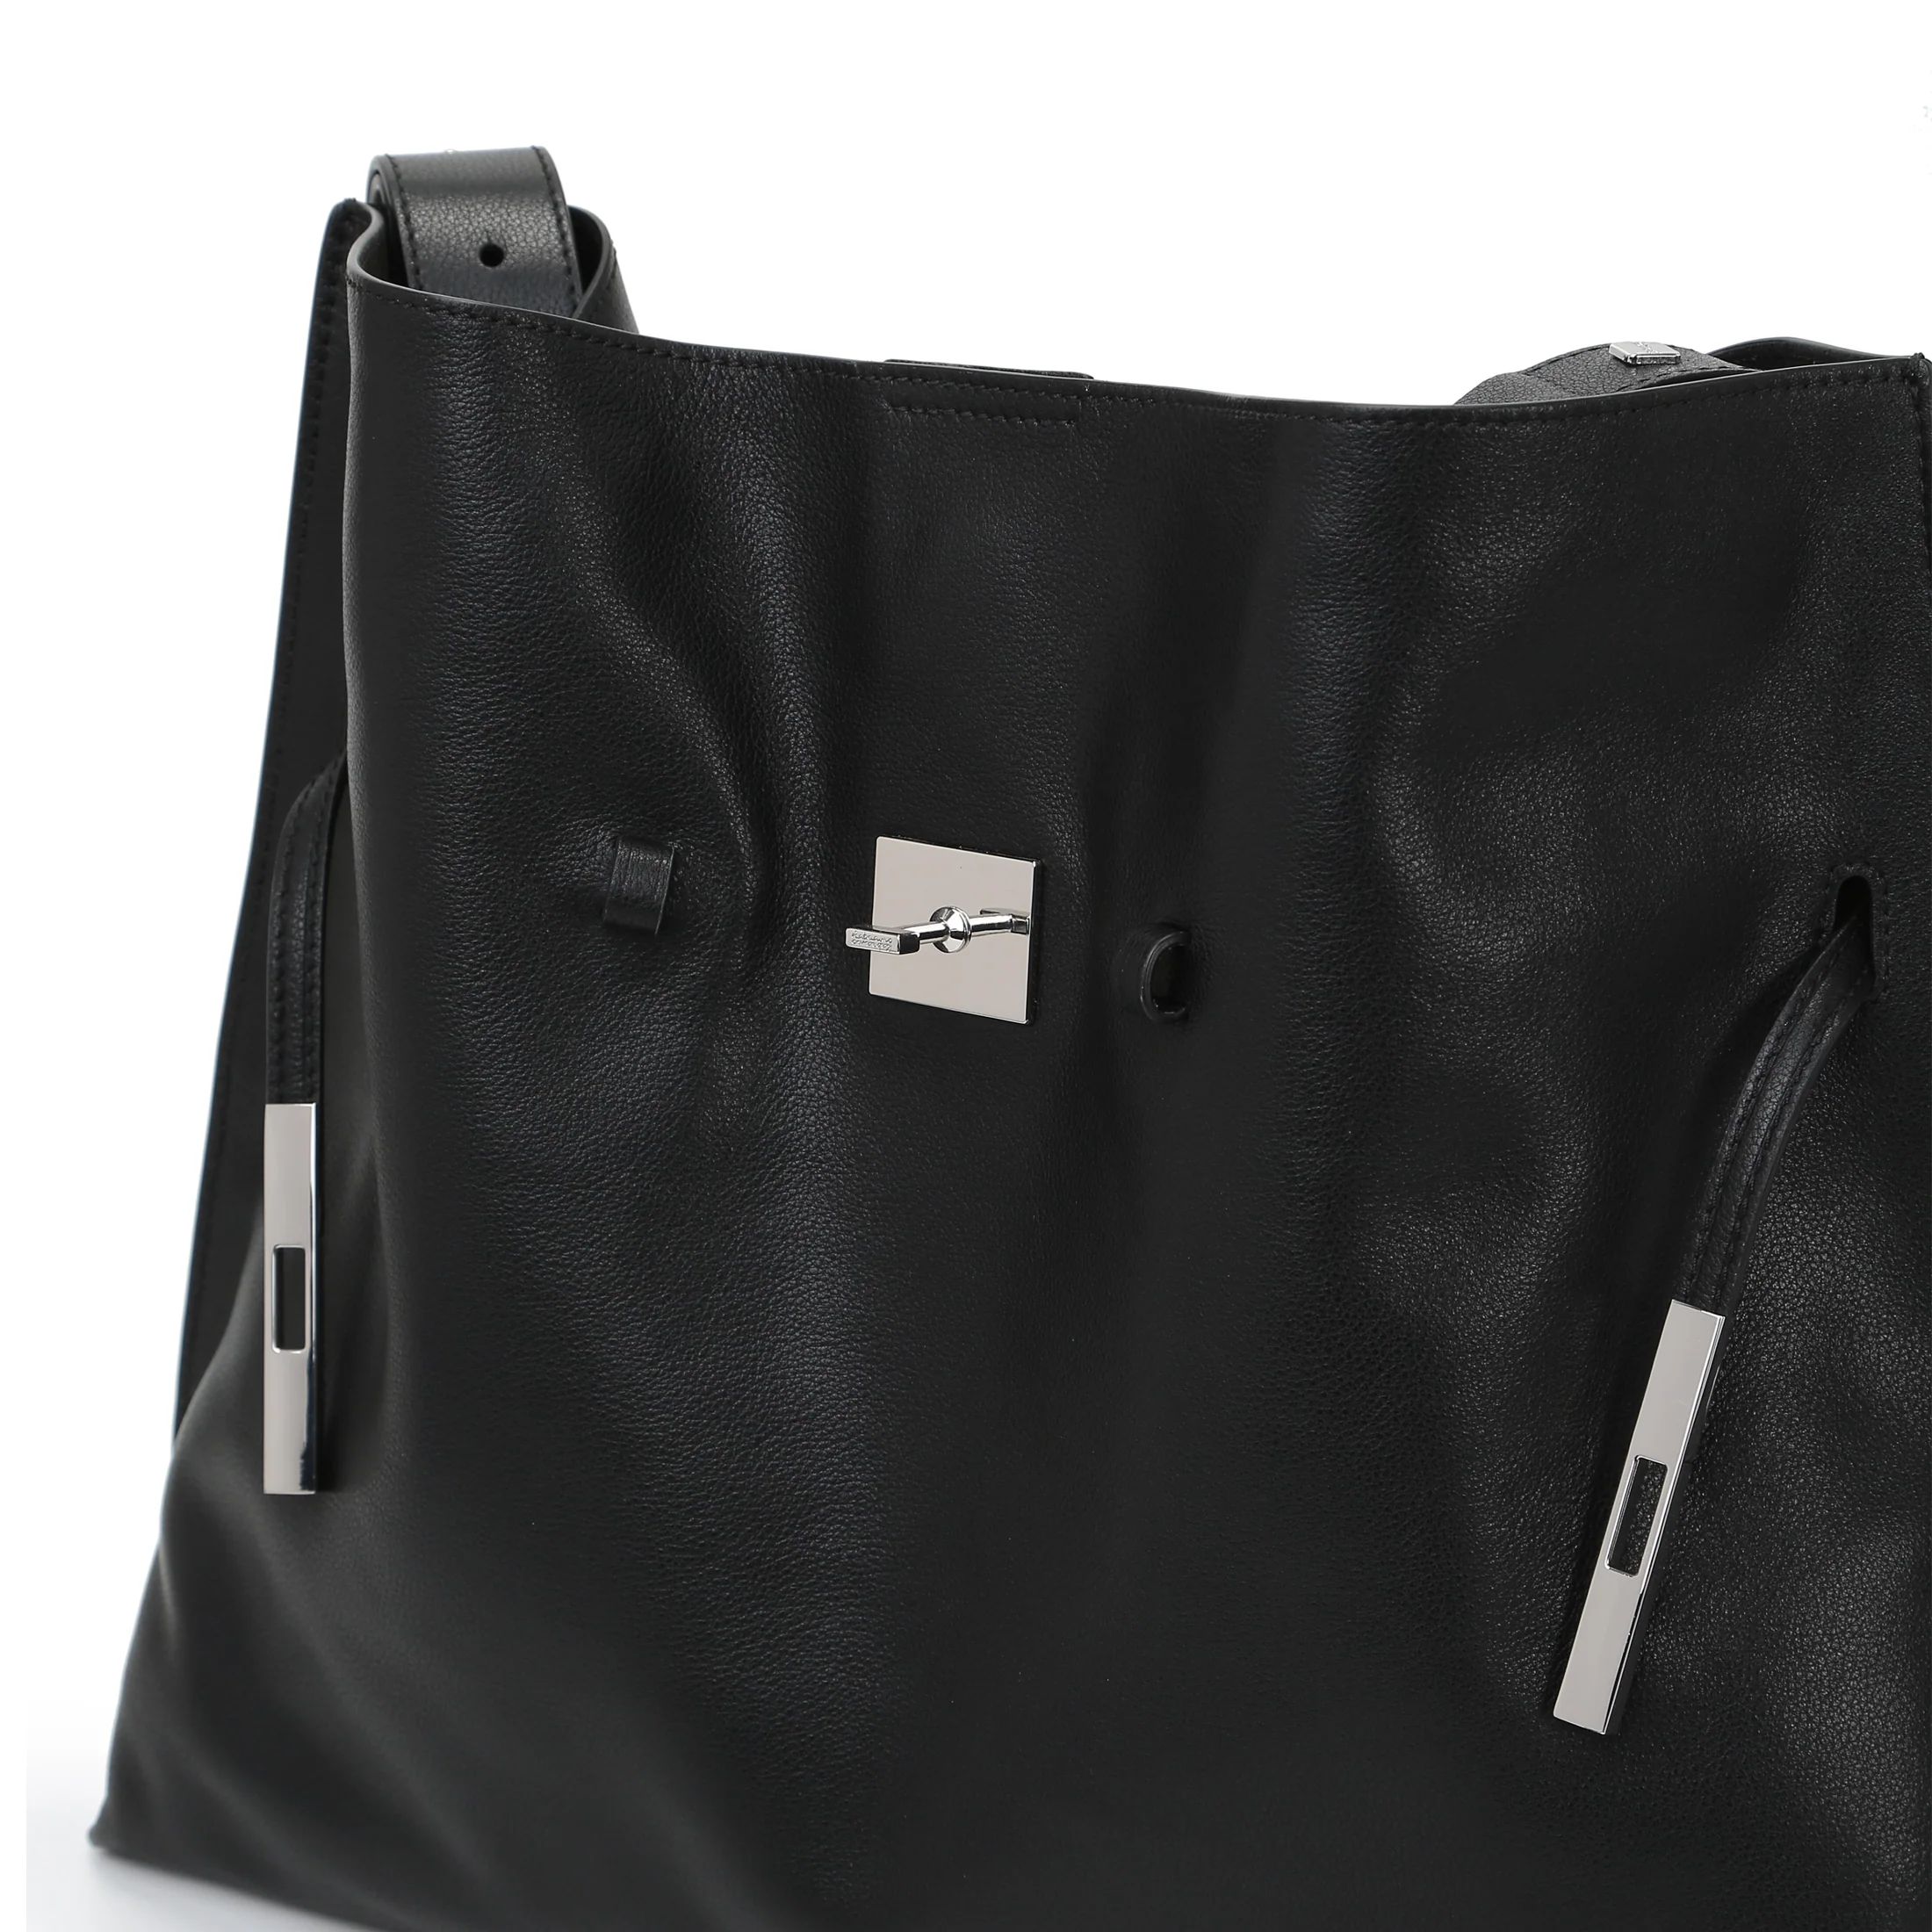
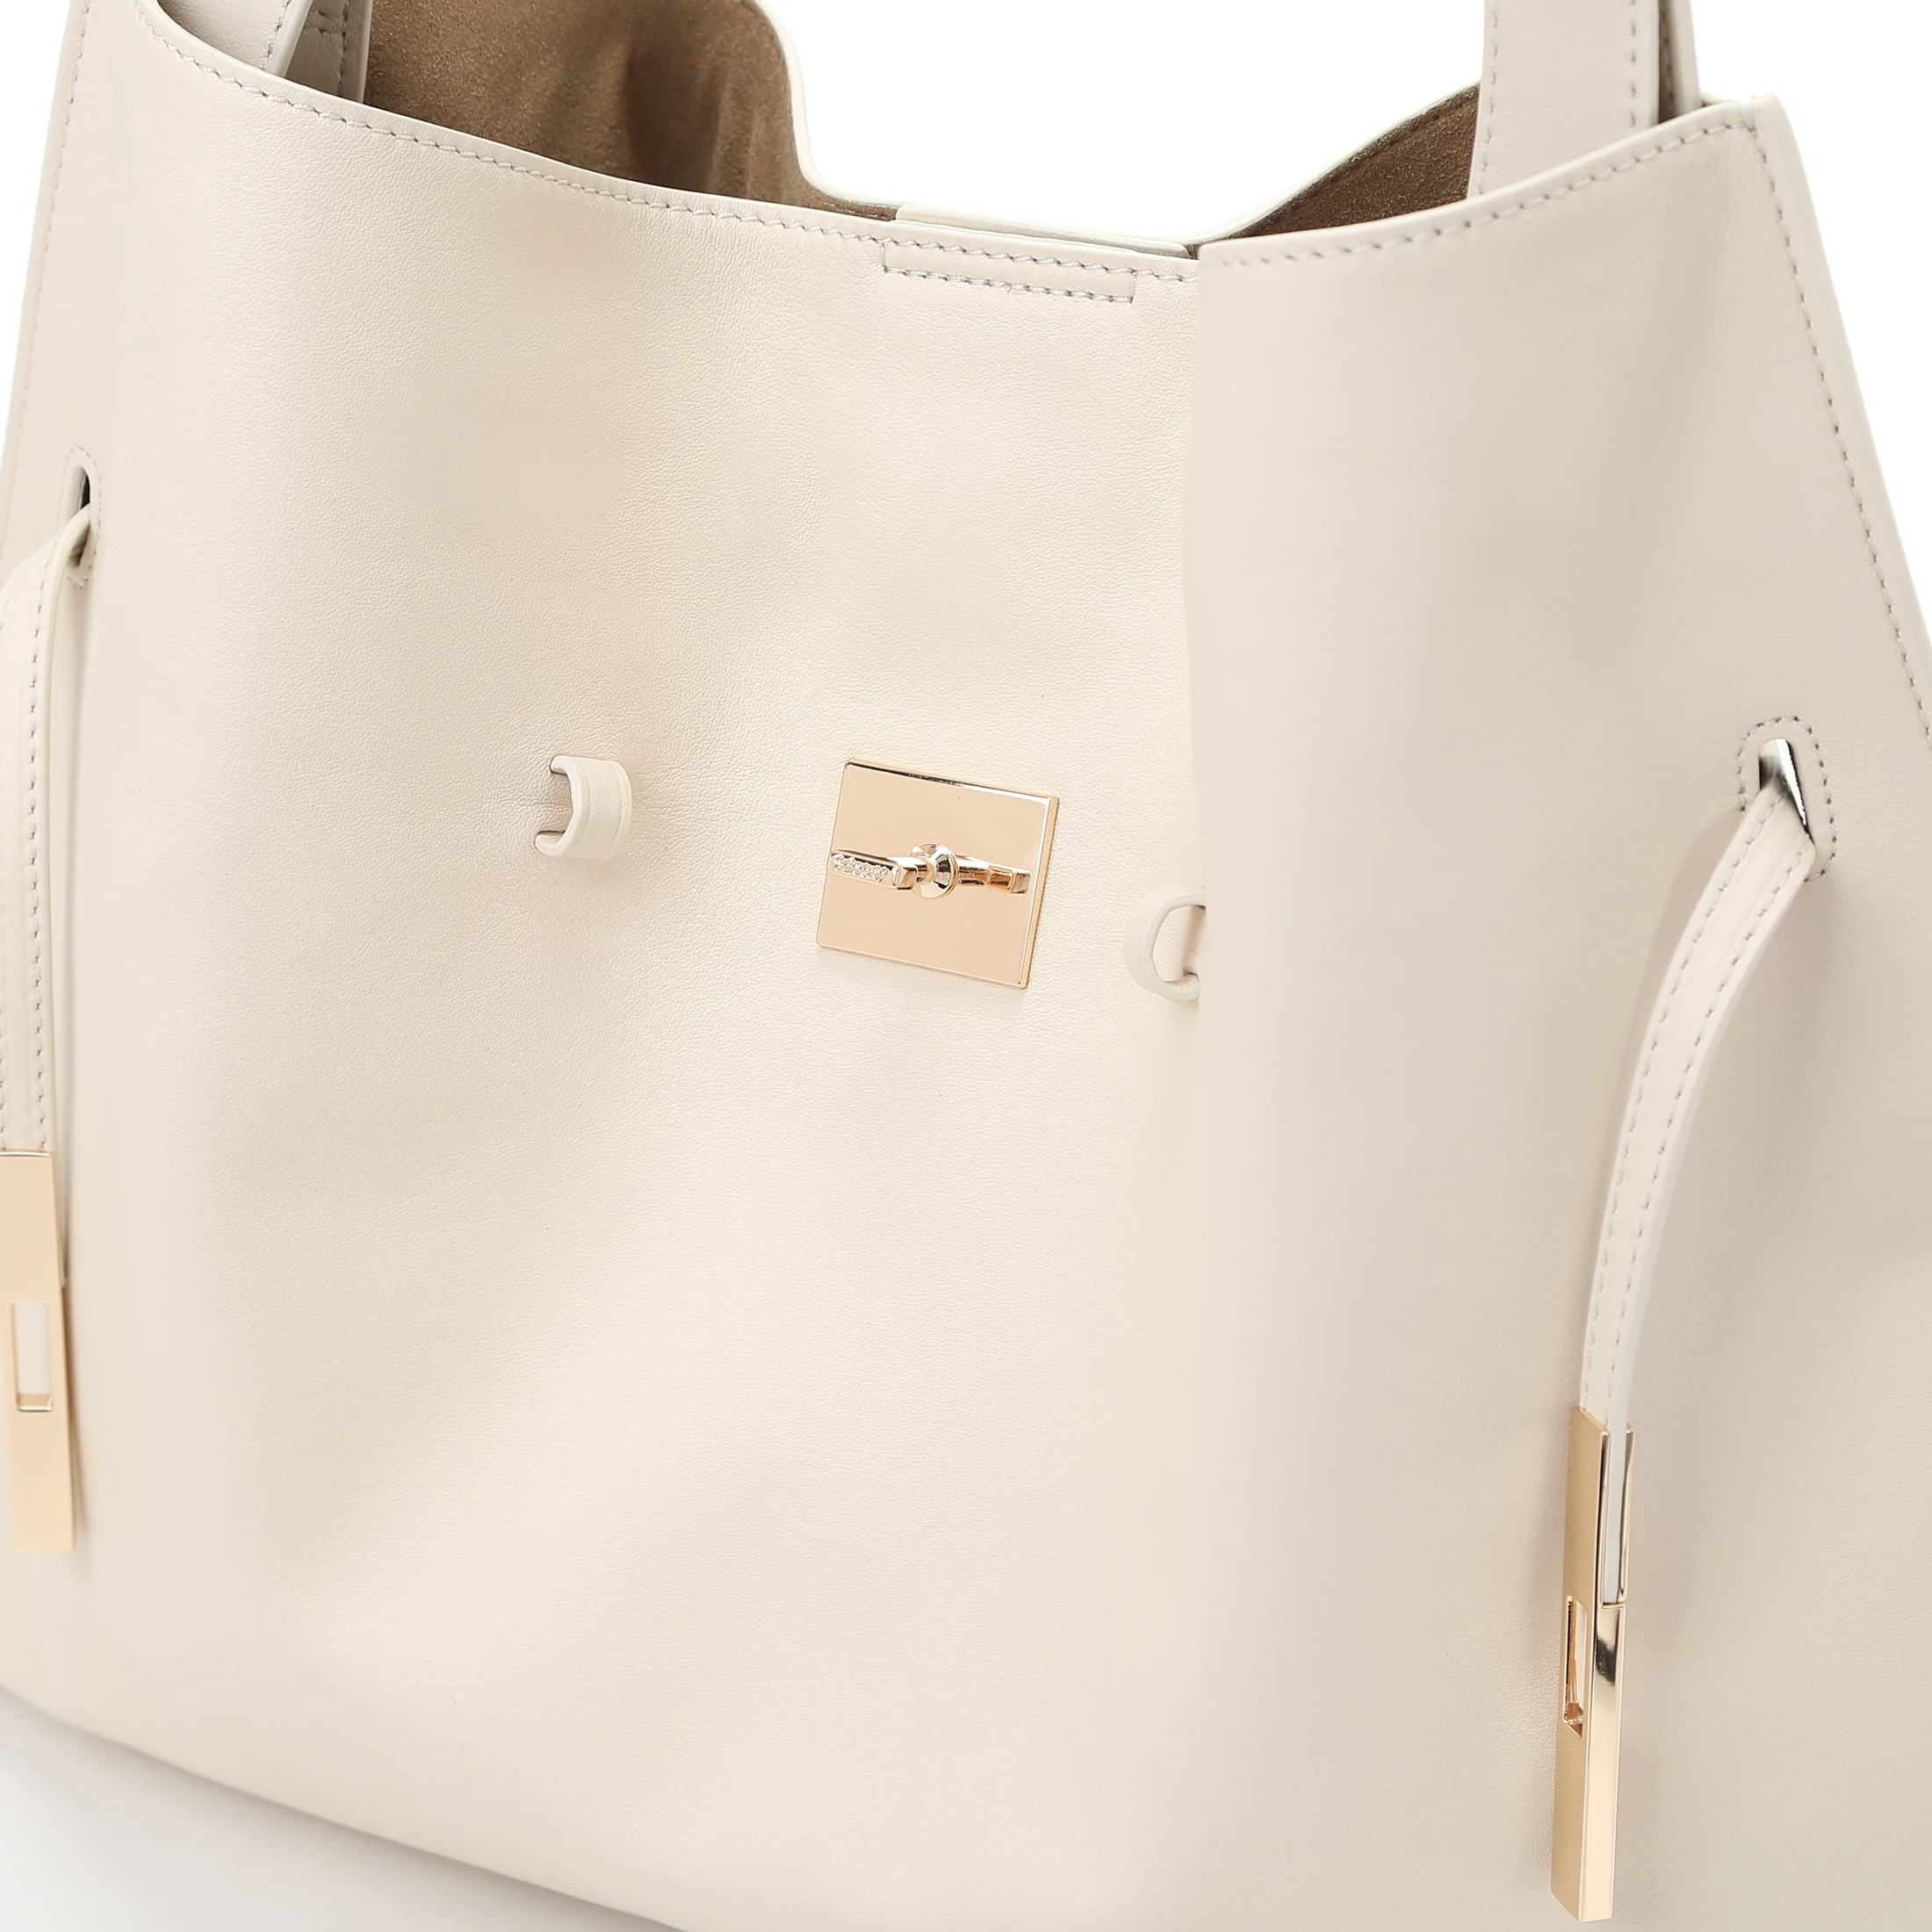
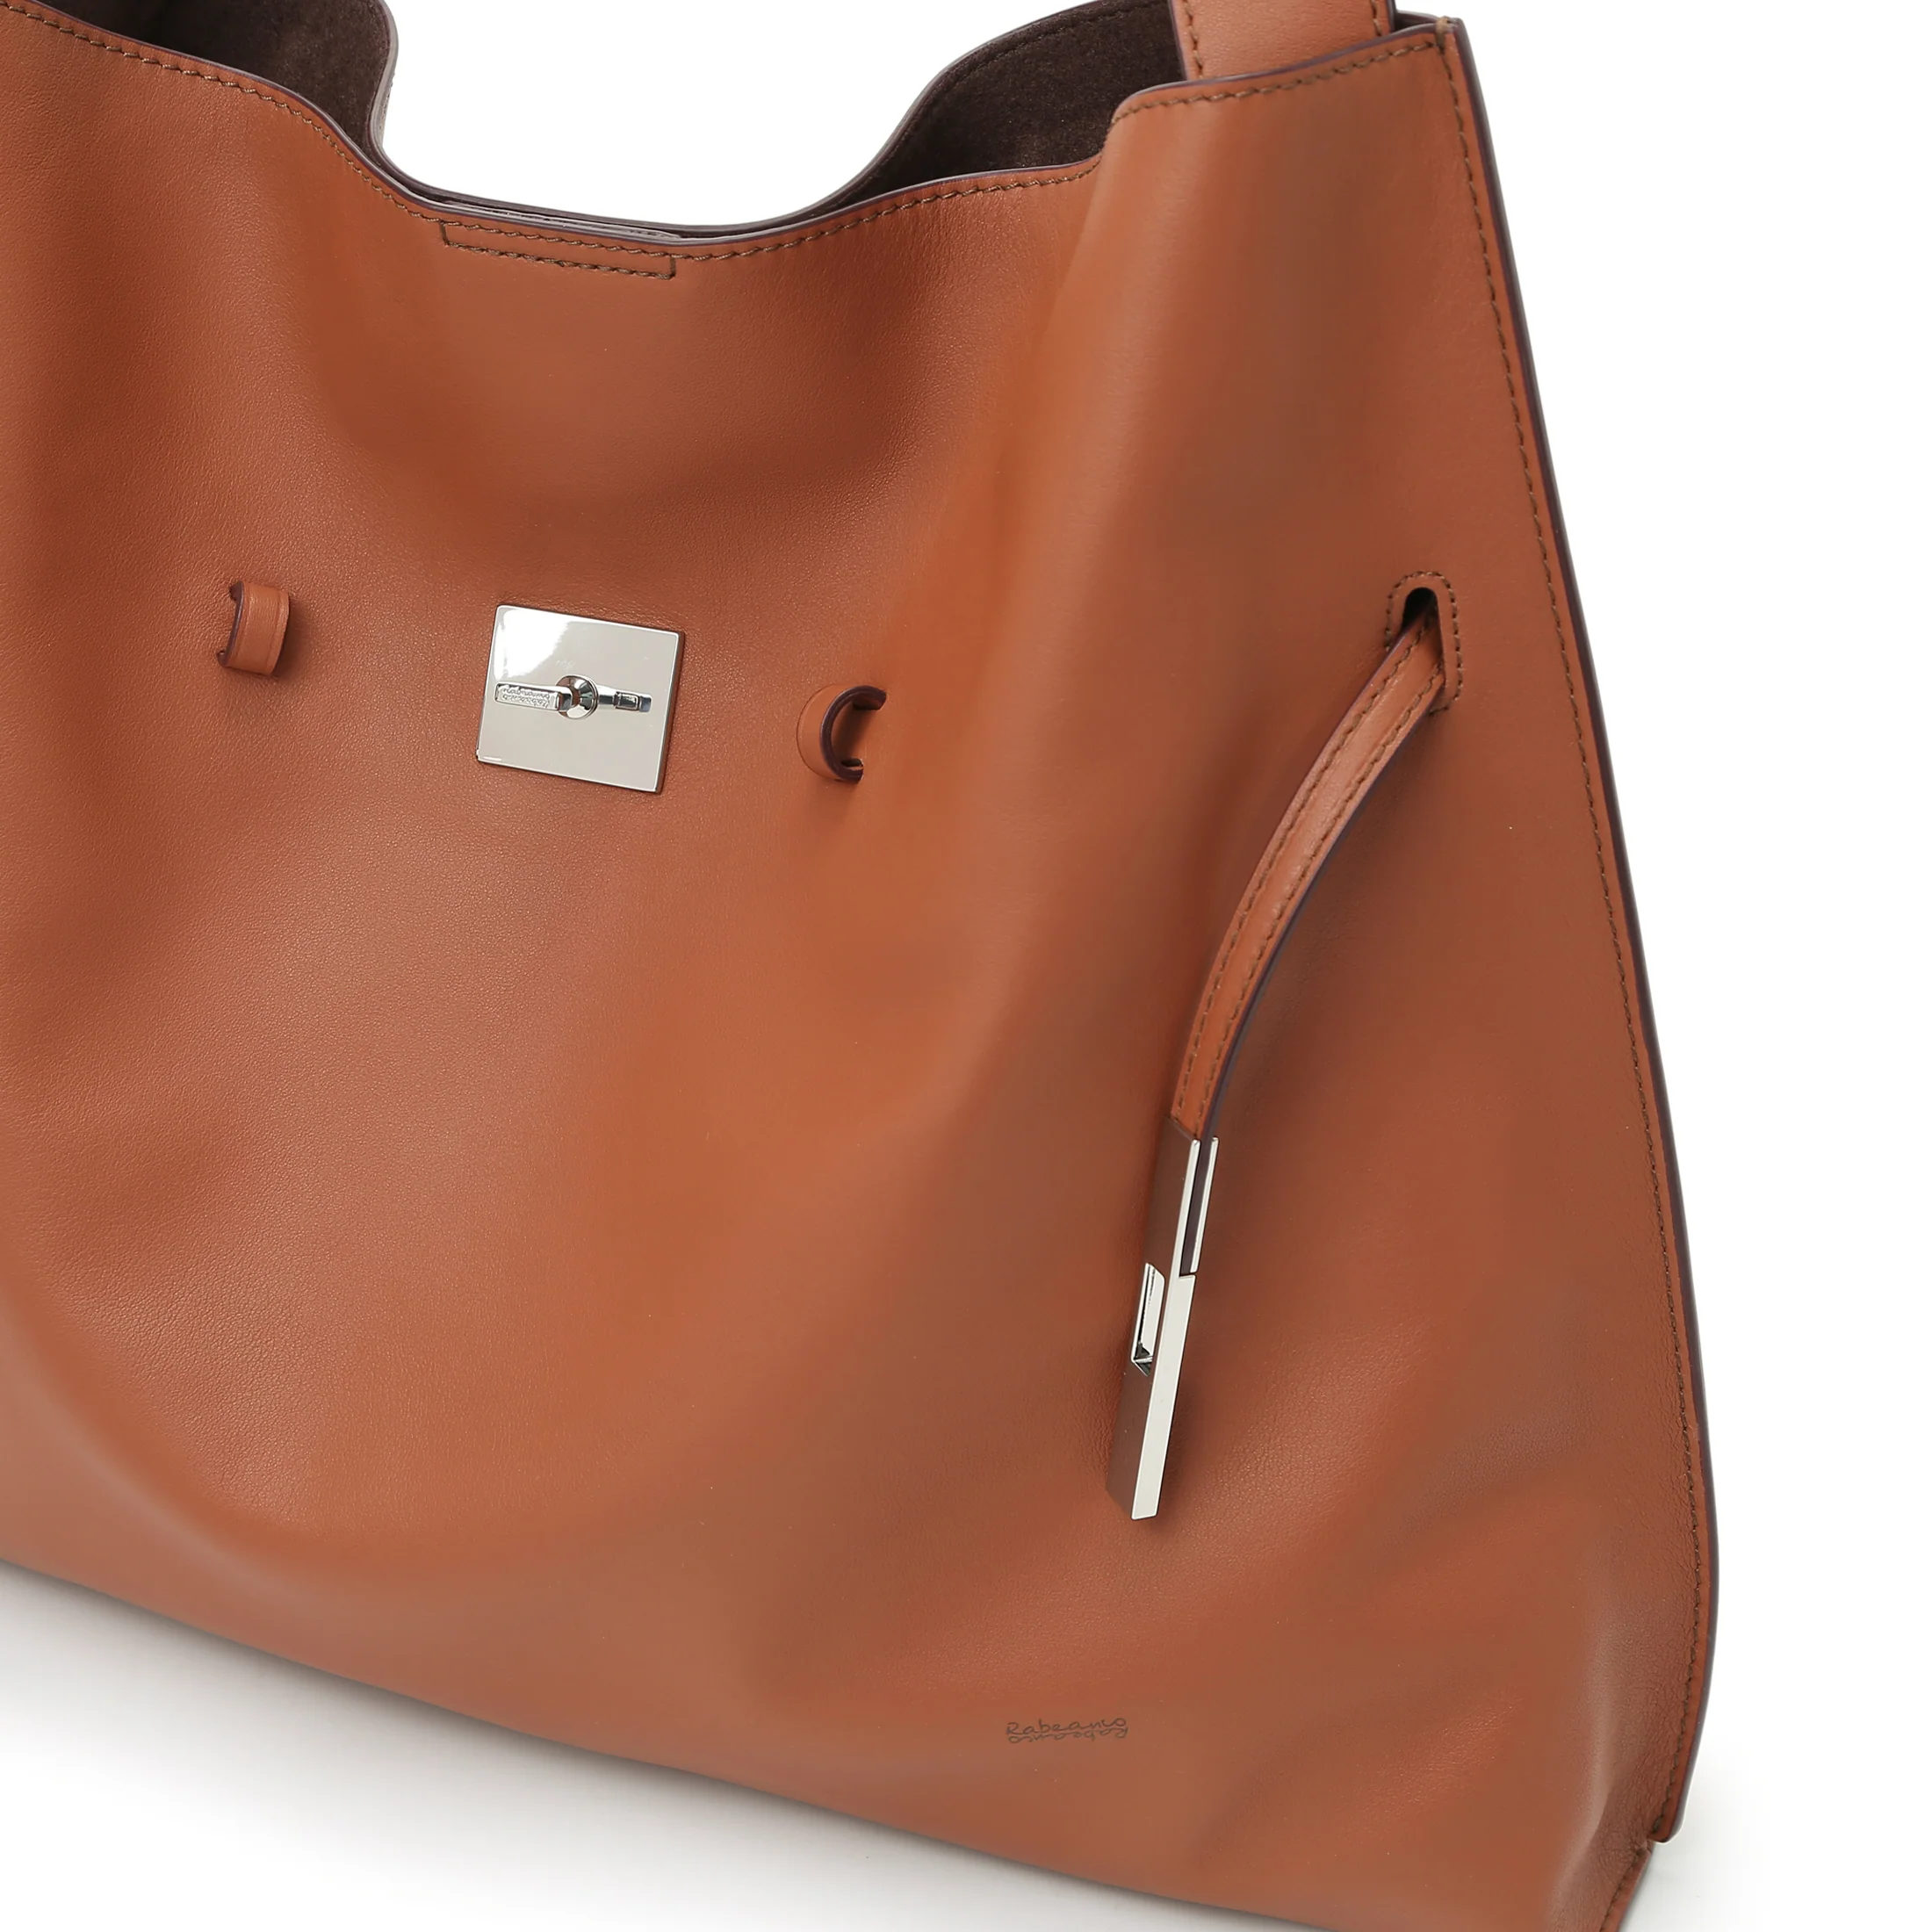
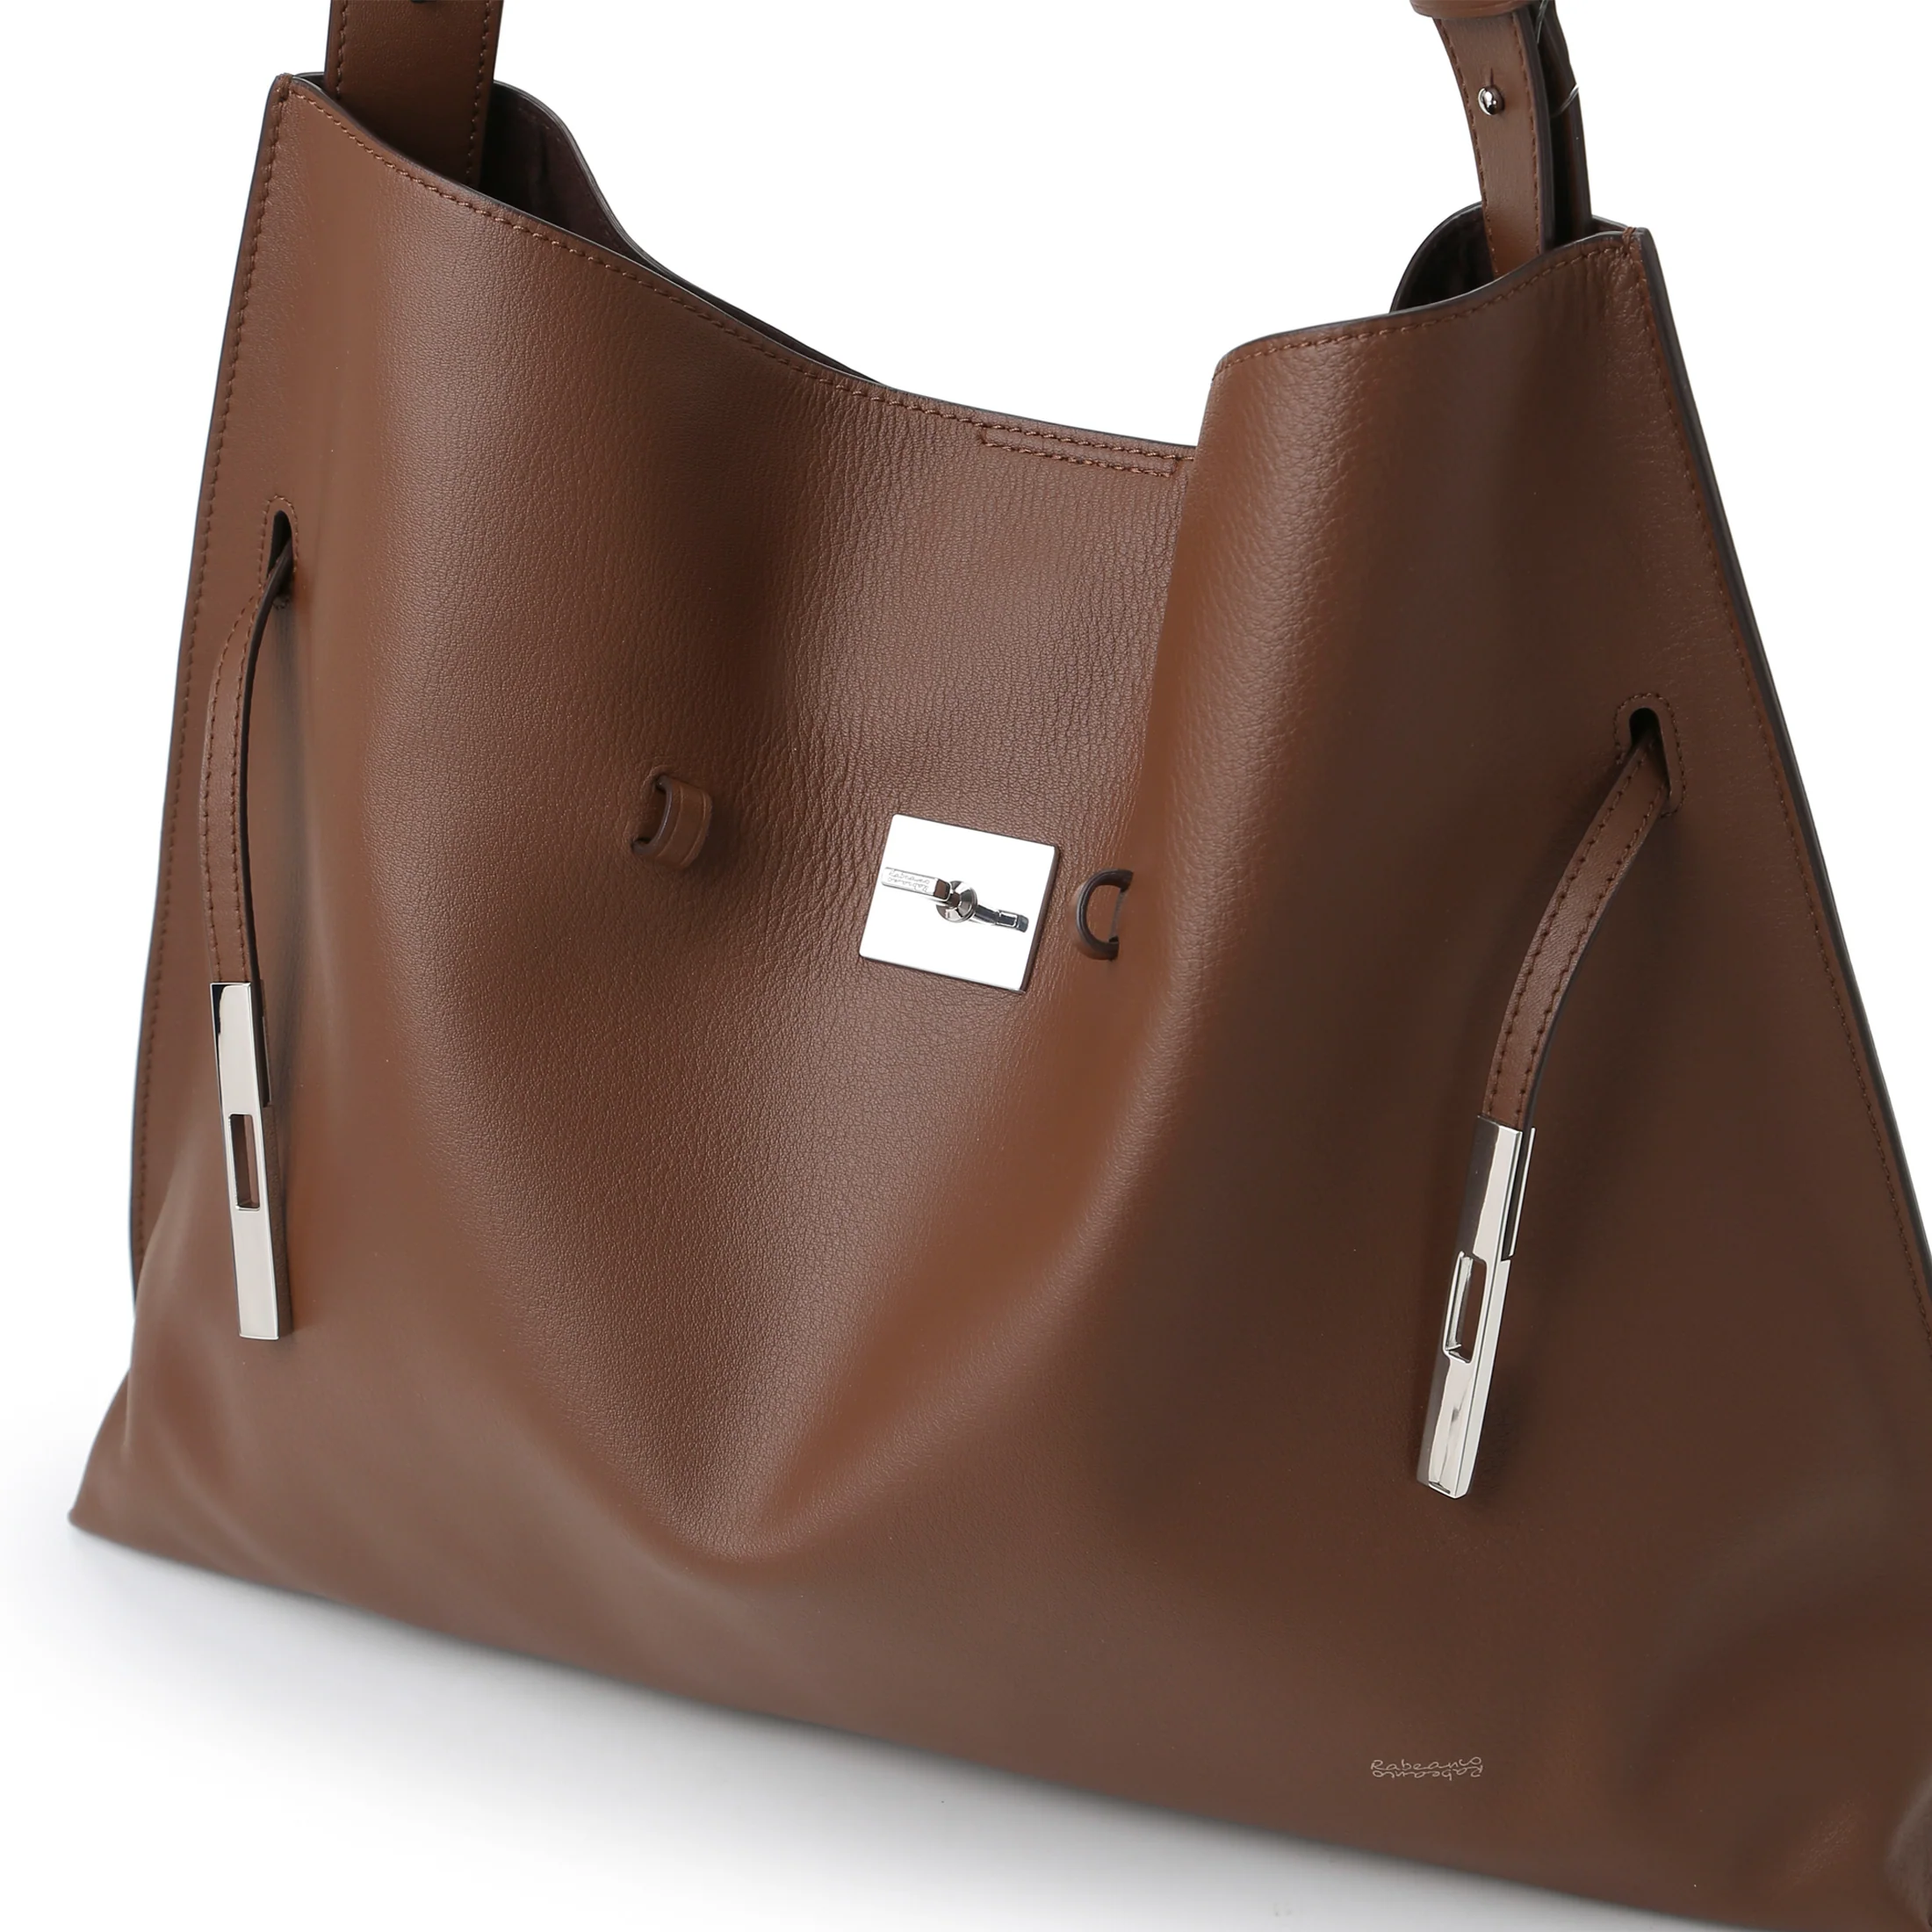
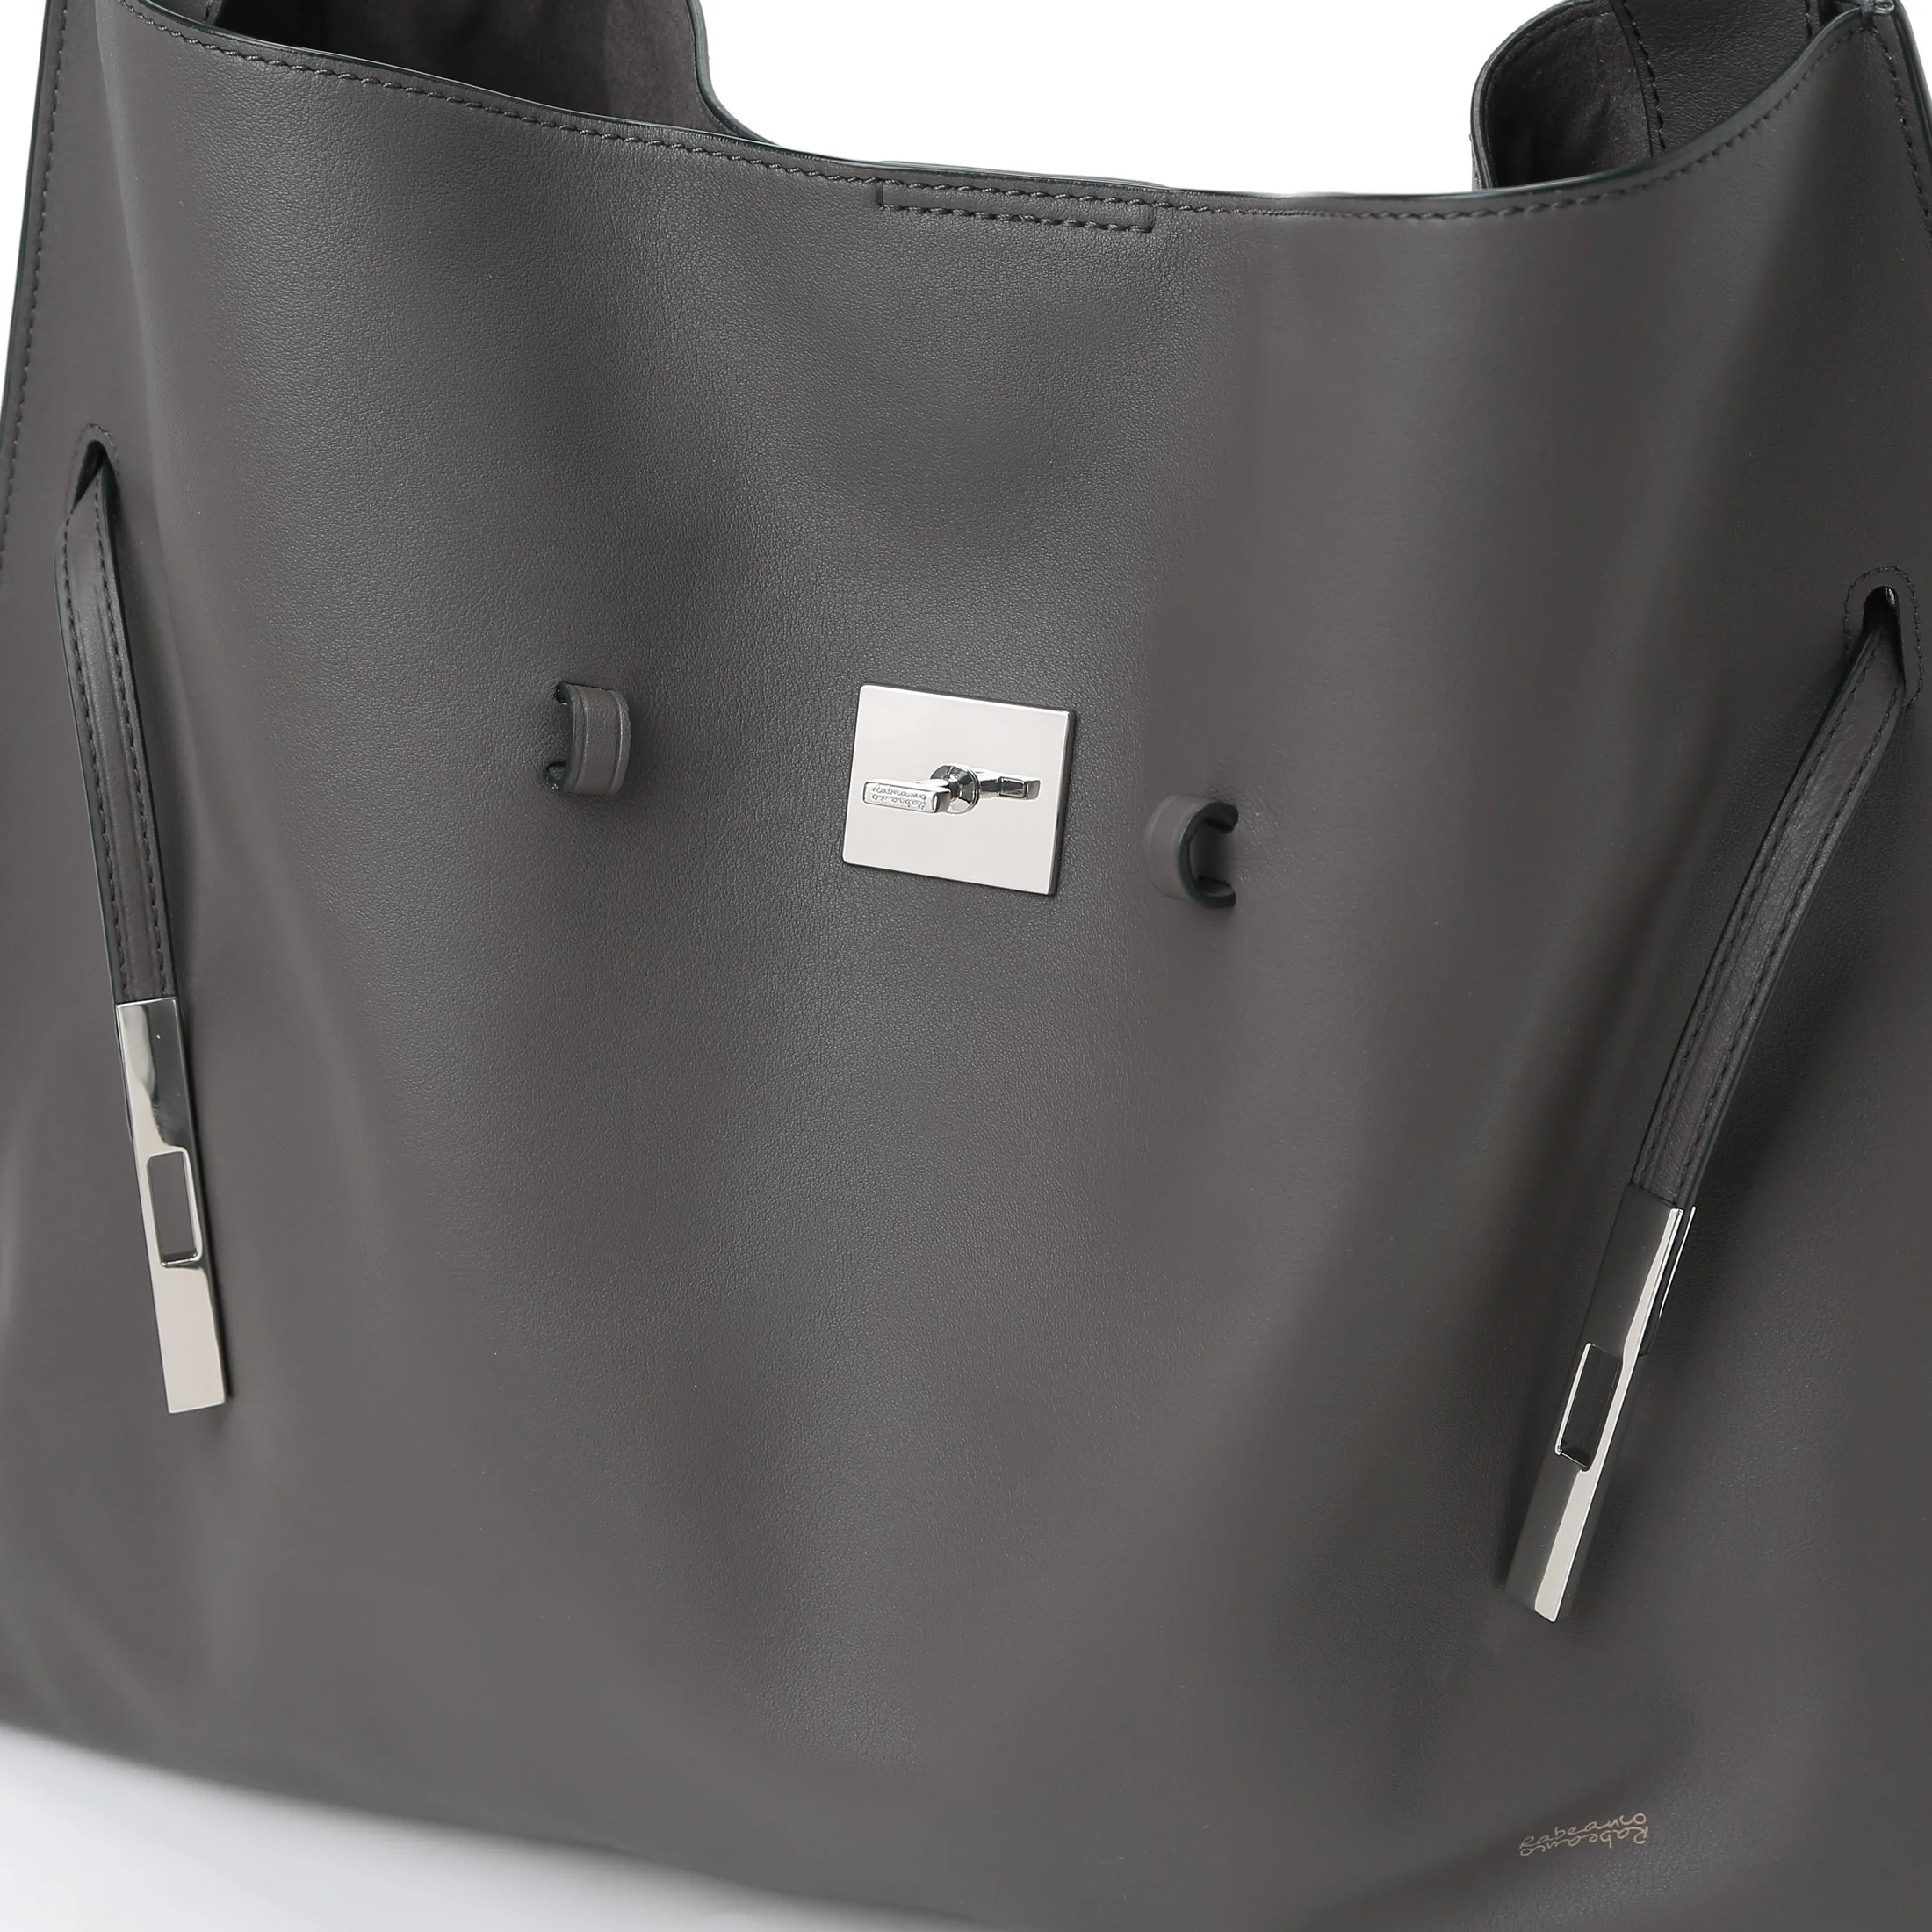
- The Amicetta Lock: thin styling belt straps secured by a central turn-lock
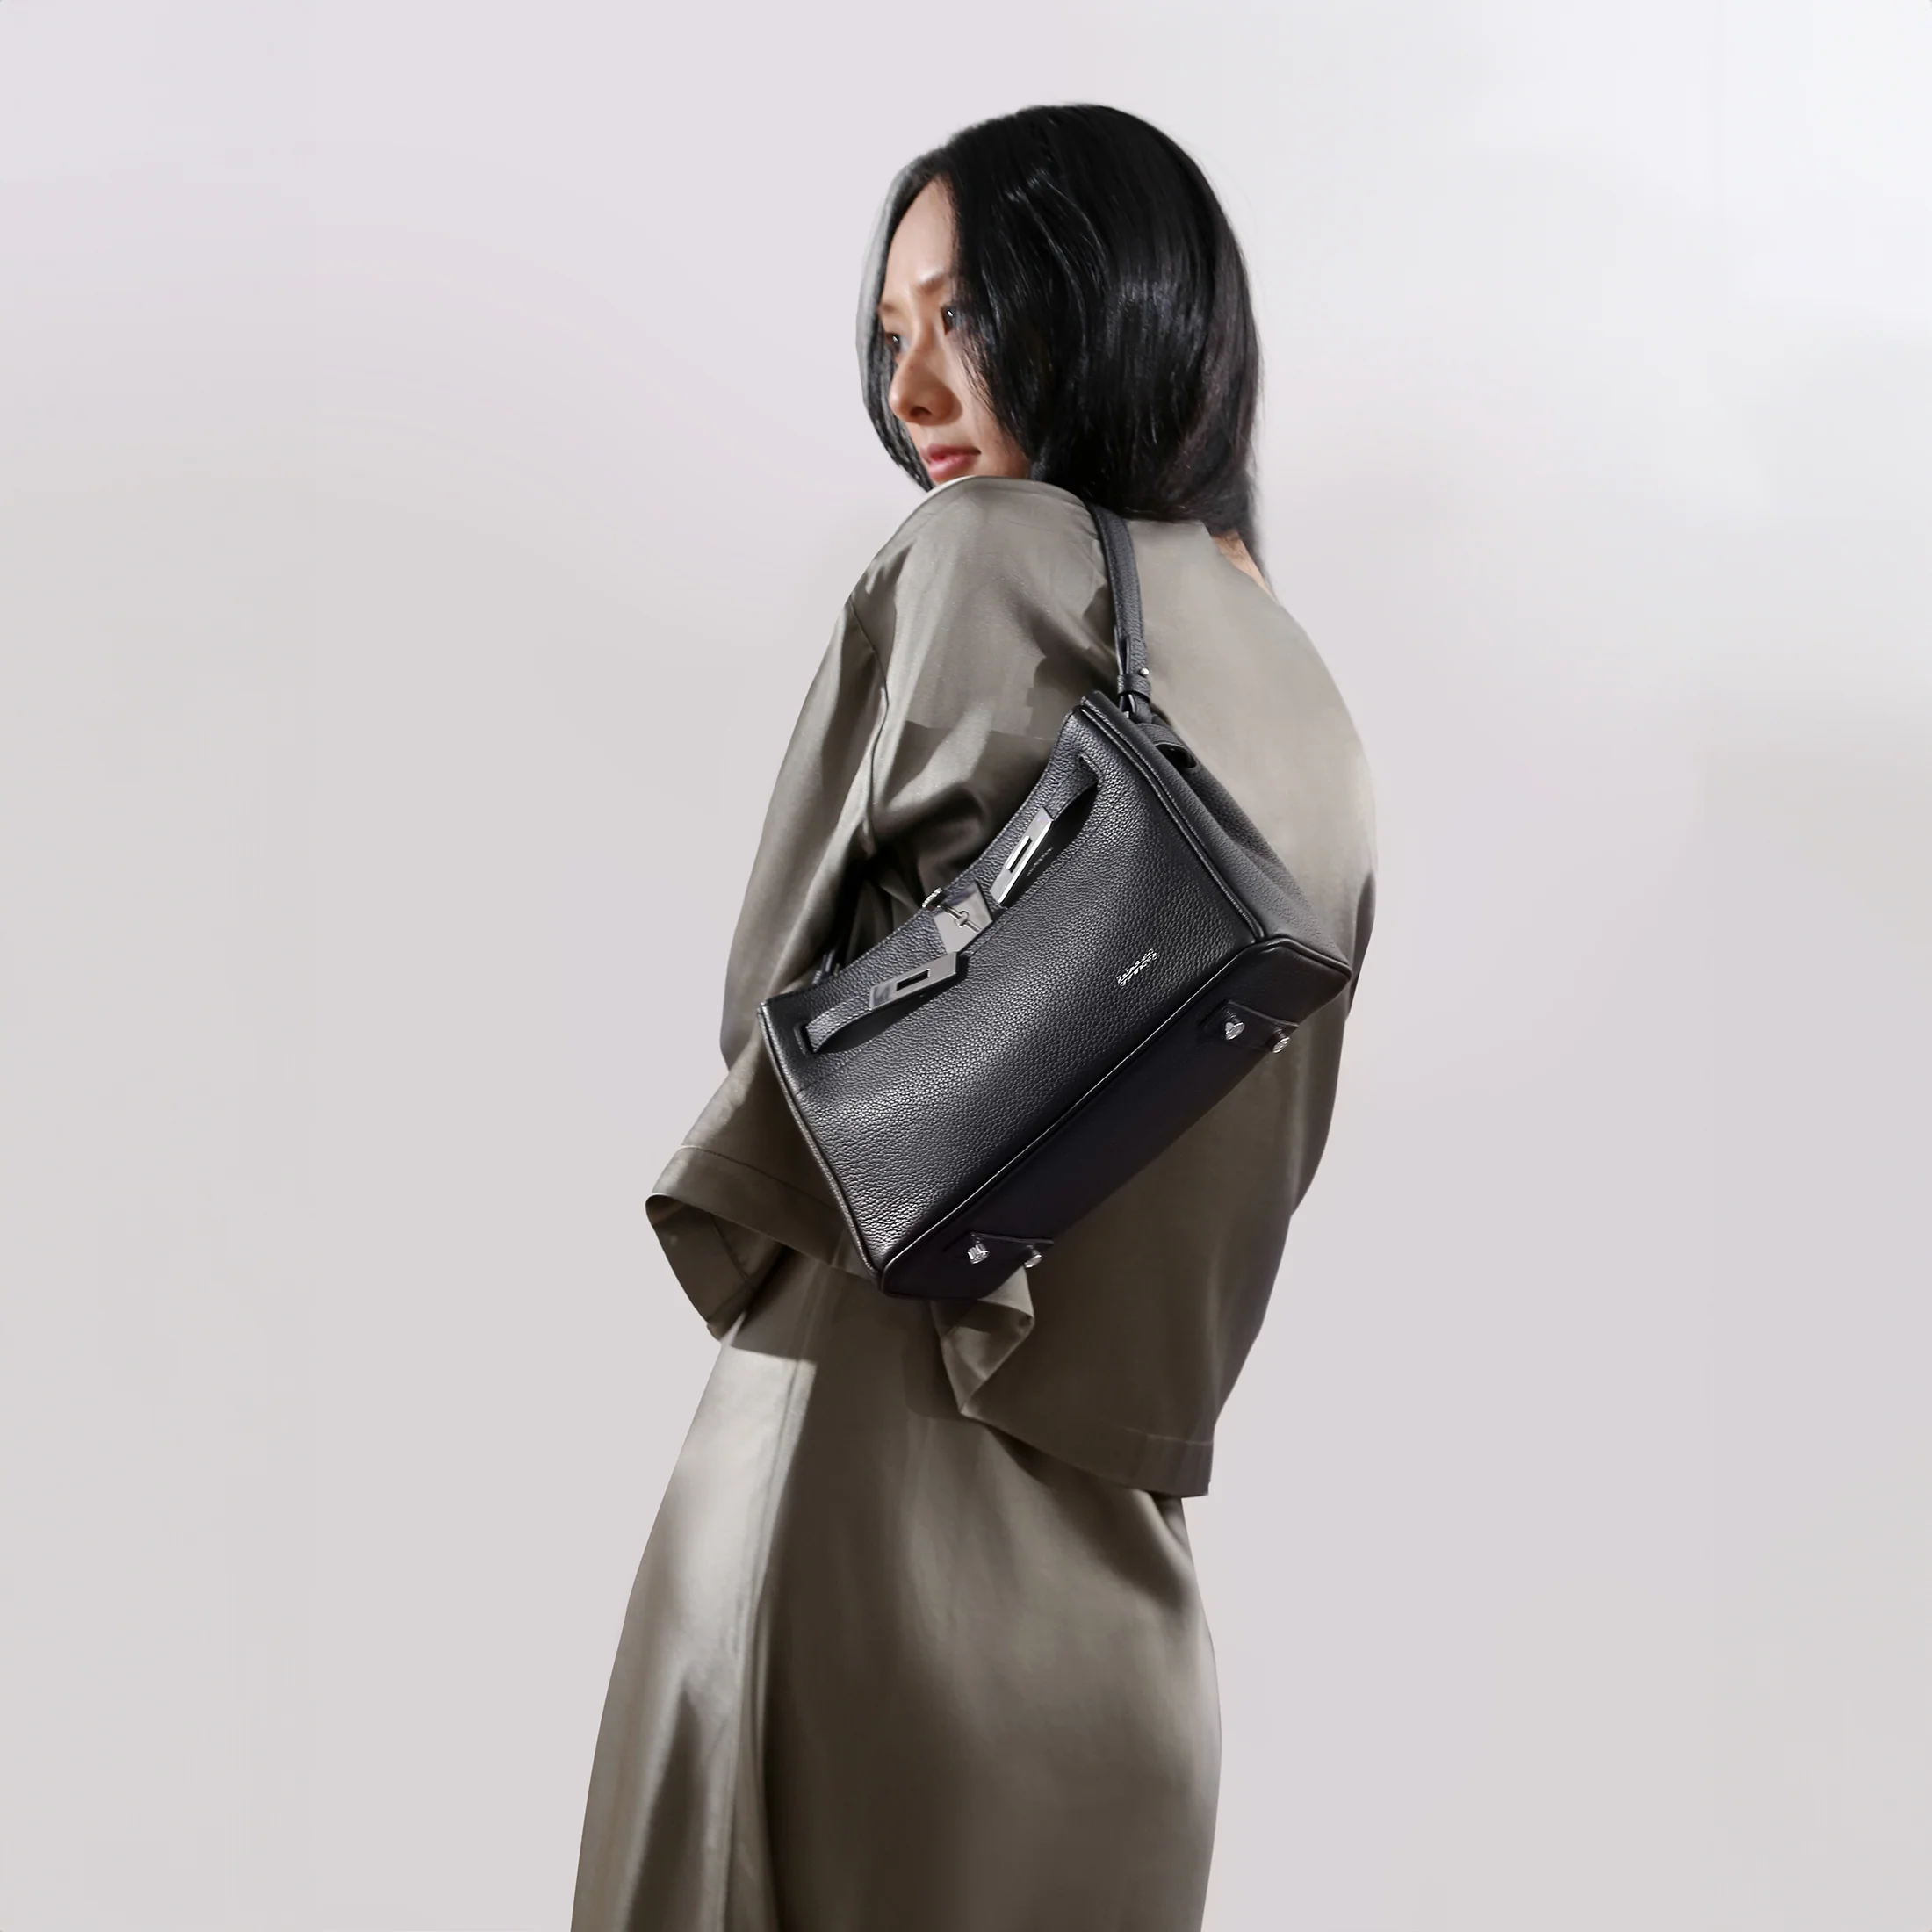
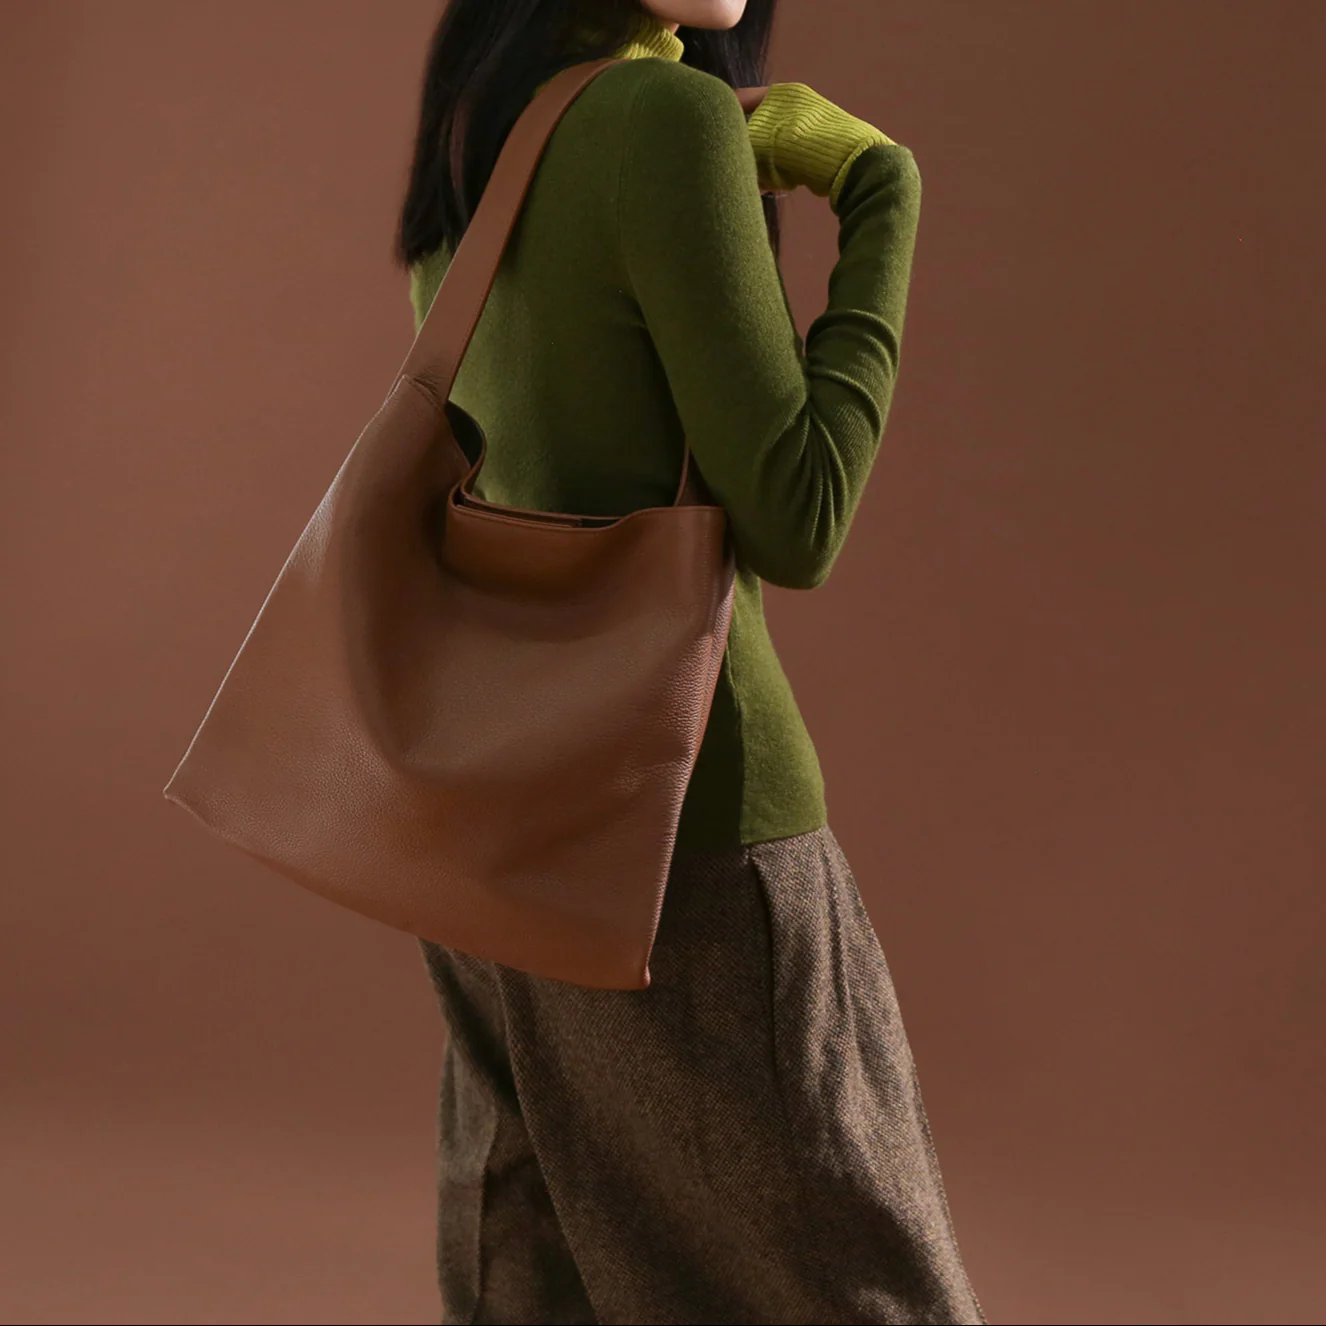
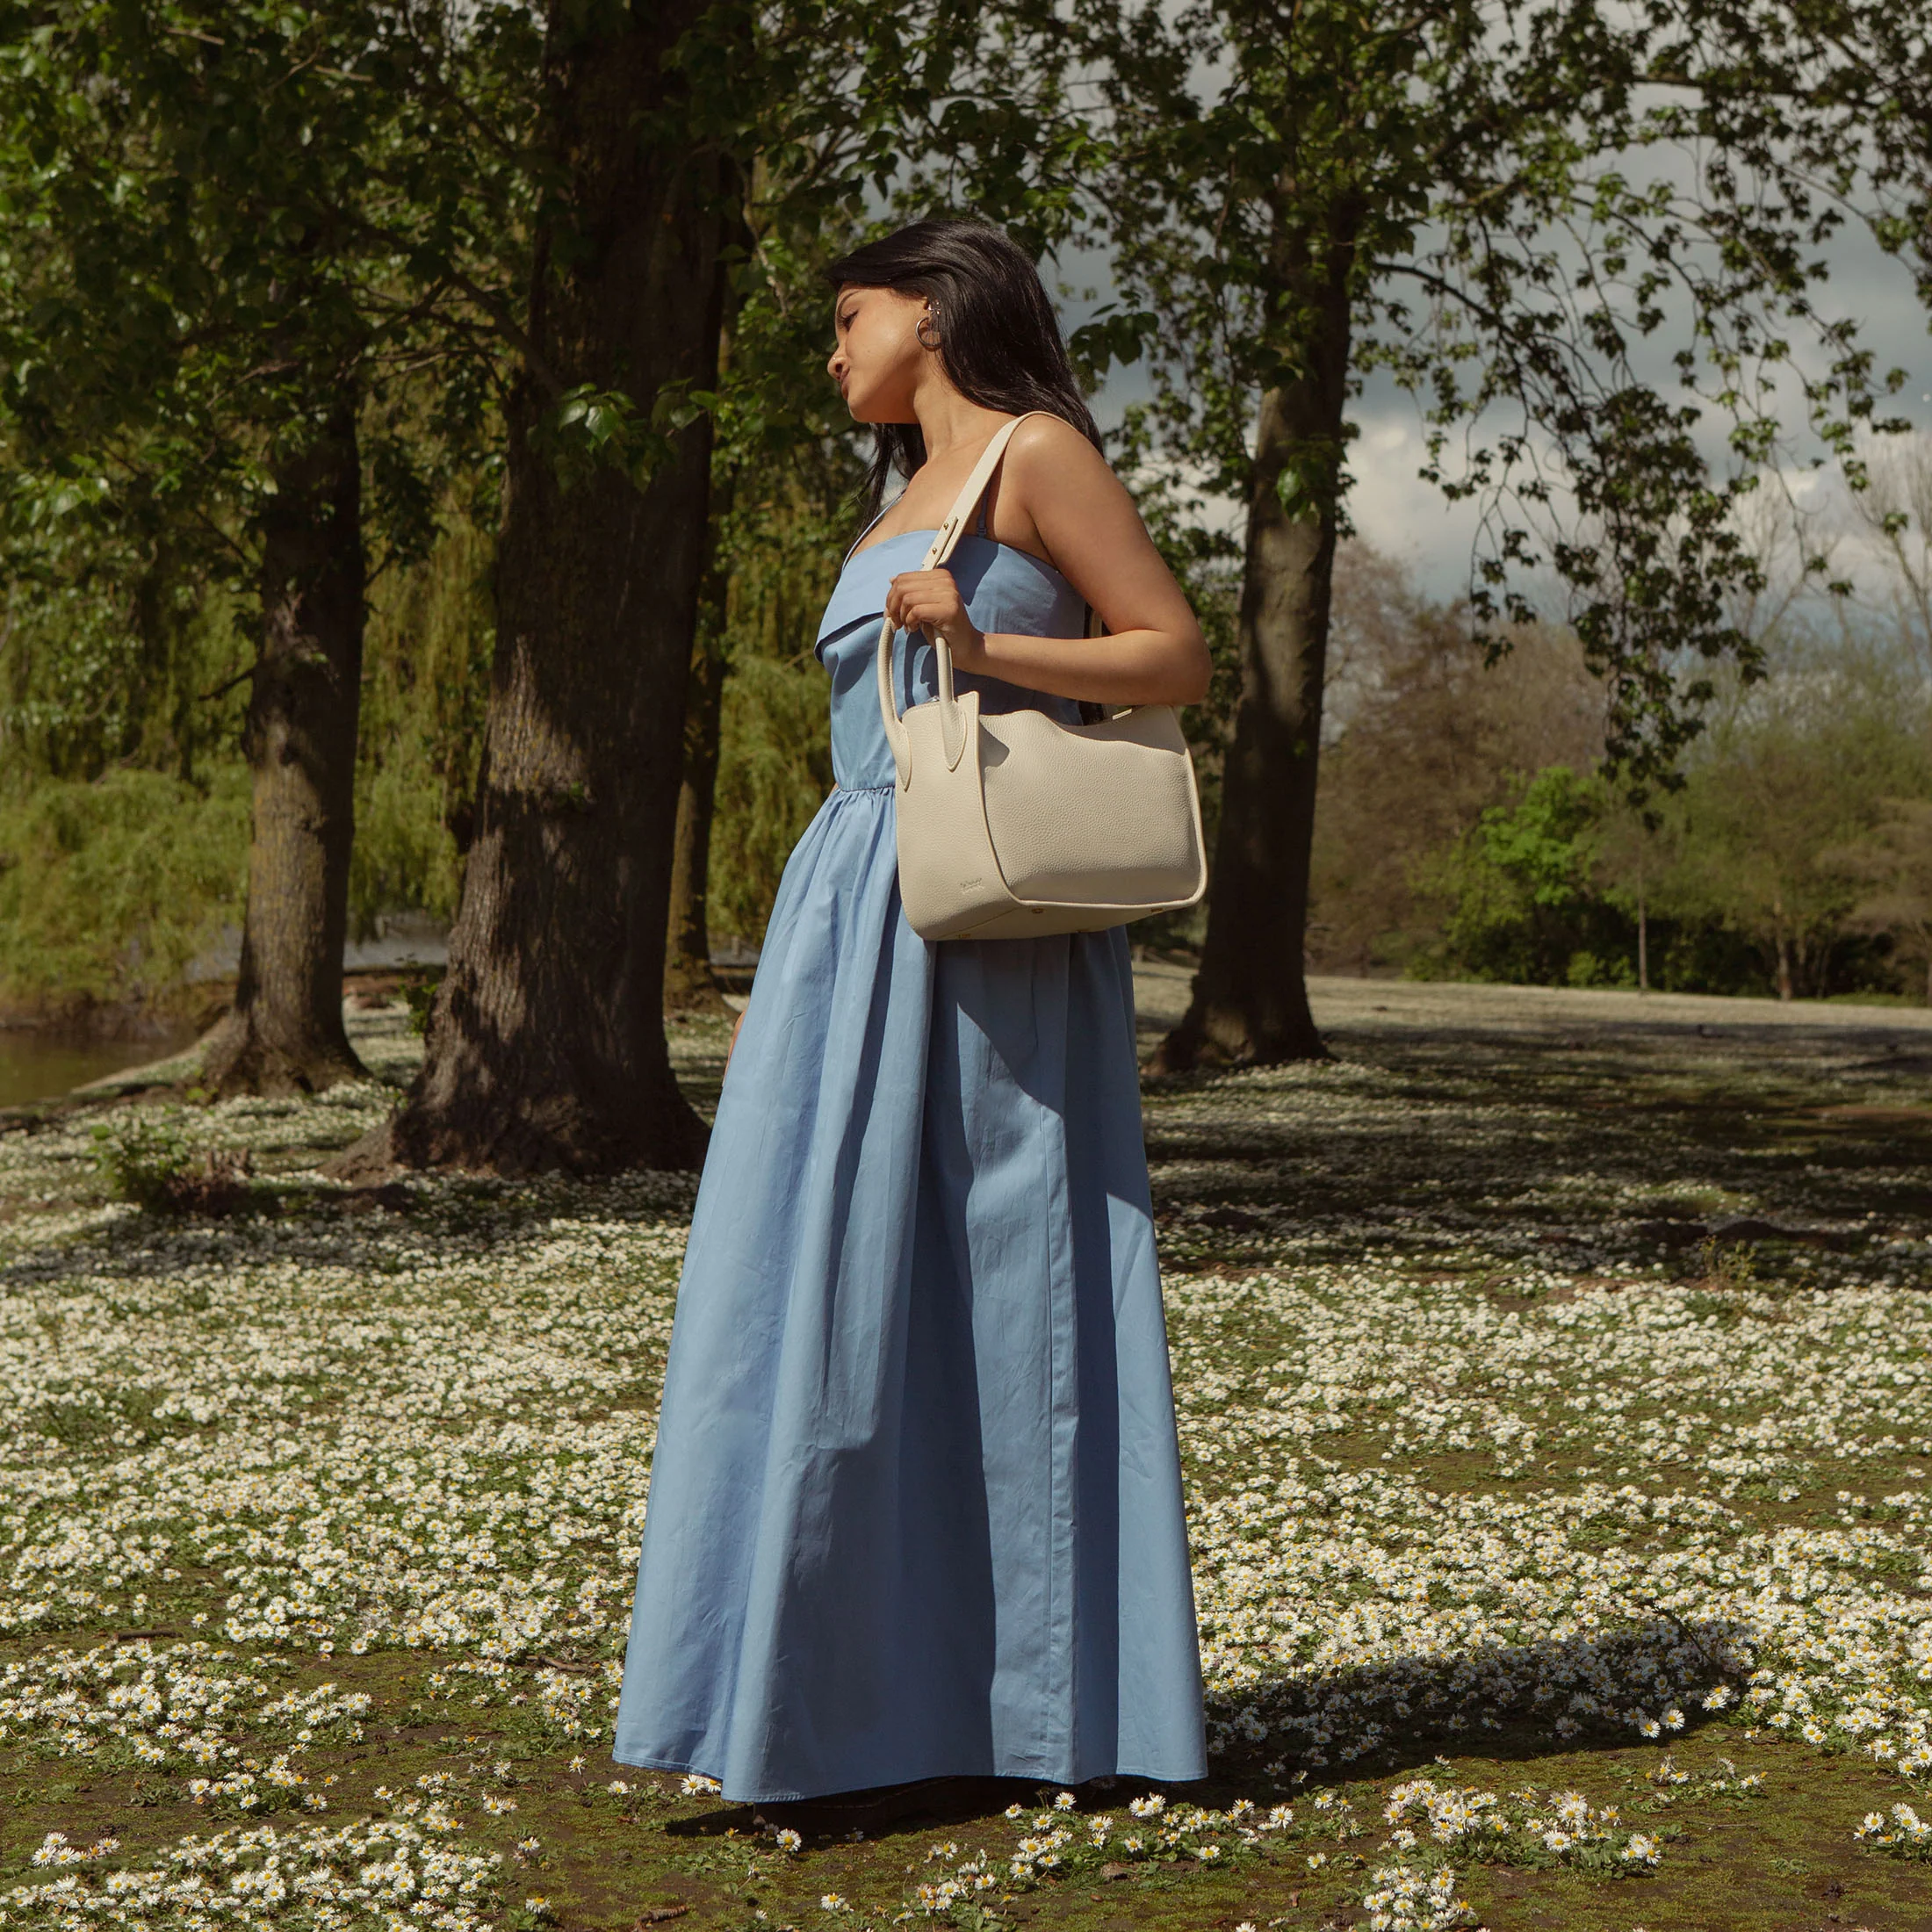
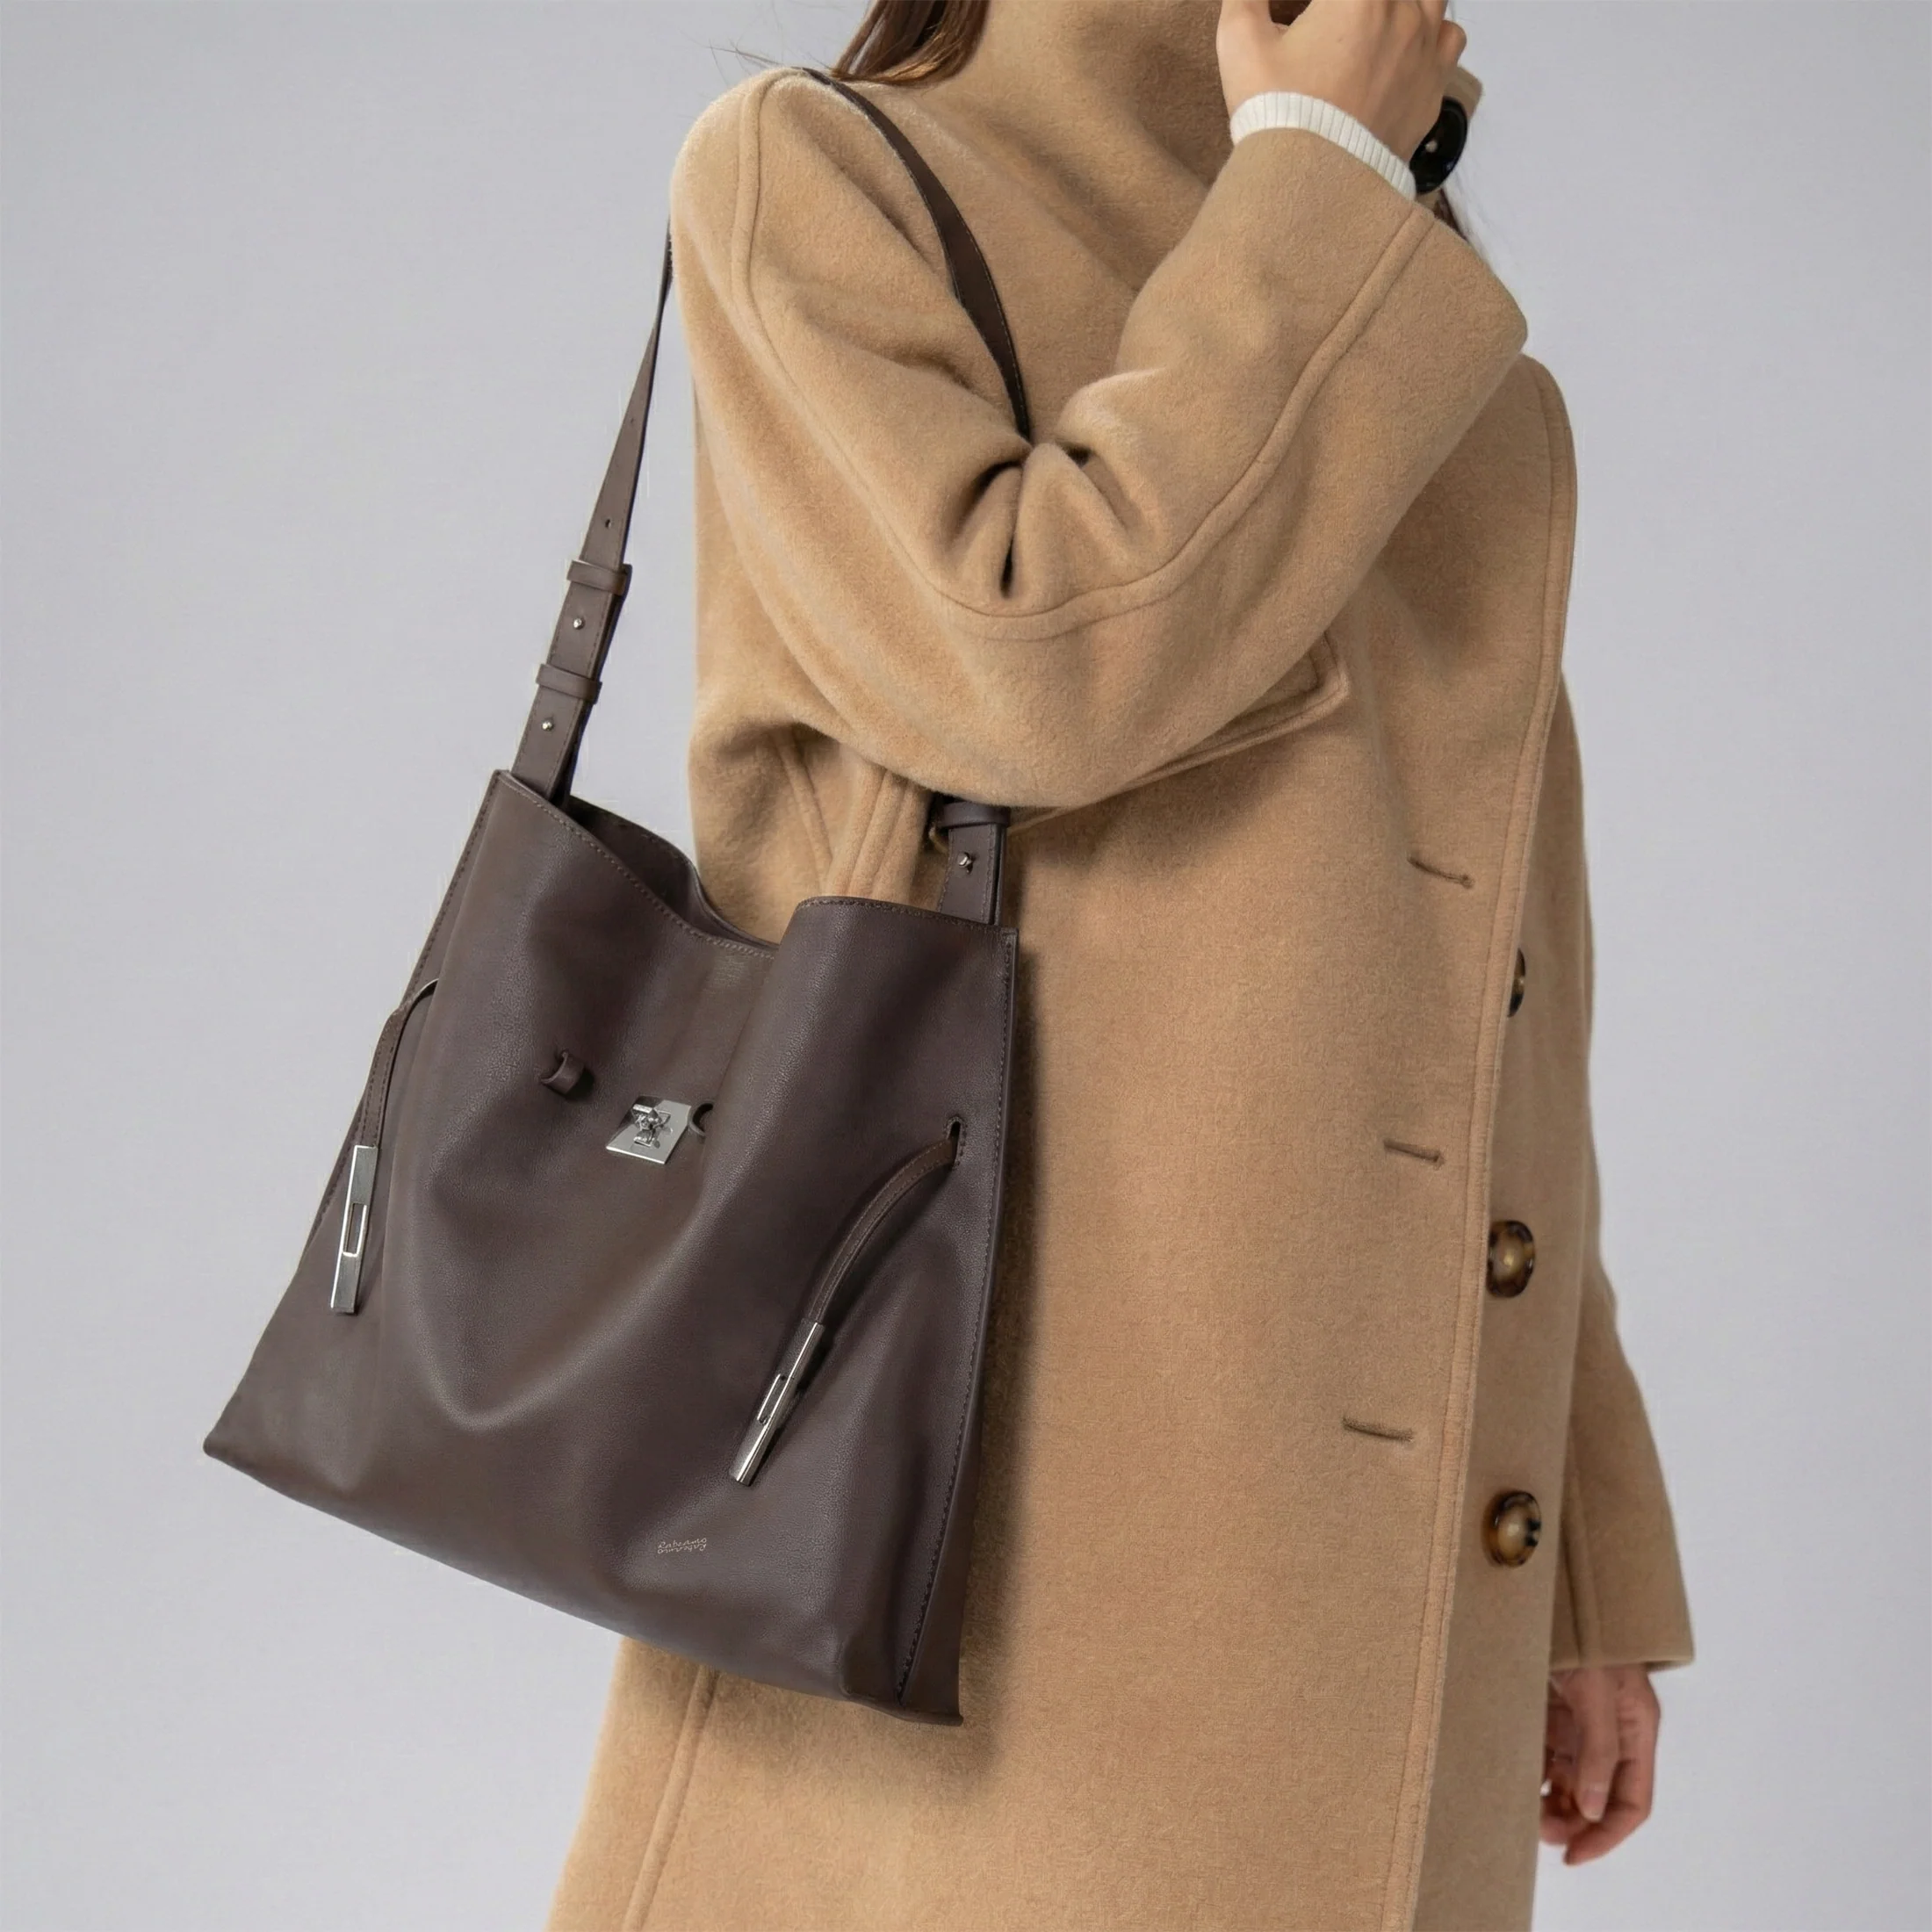
- Soft, flat main body: Bulk-free slim fit under shoulder
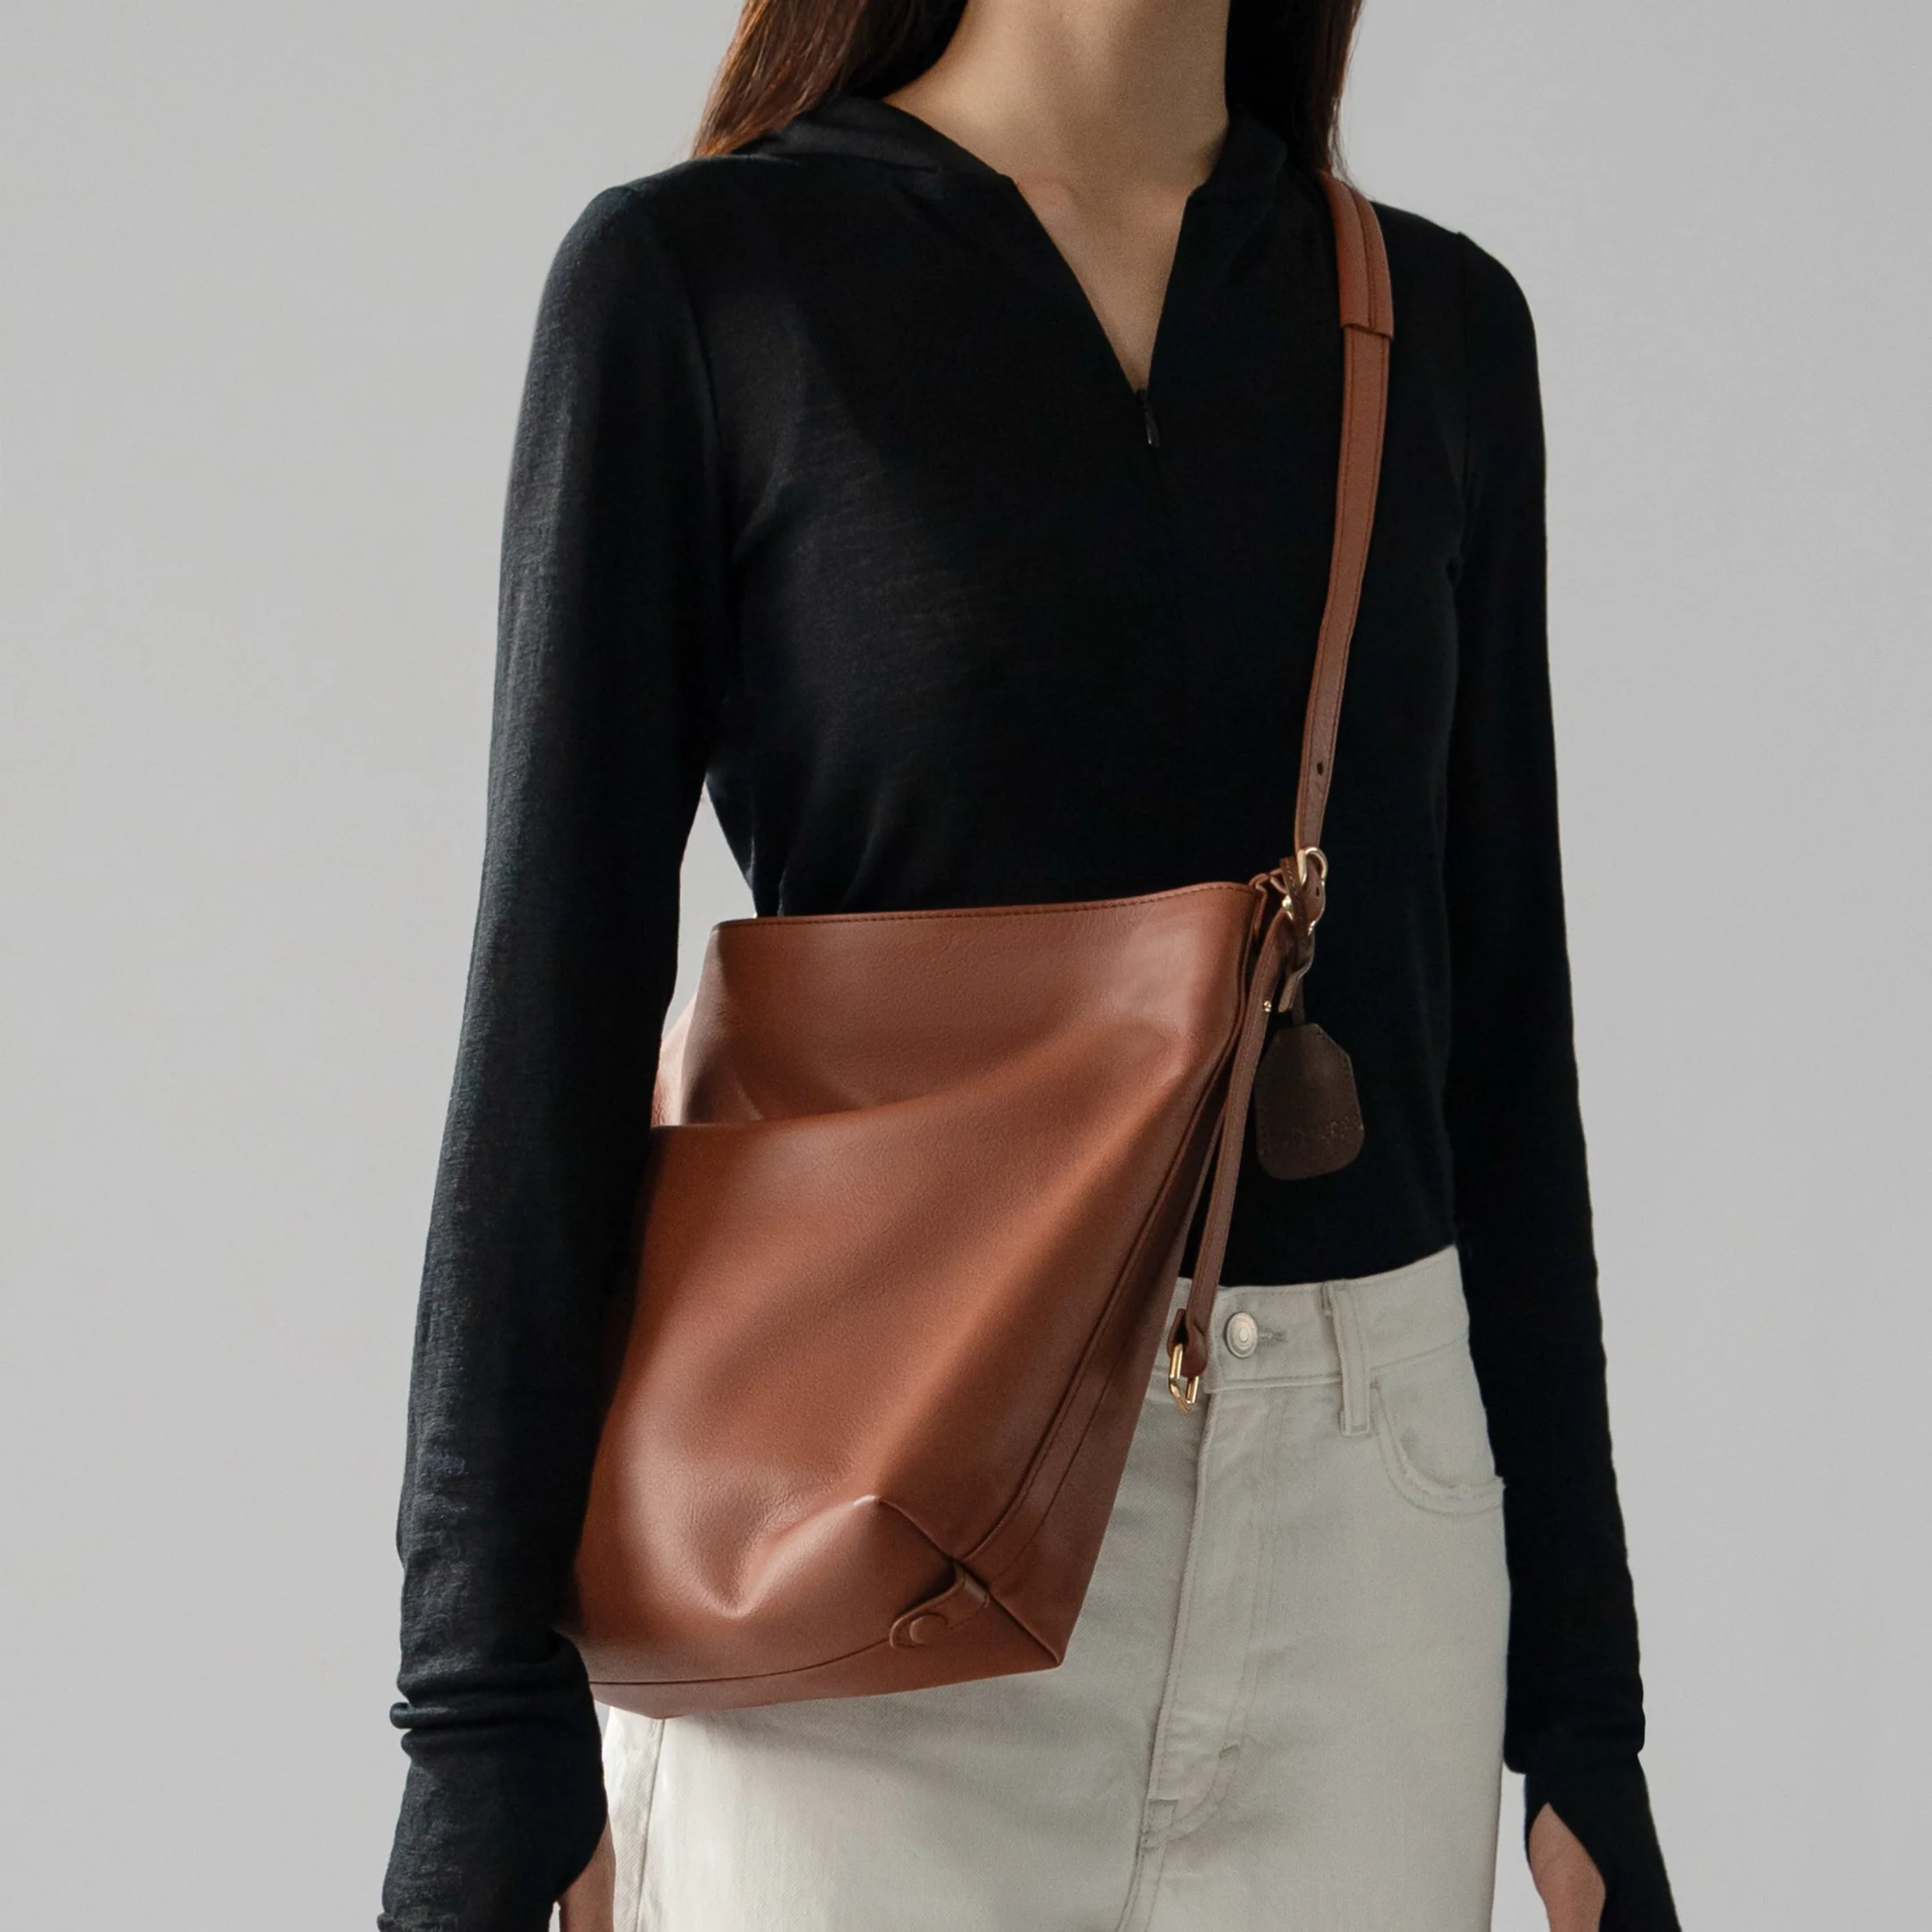
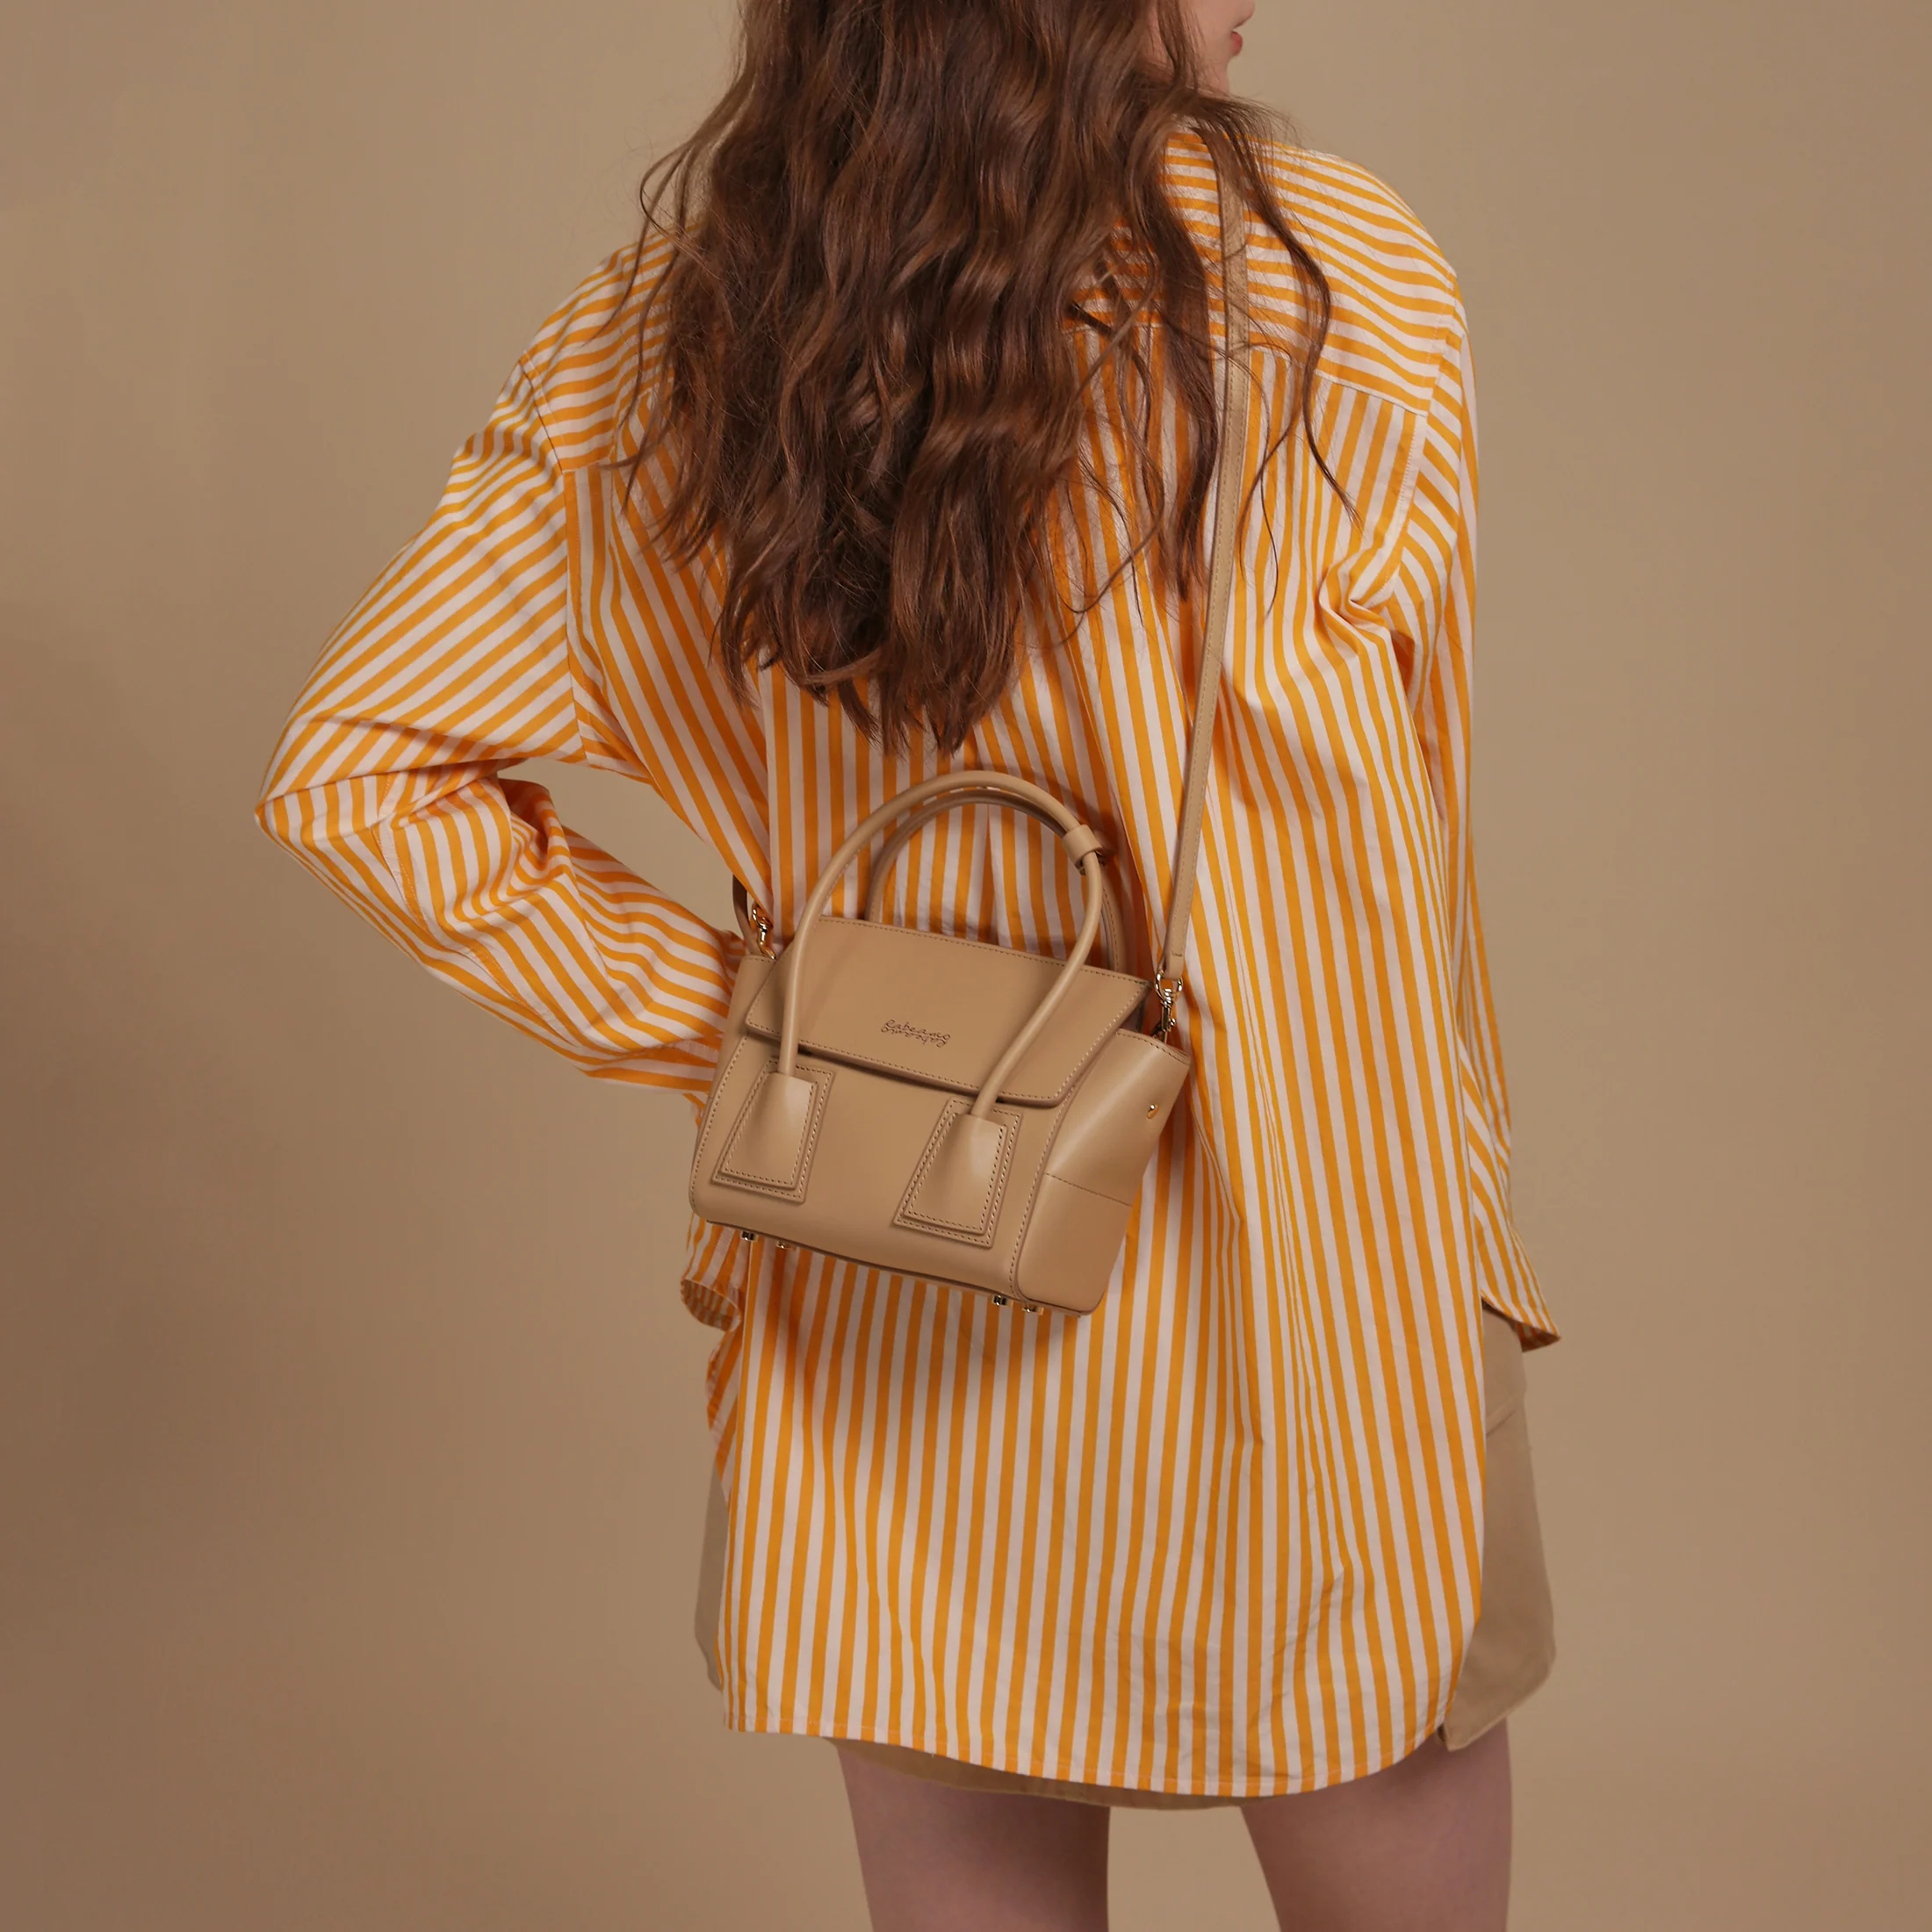
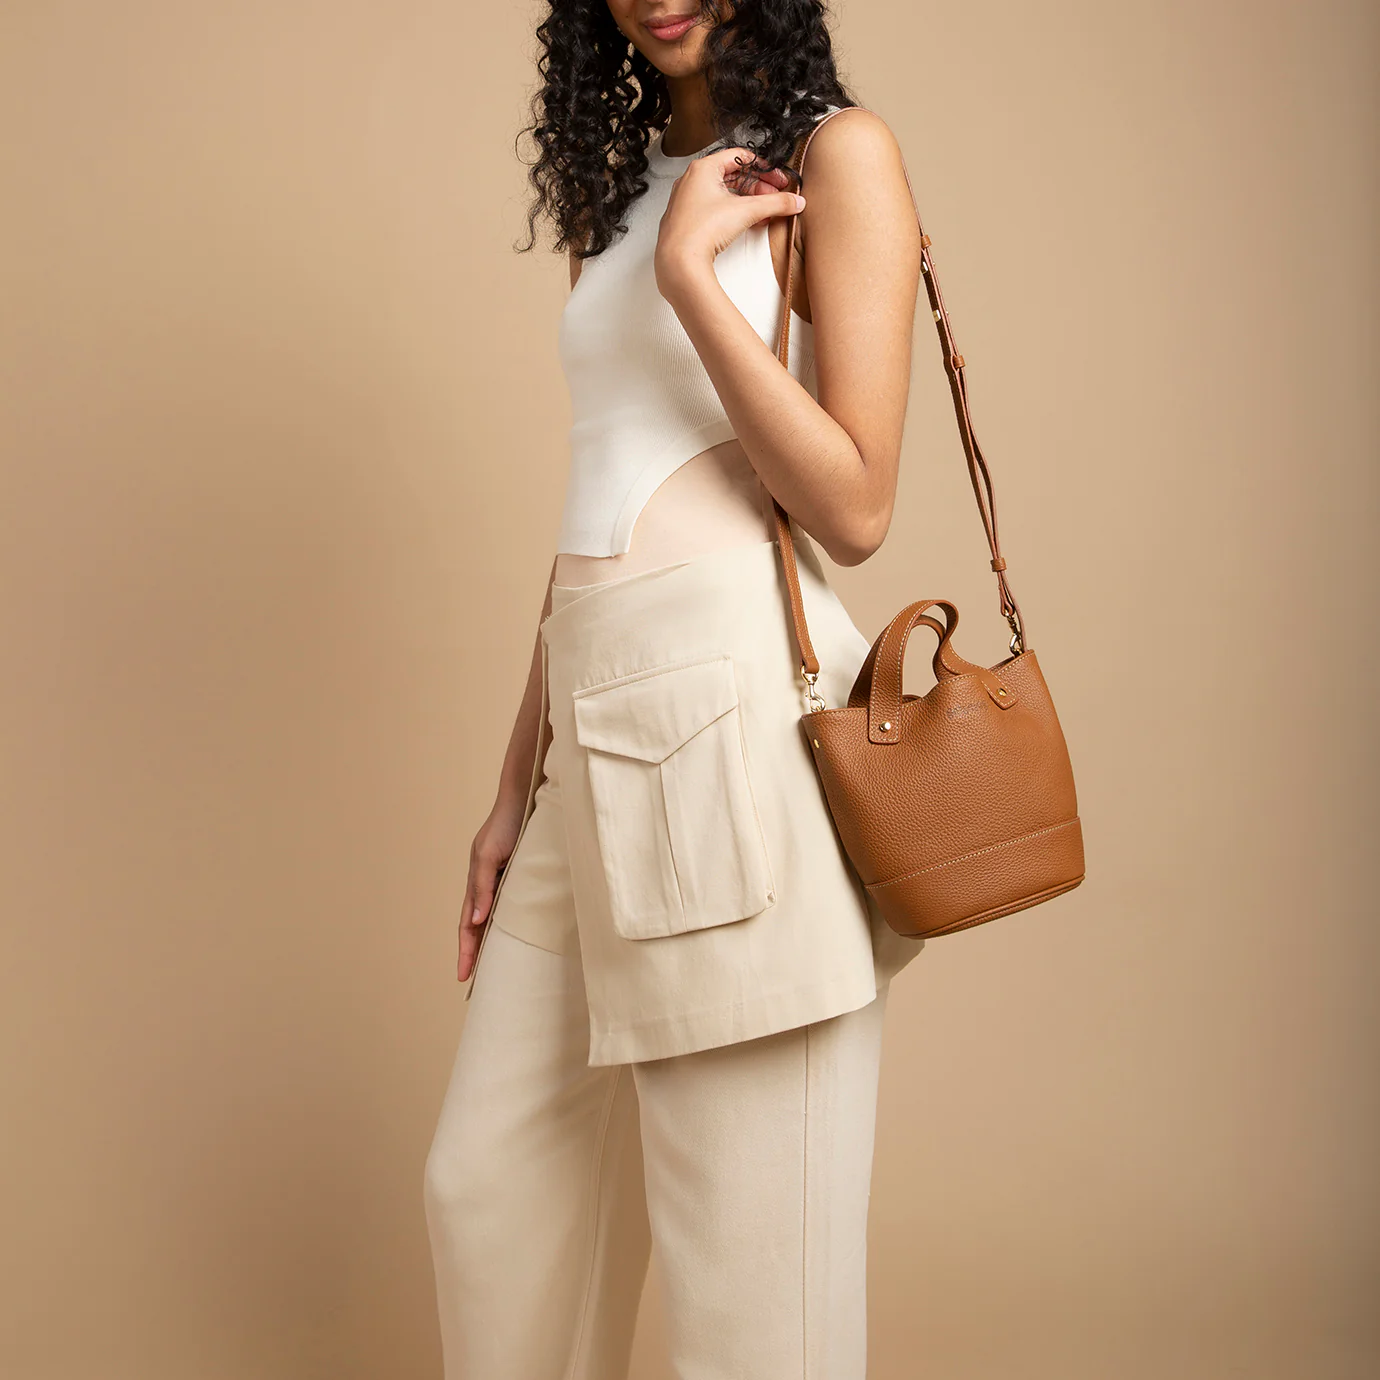
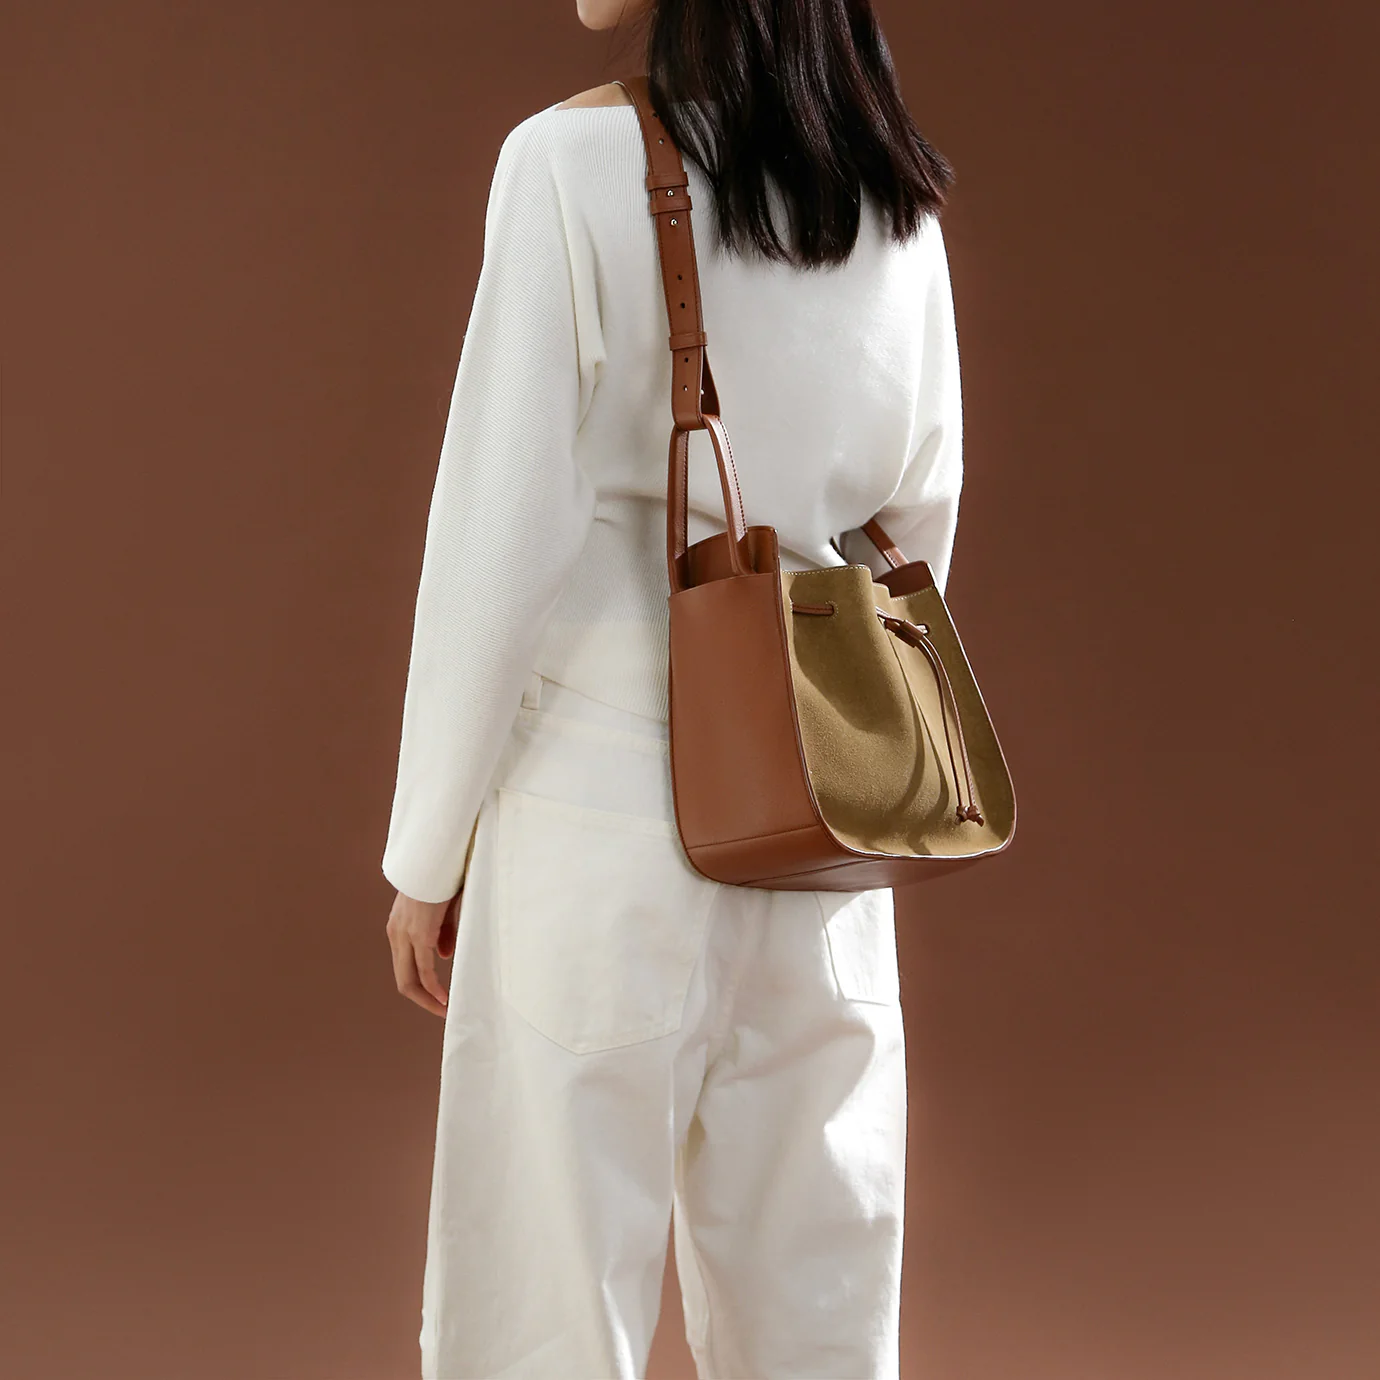
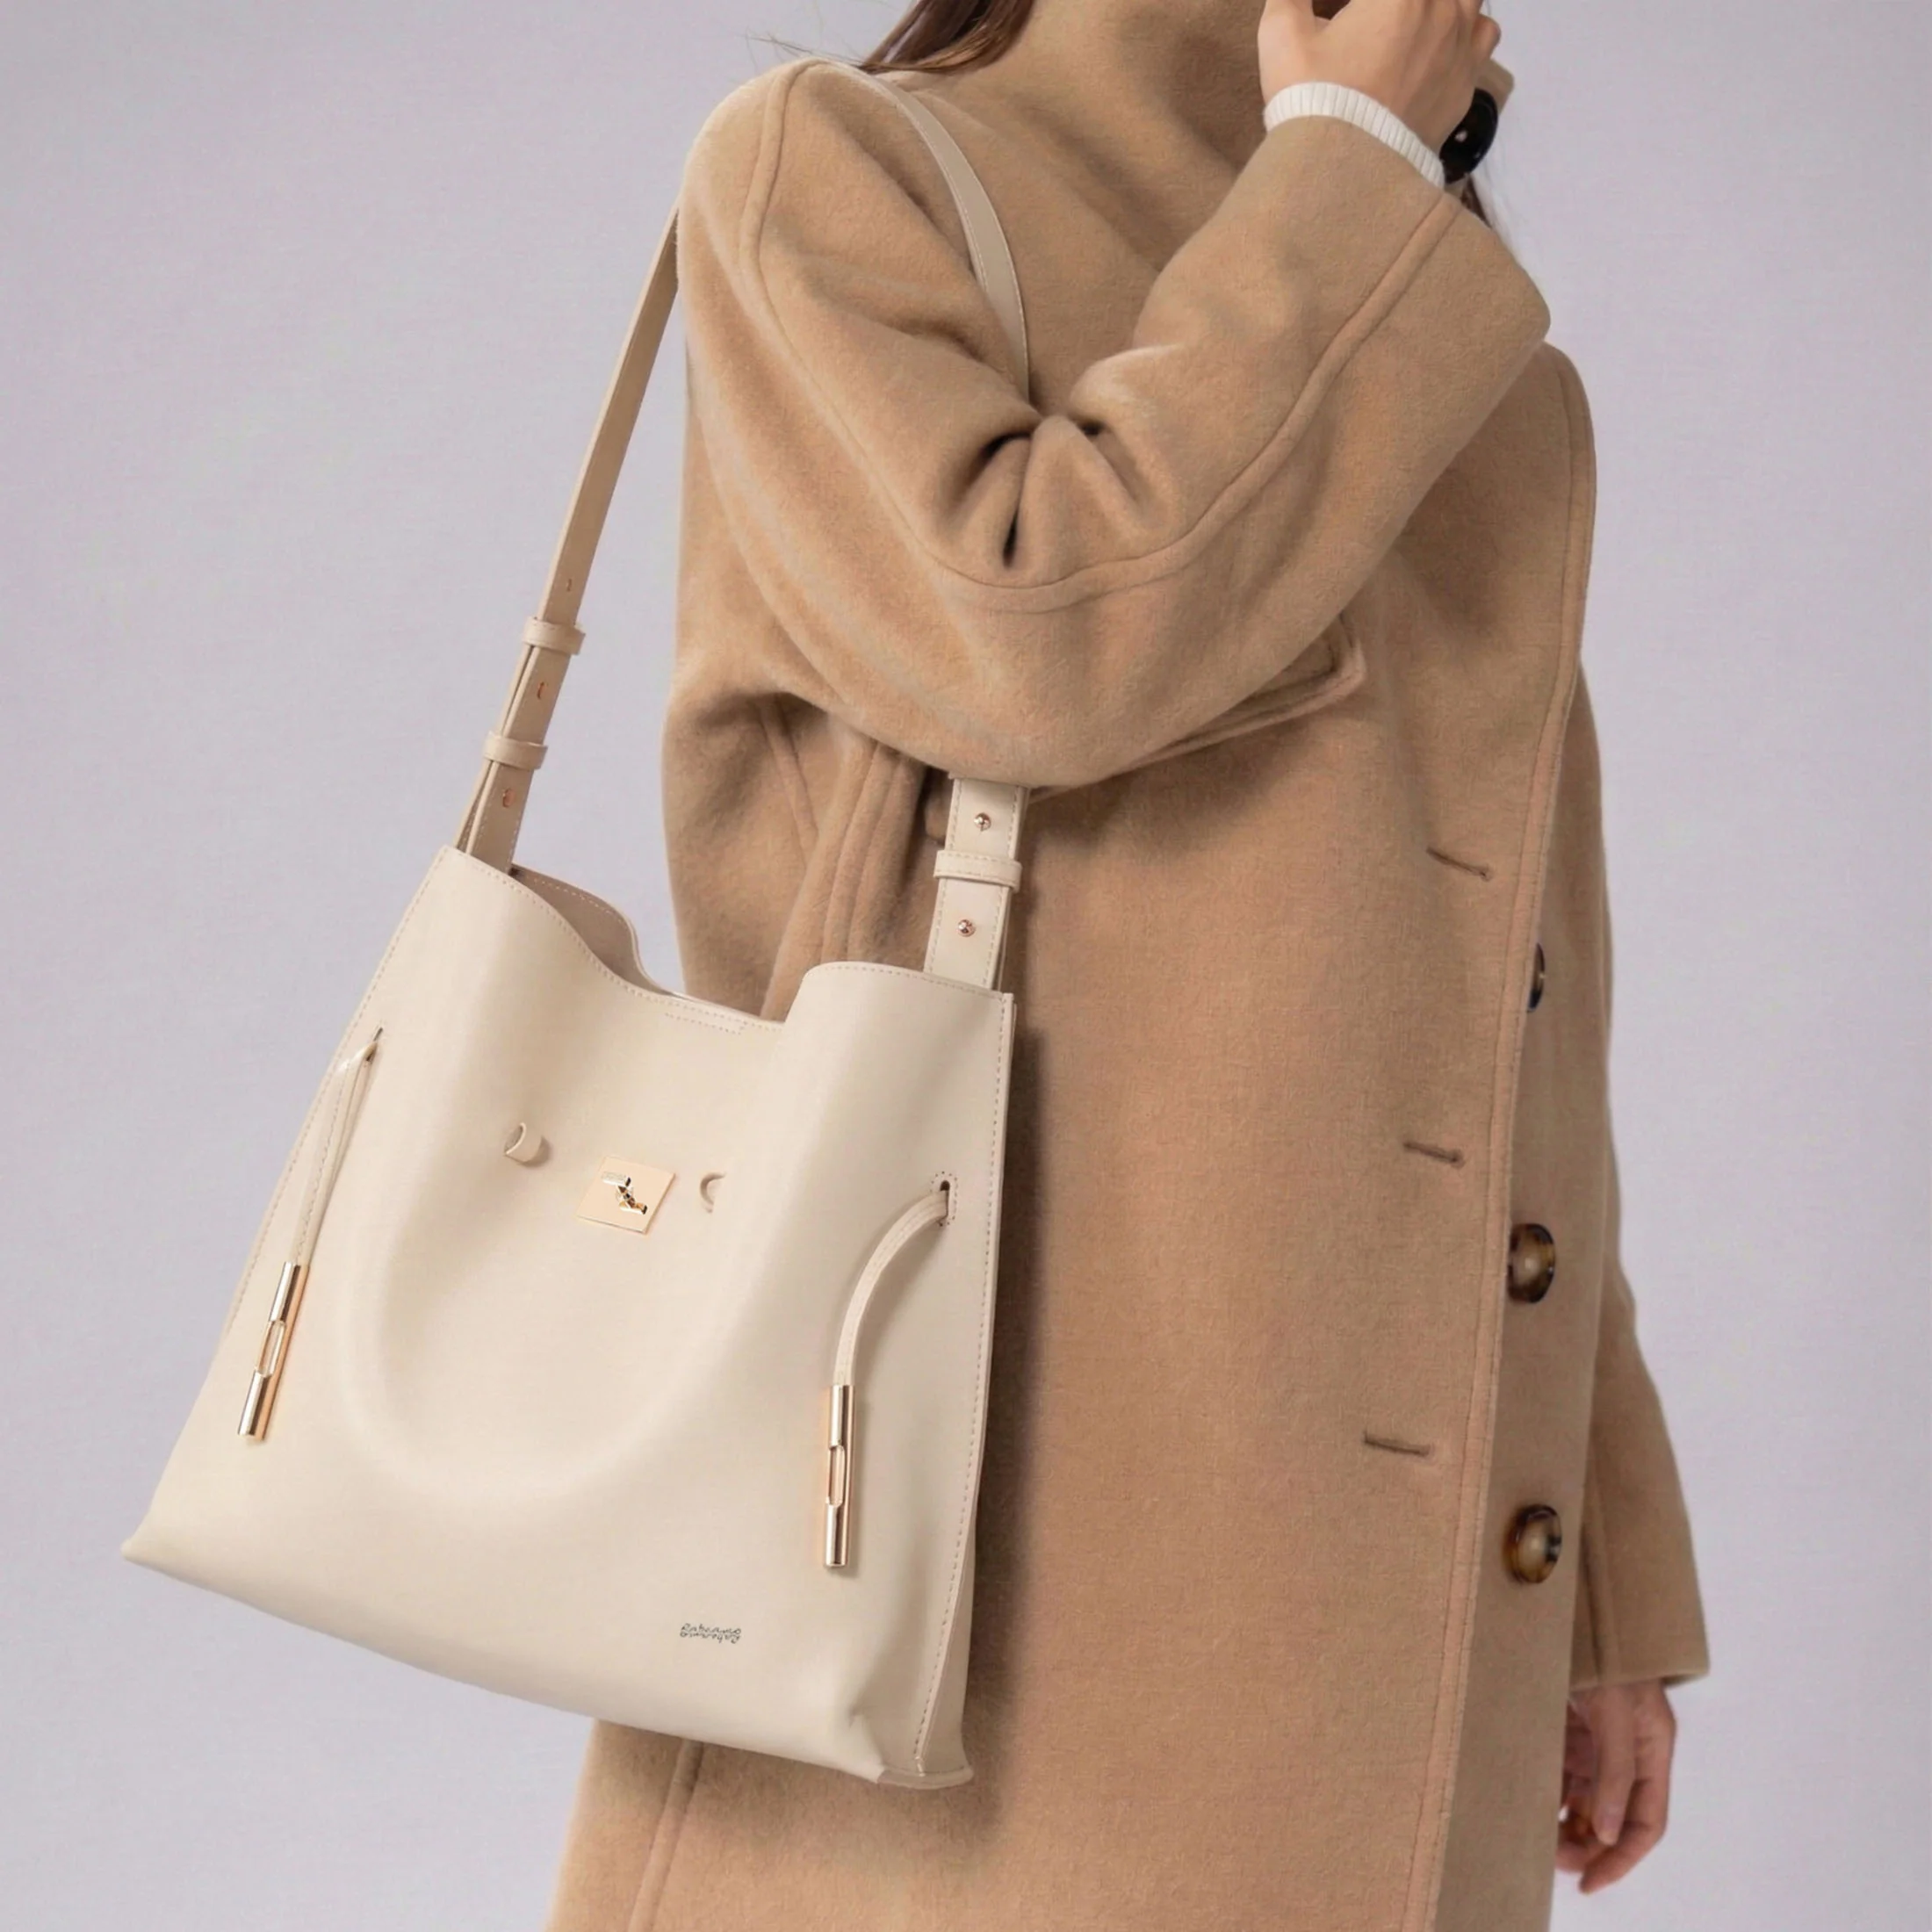
- Adjustable strap to accommodate occasions
- Full grain smooth calf skin
- Polished metal hardware
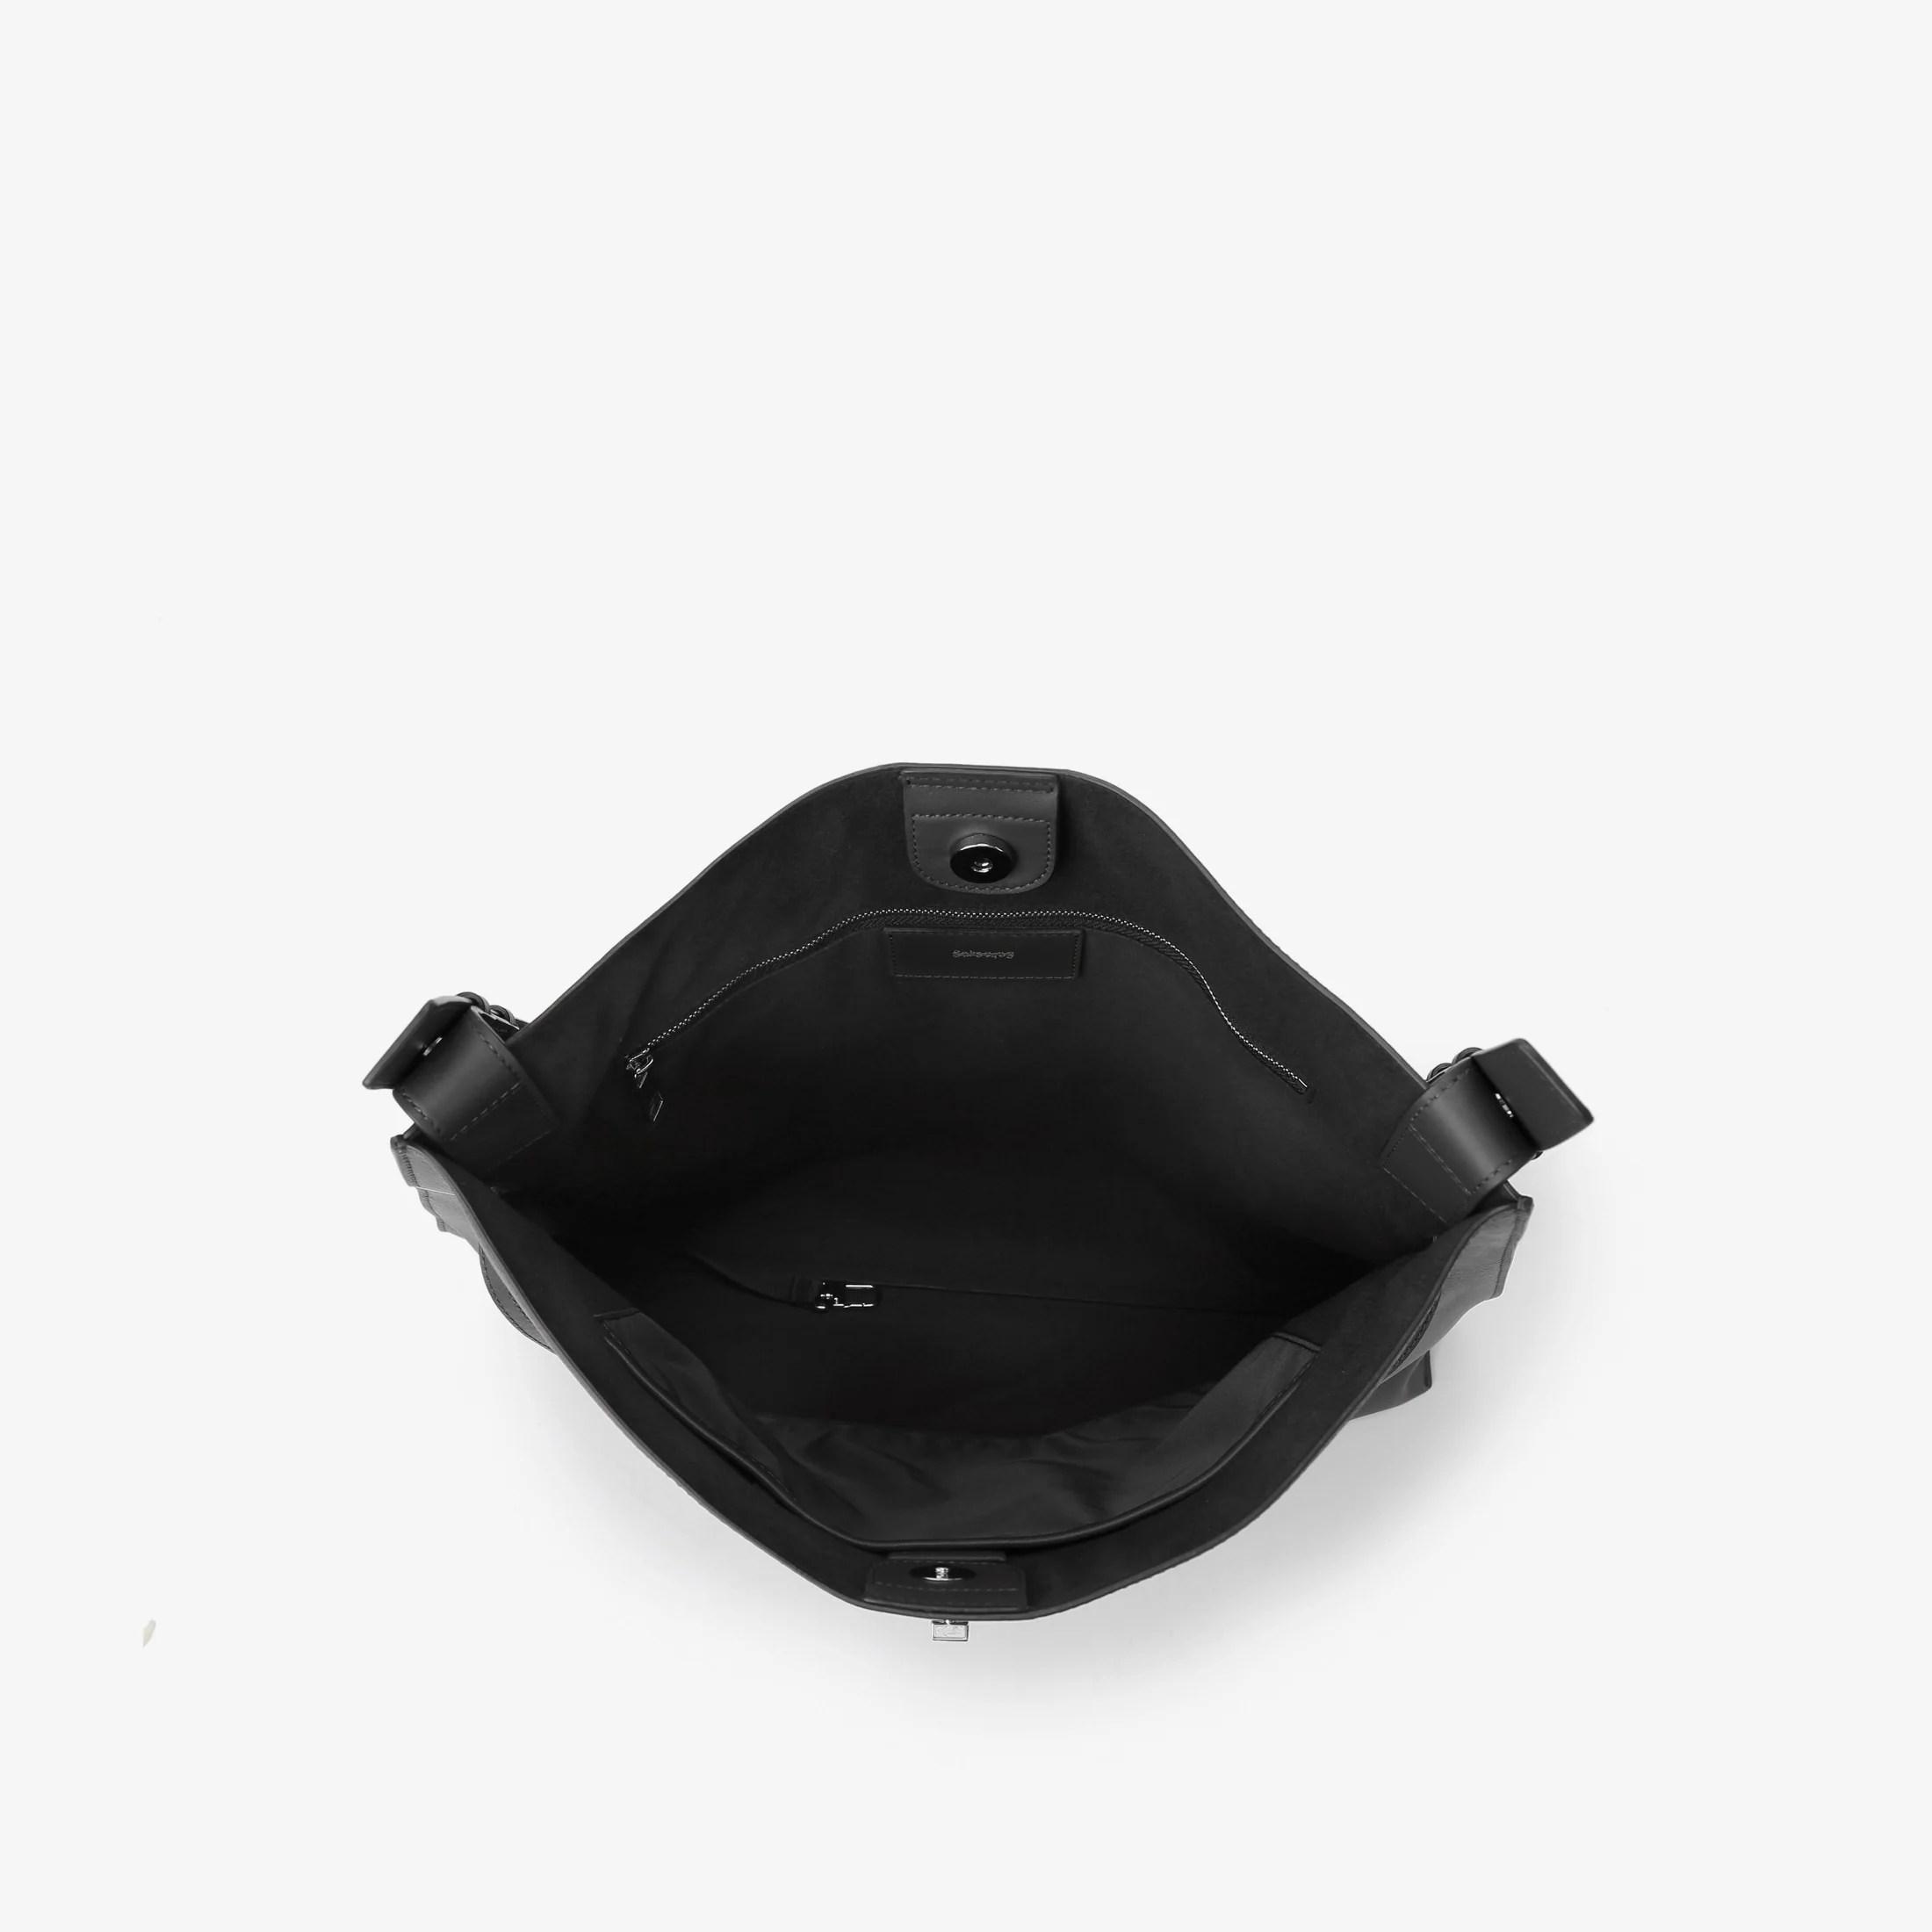
- Lightweight suede lining
- Inside: 1 slip pocket and 1 zip pocket
- Strapped inner keyring clip
- Wear on shoulder or crossbody
- 38(W) x 32(H) x 8(D) cm /
15"(W) x 12.5"(H) x 3"(D)
- Strap Drop Length: 16-45cm / 6"-18"
Details & Craftsmanship
Every detail has been carefully considered to bring you the perfect product.
Details & Craftsmanship
Every detail has been carefully considered to bring you the perfect product.
Details & Craftsmanship
Every detail has been carefully considered to bring you the perfect product.
Details & Craftsmanship
Every detail has been carefully considered to bring you the perfect product.
Details & Craftsmanship
Every detail has been carefully considered to bring you the perfect product.
Details & Craftsmanship
Every detail has been carefully considered to bring you the perfect product.
Details & Craftsmanship
Every detail has been carefully considered to bring you the perfect product.
Details & Craftsmanship
Every detail has been carefully considered to bring you the perfect product.
Details & Craftsmanship
Every detail has been carefully considered to bring you the perfect product.
Details & Craftsmanship
Every detail has been carefully considered to bring you the perfect product.
Details & Craftsmanship
Every detail has been carefully considered to bring you the perfect product.
Details & Craftsmanship
Every detail has been carefully considered to bring you the perfect product.
Details & Craftsmanship
Every detail has been carefully considered to bring you the perfect product.
Details & Craftsmanship
Every detail has been carefully considered to bring you the perfect product.
Details & Craftsmanship
Every detail has been carefully considered to bring you the perfect product.
Details & Craftsmanship
Every detail has been carefully considered to bring you the perfect product.
Details & Craftsmanship
Every detail has been carefully considered to bring you the perfect product.

Details & Craftsmanship
Every detail has been carefully considered to bring you the perfect product.
Details & Craftsmanship
Every detail has been carefully considered to bring you the perfect product.
Details & Craftsmanship
Every detail has been carefully considered to bring you the perfect product.

Details & Craftsmanship
Every detail has been carefully considered to bring you the perfect product.
Details & Craftsmanship
Every detail has been carefully considered to bring you the perfect product.
Details & Craftsmanship
Every detail has been carefully considered to bring you the perfect product.
Details & Craftsmanship
Every detail has been carefully considered to bring you the perfect product.
Details & Craftsmanship
Every detail has been carefully considered to bring you the perfect product.
Details & Craftsmanship
Every detail has been carefully considered to bring you the perfect product.
Details & Craftsmanship
Every detail has been carefully considered to bring you the perfect product.
Details & Craftsmanship
Every detail has been carefully considered to bring you the perfect product.
Description
Style ID# 88566
- Semi-structured body for a slouchier, more relaxed look
- Top closure secured by magnetic button
- The Amicetta Lock: thin styling belt straps secured by a central turn-lock
- Soft, flat main body: Bulk-free slim fit under shoulder
- Adjustable strap to accommodate occasions
- Full grain smooth calf skin
- Polished metal hardware
- Lightweight suede lining
- Inside: 1 slip pocket and 1 zip pocket
- Strapped inner keyring clip
- Wear on shoulder or crossbody
- 38(W) x 32(H) x 8(D) cm /
15"(W) x 12.5"(H) x 3"(D)
- Strap Drop Length: 16-45cm / 6"-18"